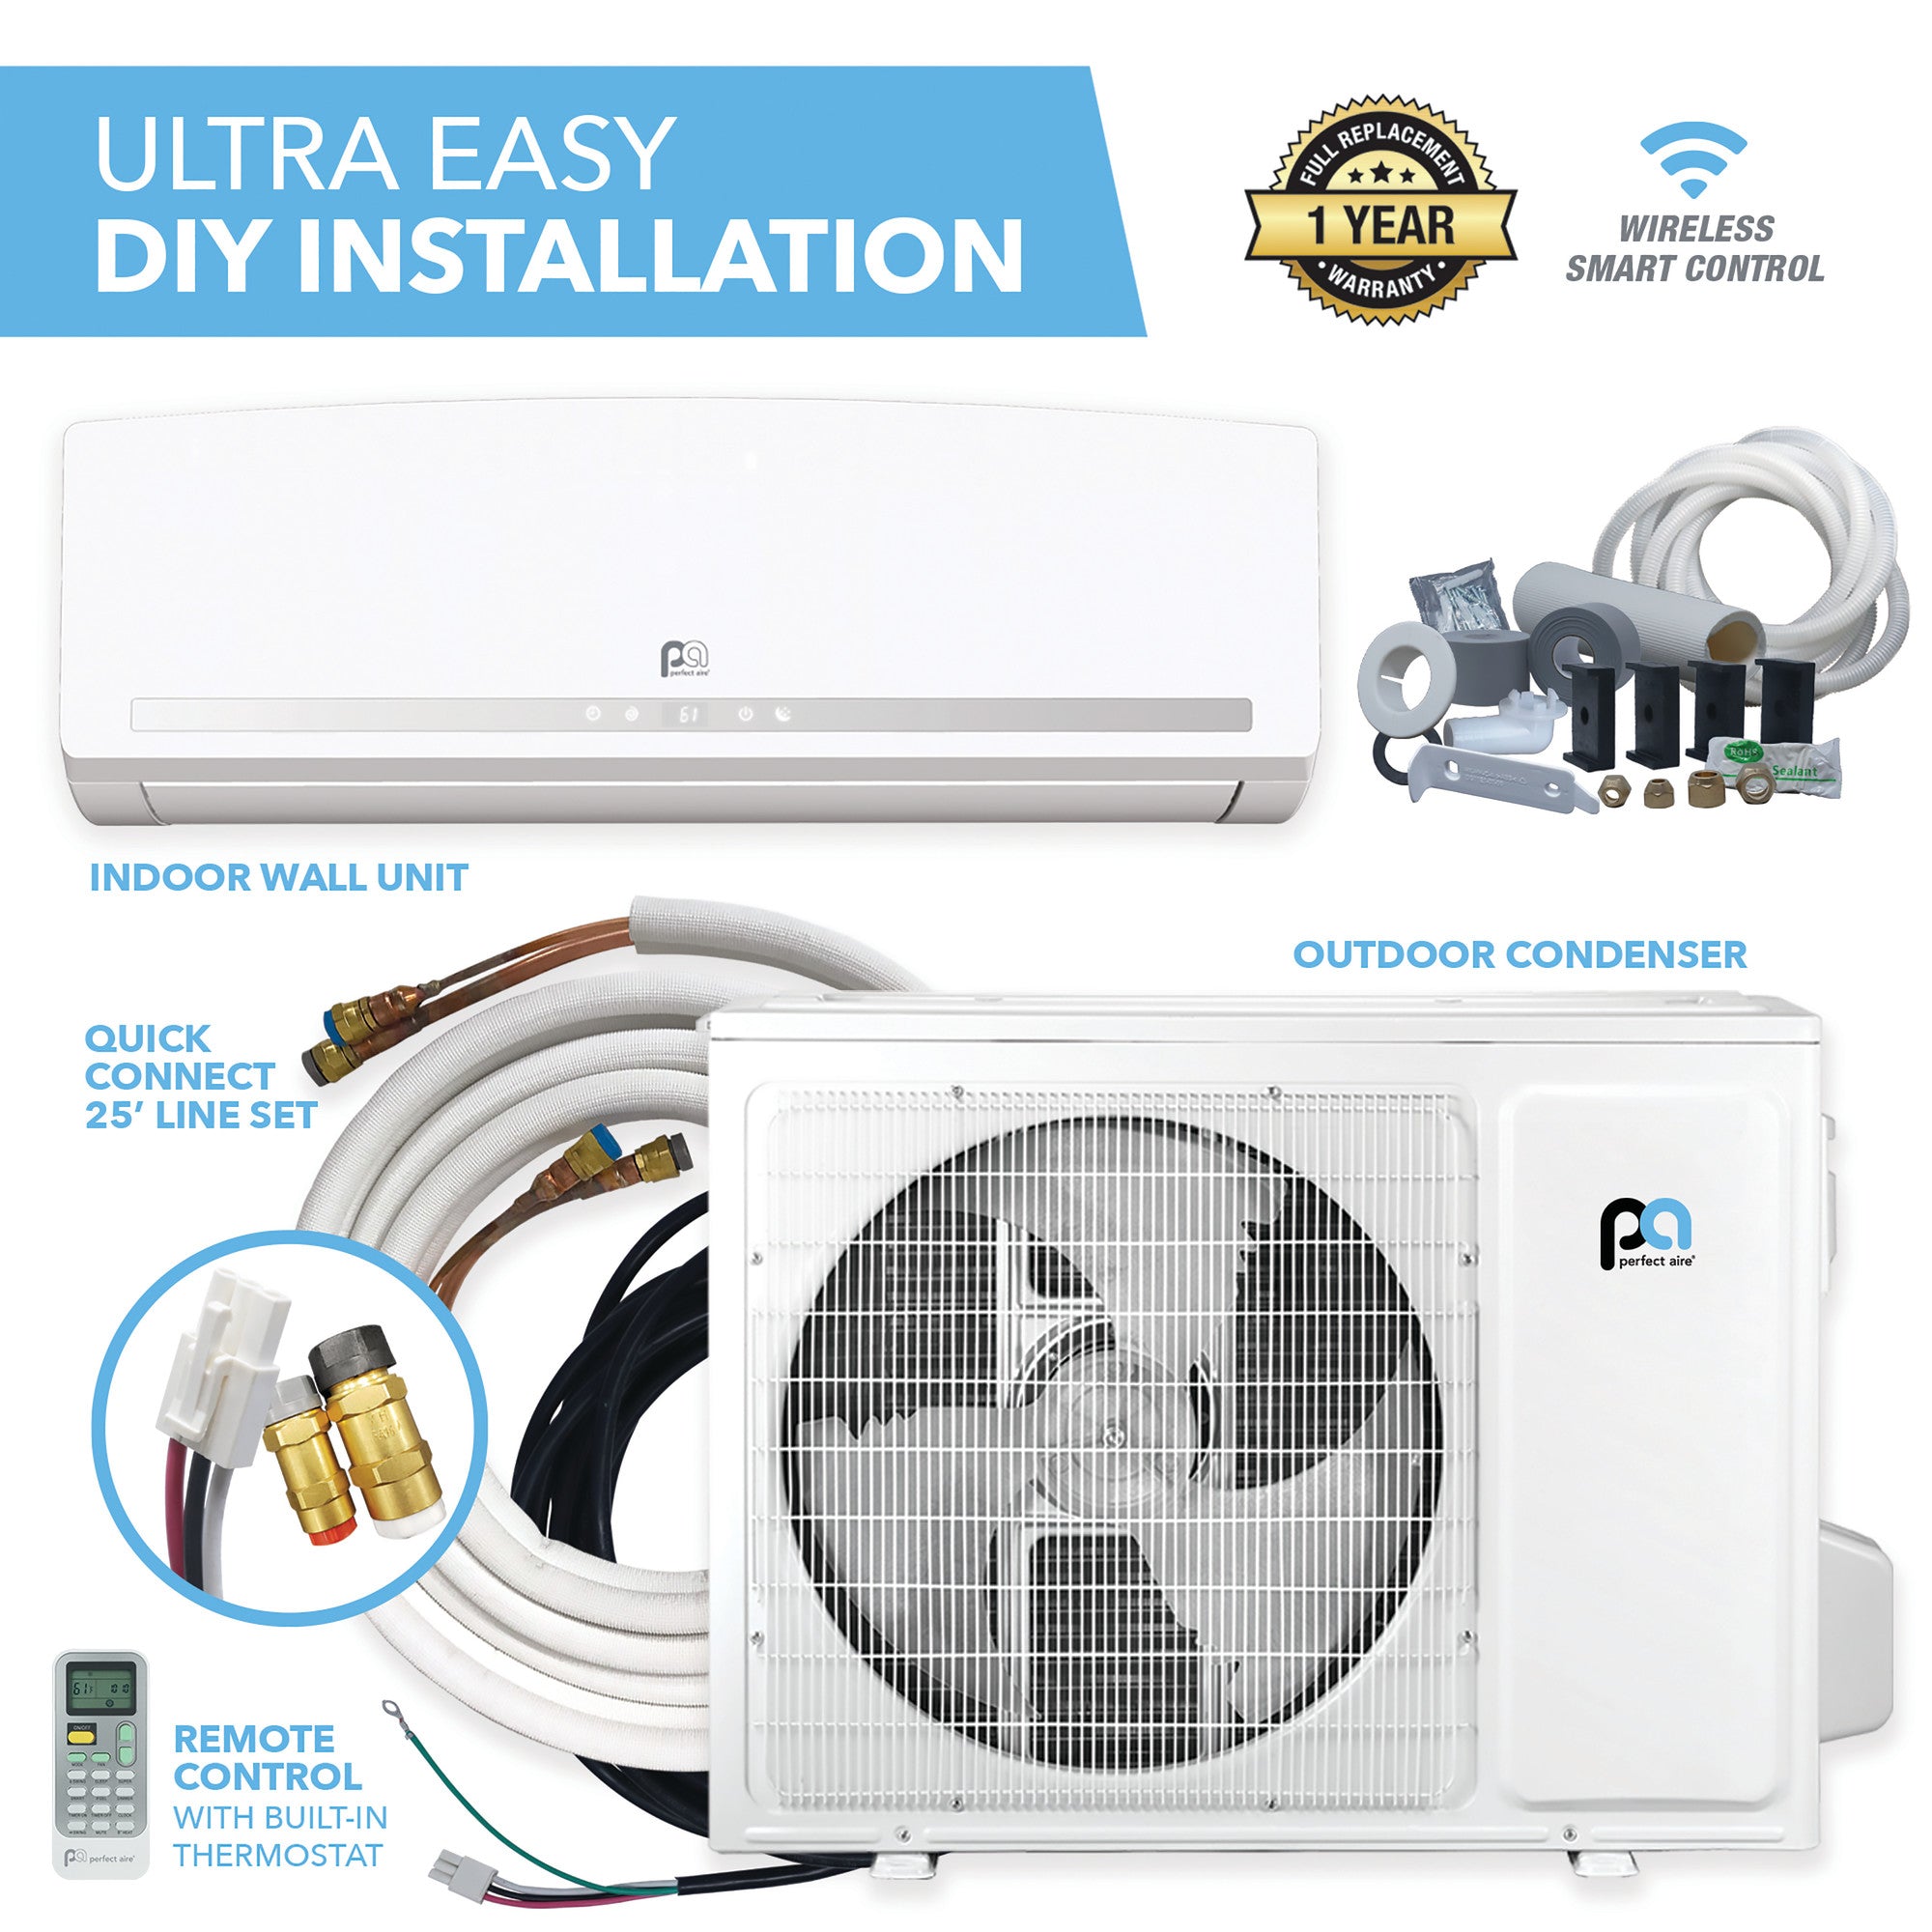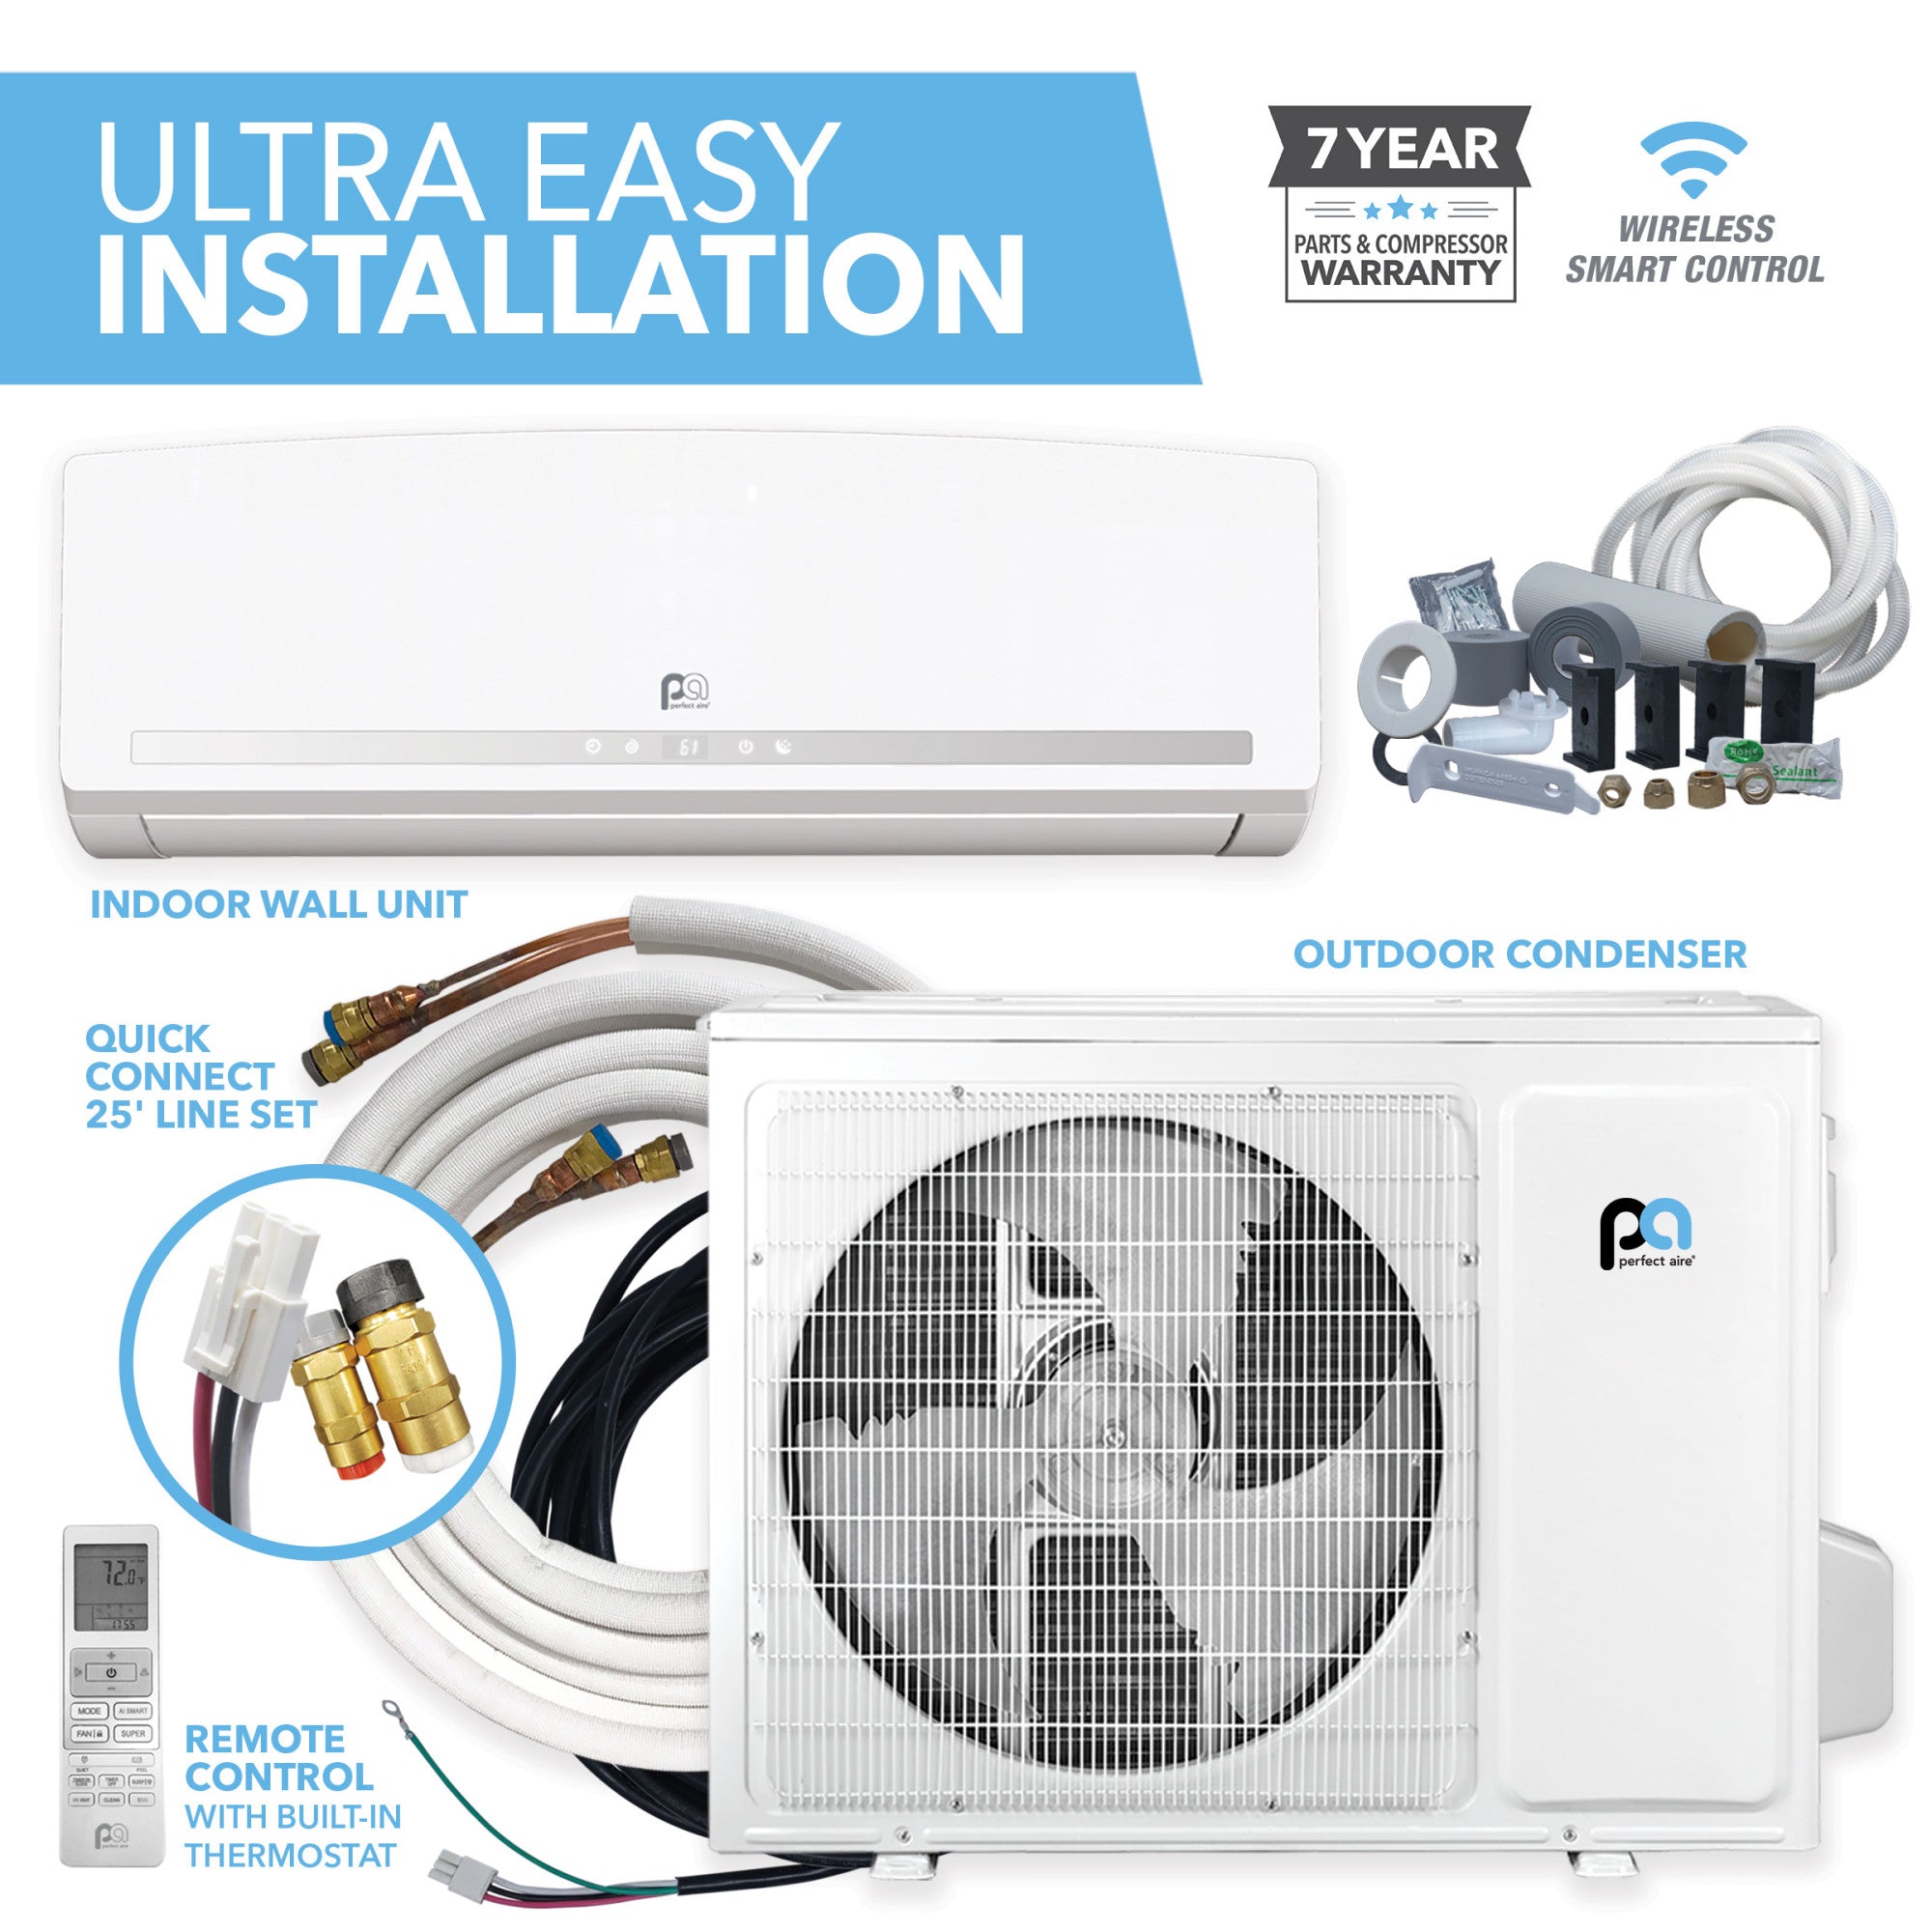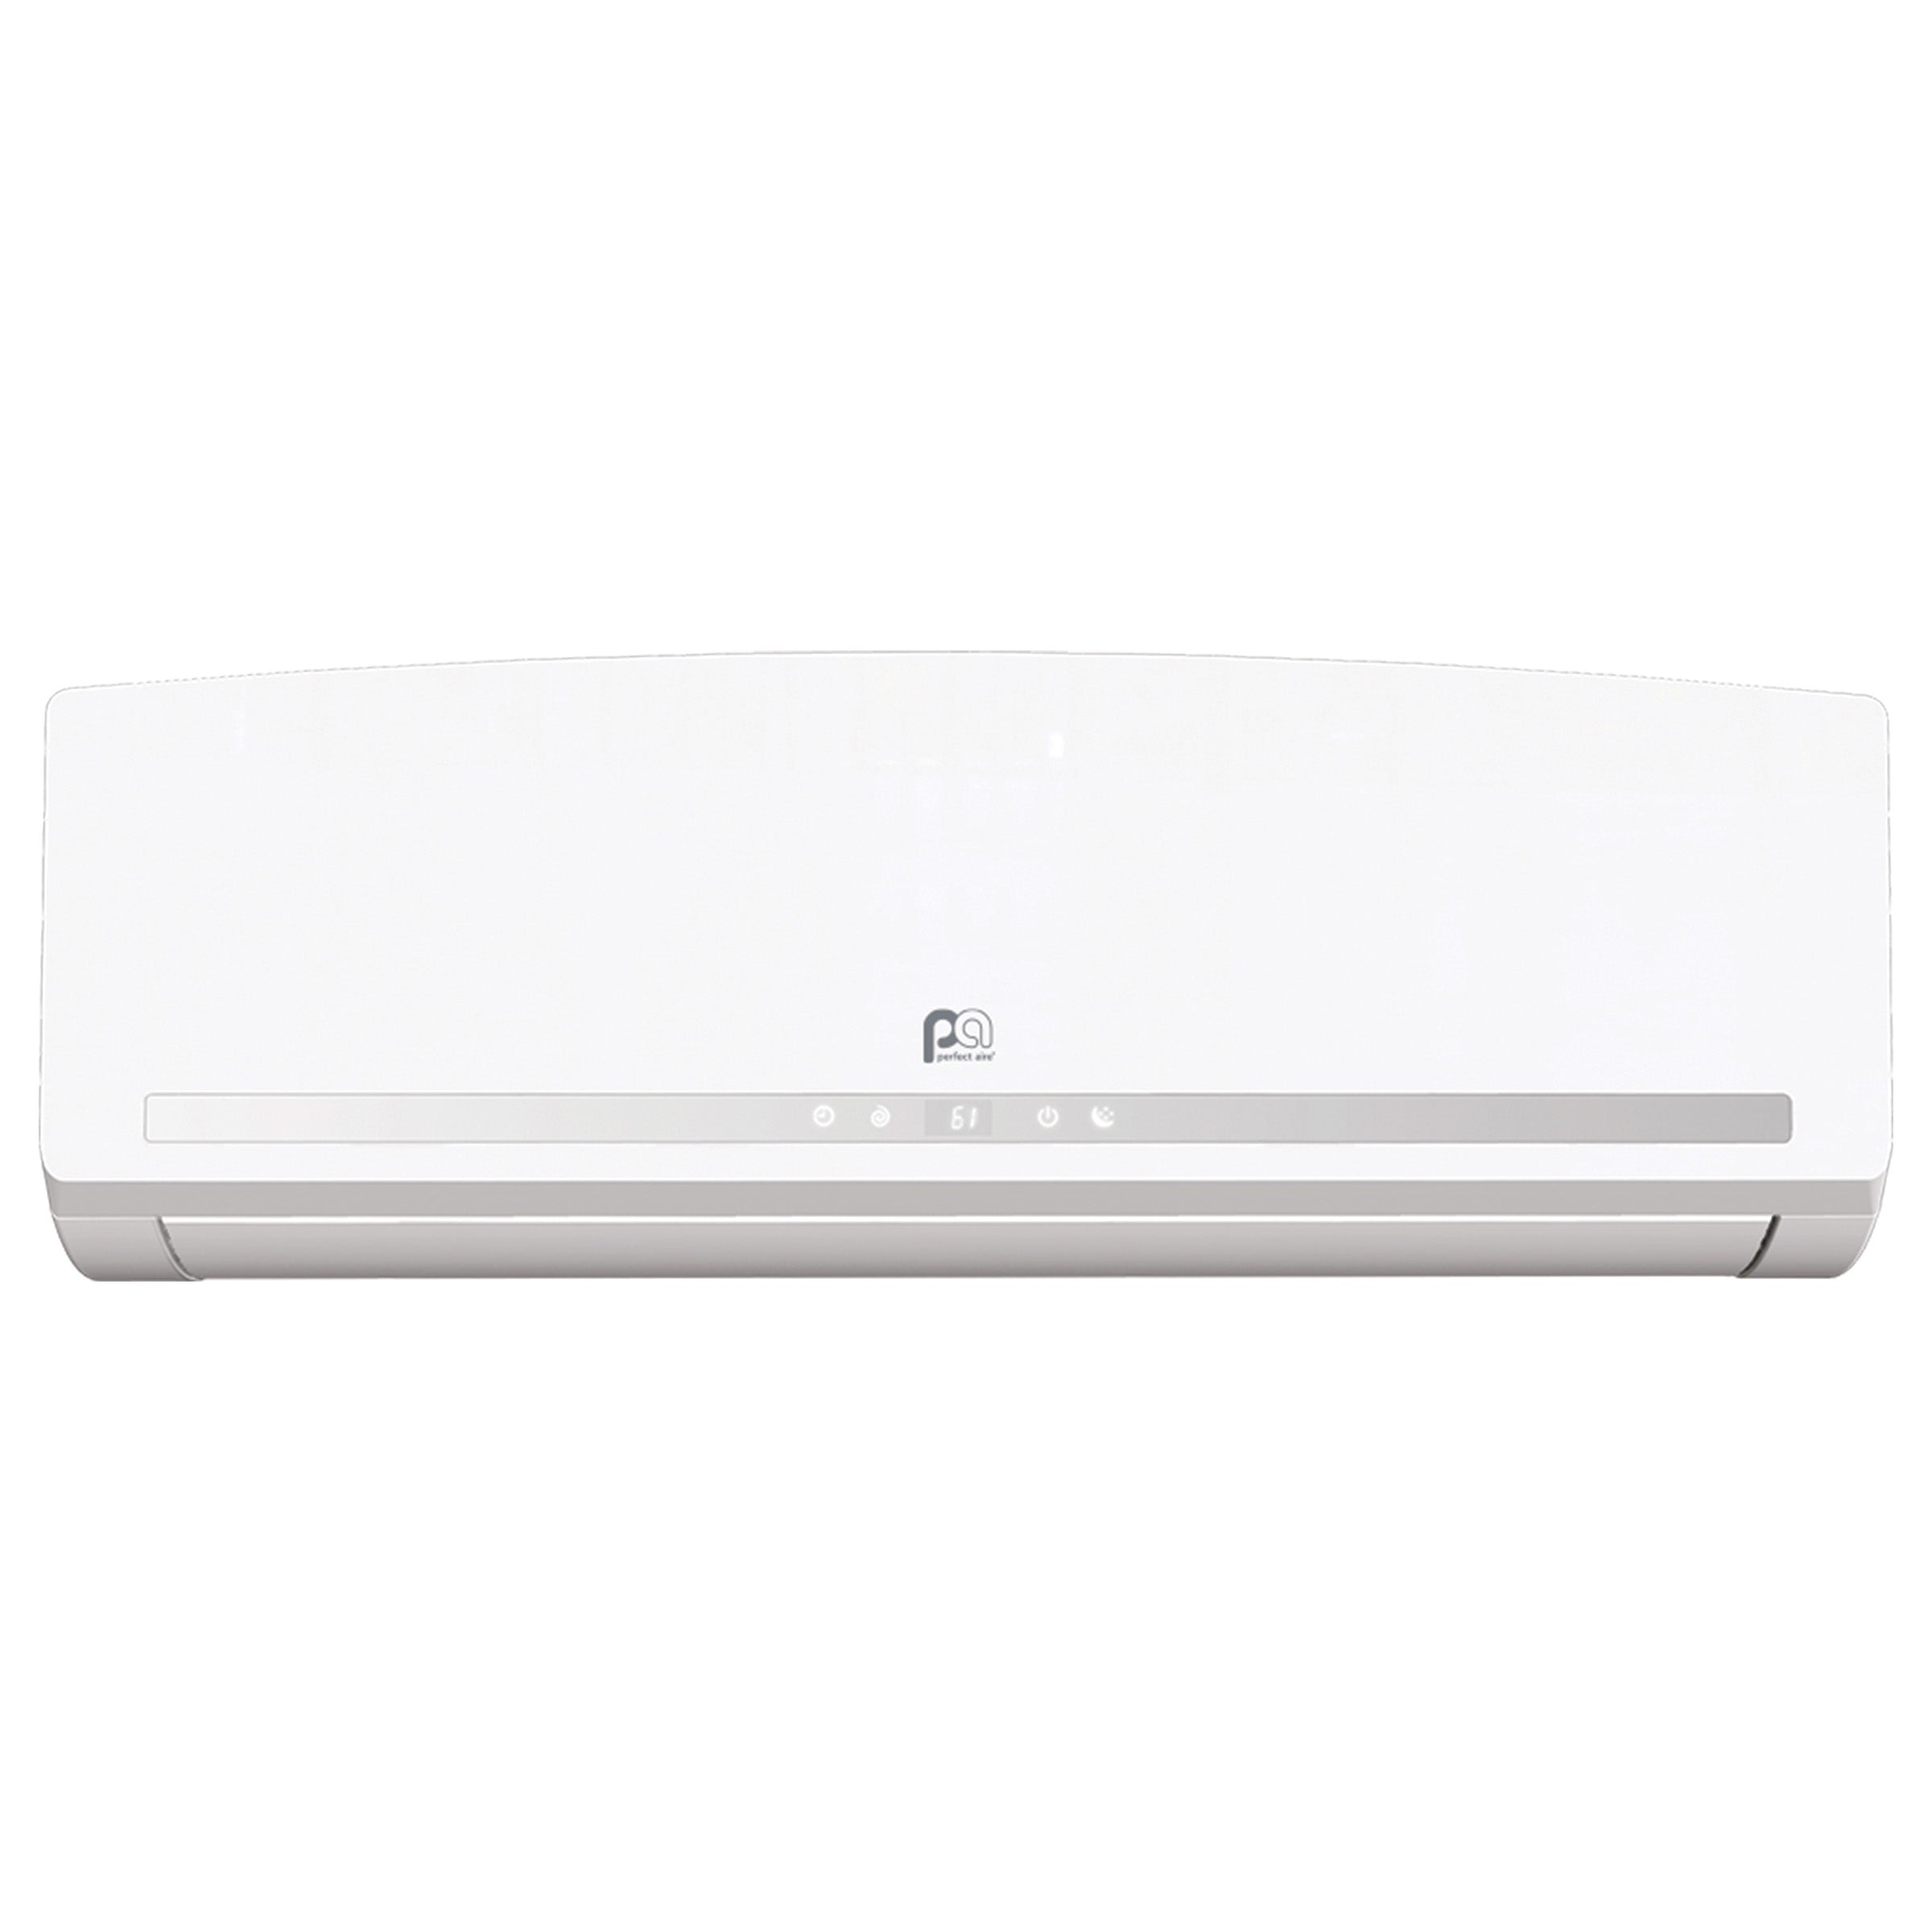
Spring is renovation season. You’ve planned the room, picked your system, and you’re ready to install your DIY mini-split. But here’s something many first-time installers don’t realize:
Mounting the indoor and outdoor units isn’t the finish line.
What separates a rushed DIY job from a clean, professional-looking upgrade comes down to the finishing details. The right accessories don’t just make your setup look better. They protect your equipment, your home, and the investment you just made.
Line-set covers. Condenser pads. Wall mounting brackets. These aren’t “extras.” They’re part of a smart install plan from the beginning.
The good news? None of it is complicated. With a little planning, you can create a setup that looks intentional, performs reliably, and holds up for years.
Let’s walk through why each piece matters—and when to use it
What Are Line-Set Covers and Do I Really Need Them?
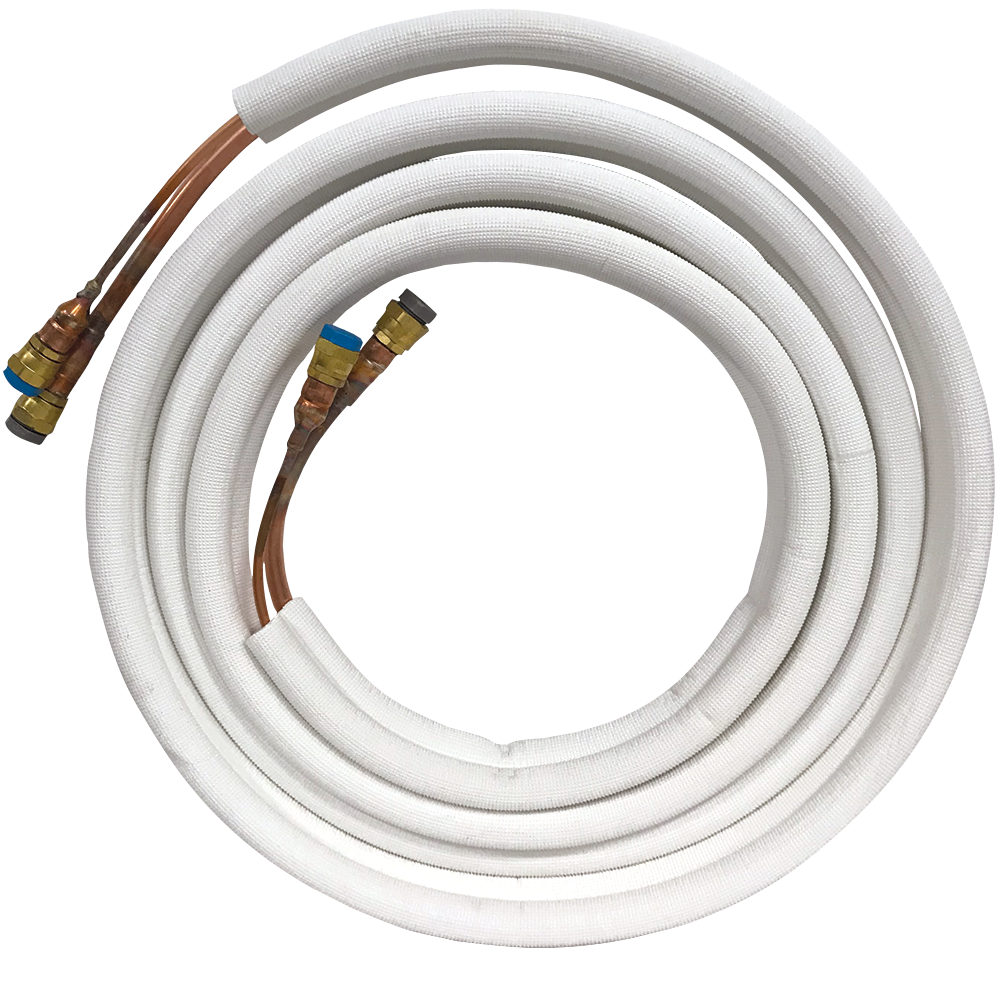
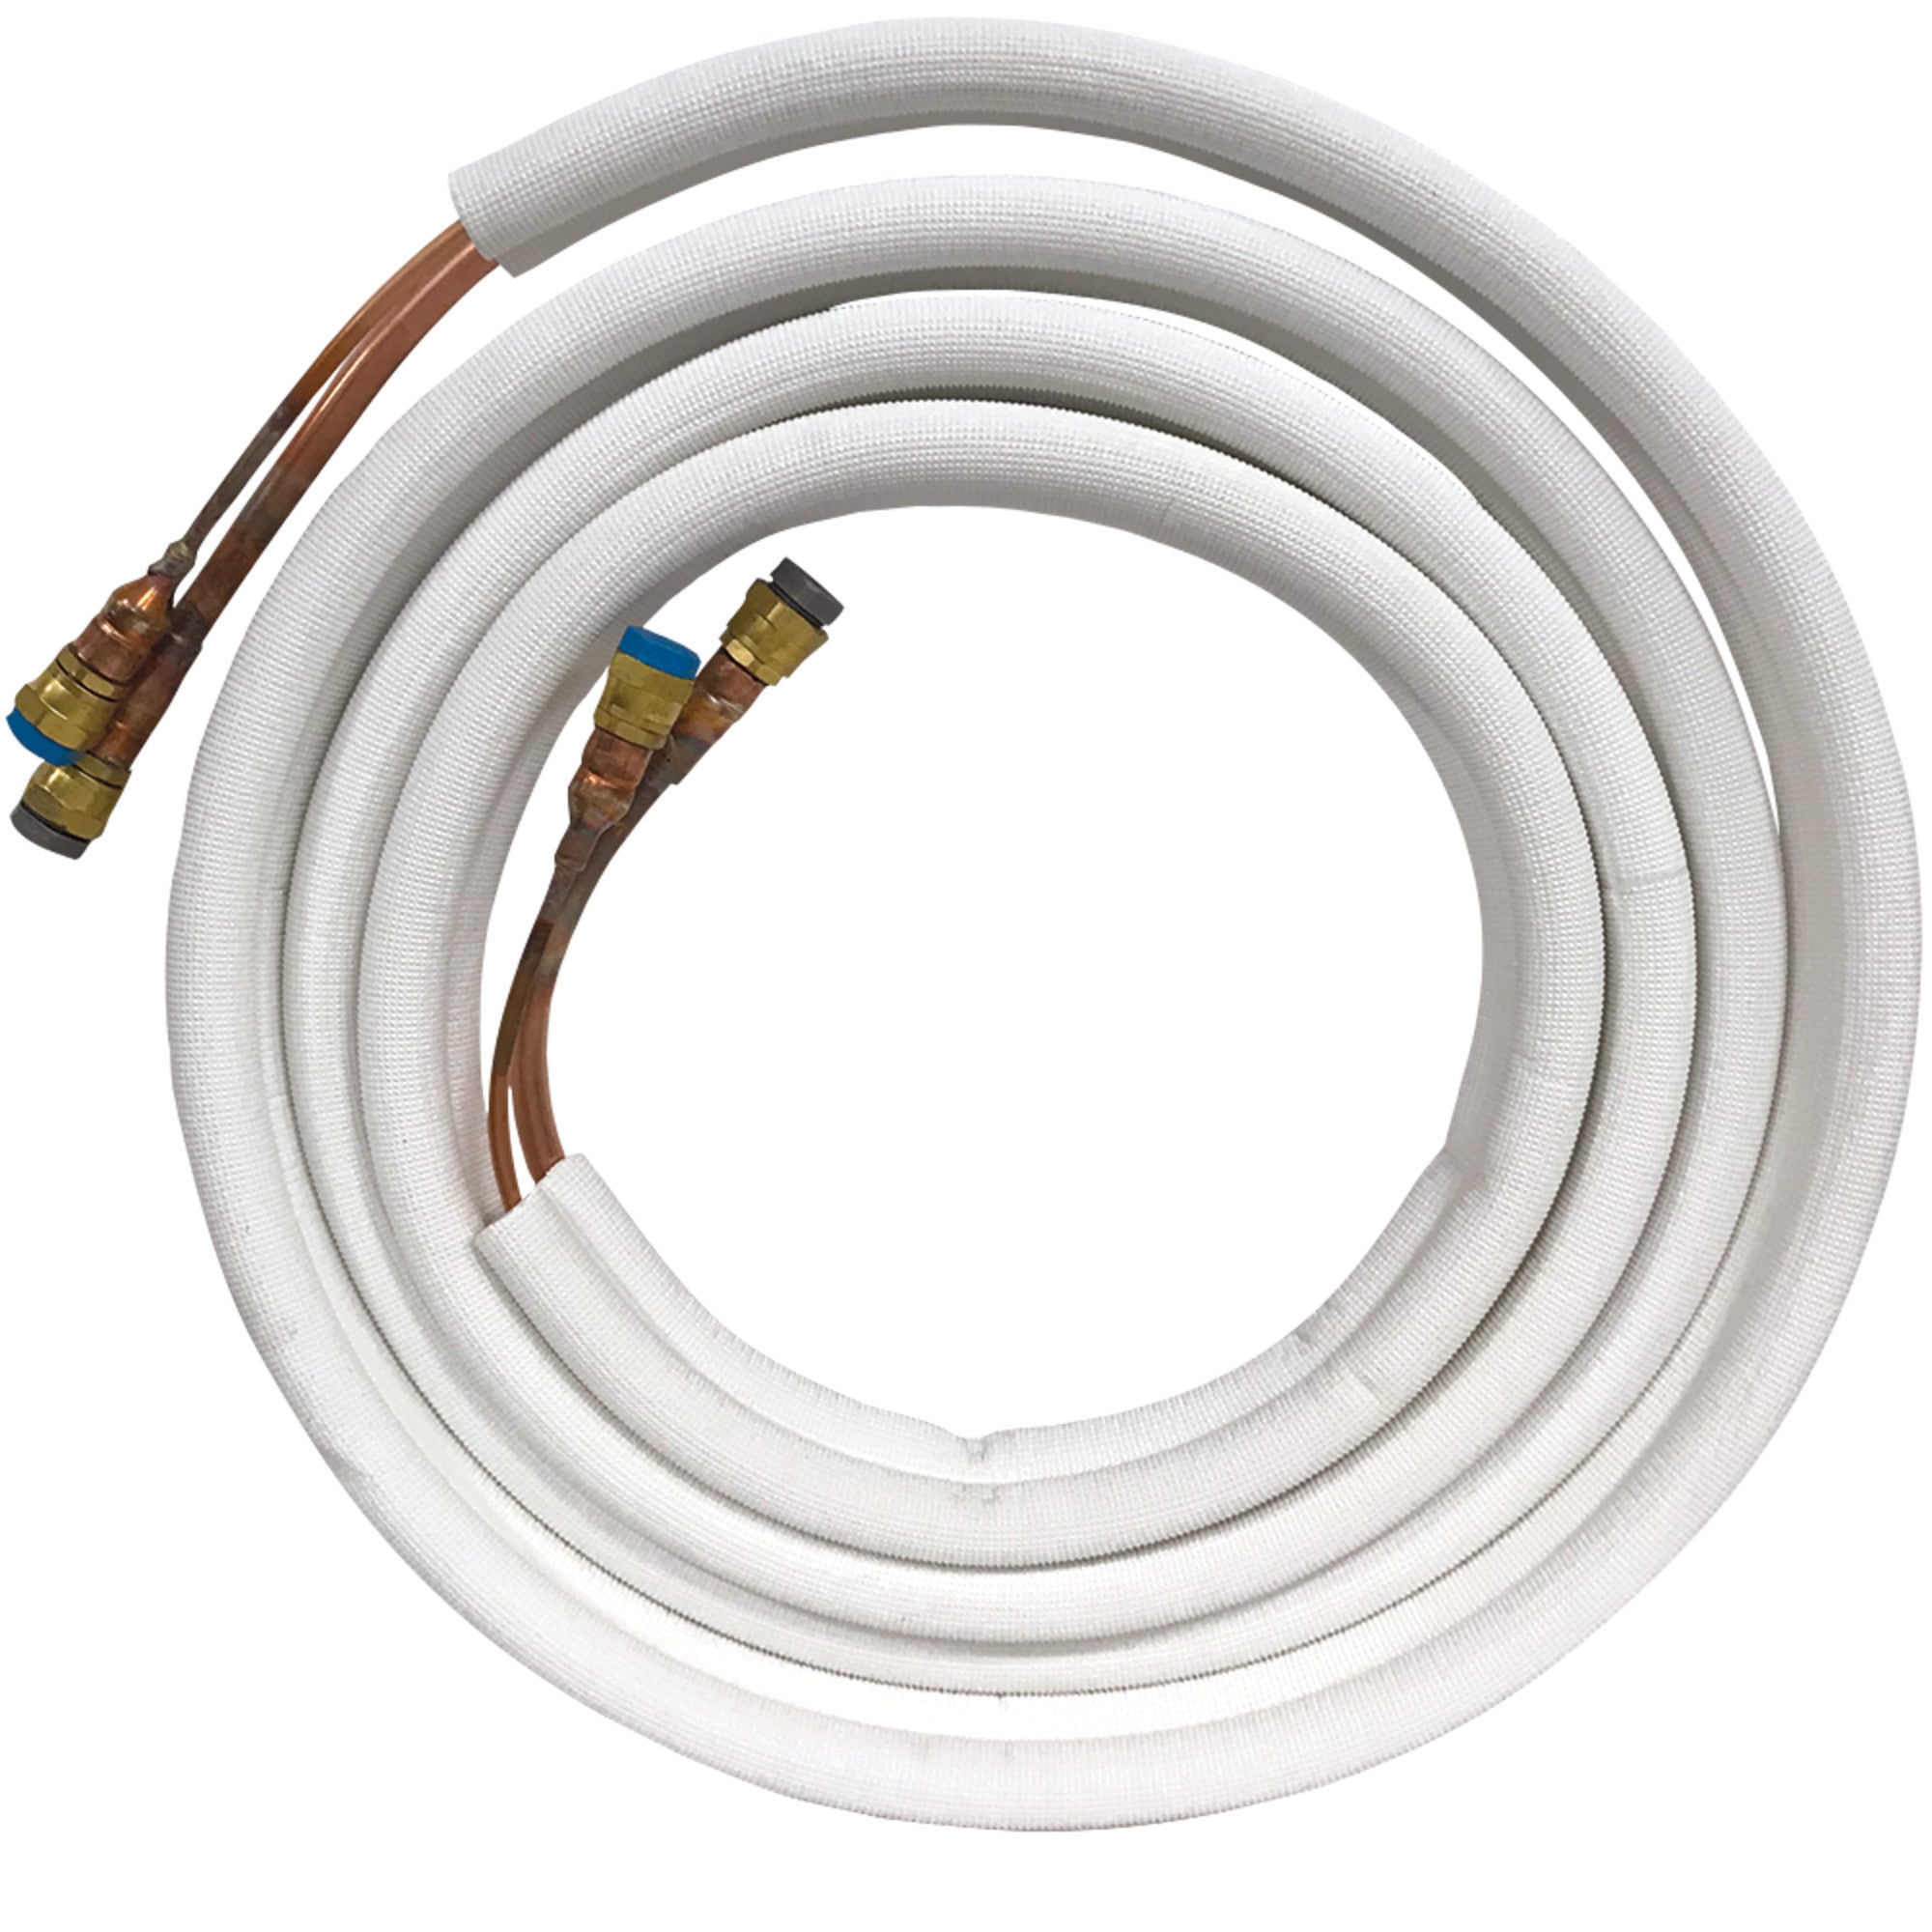
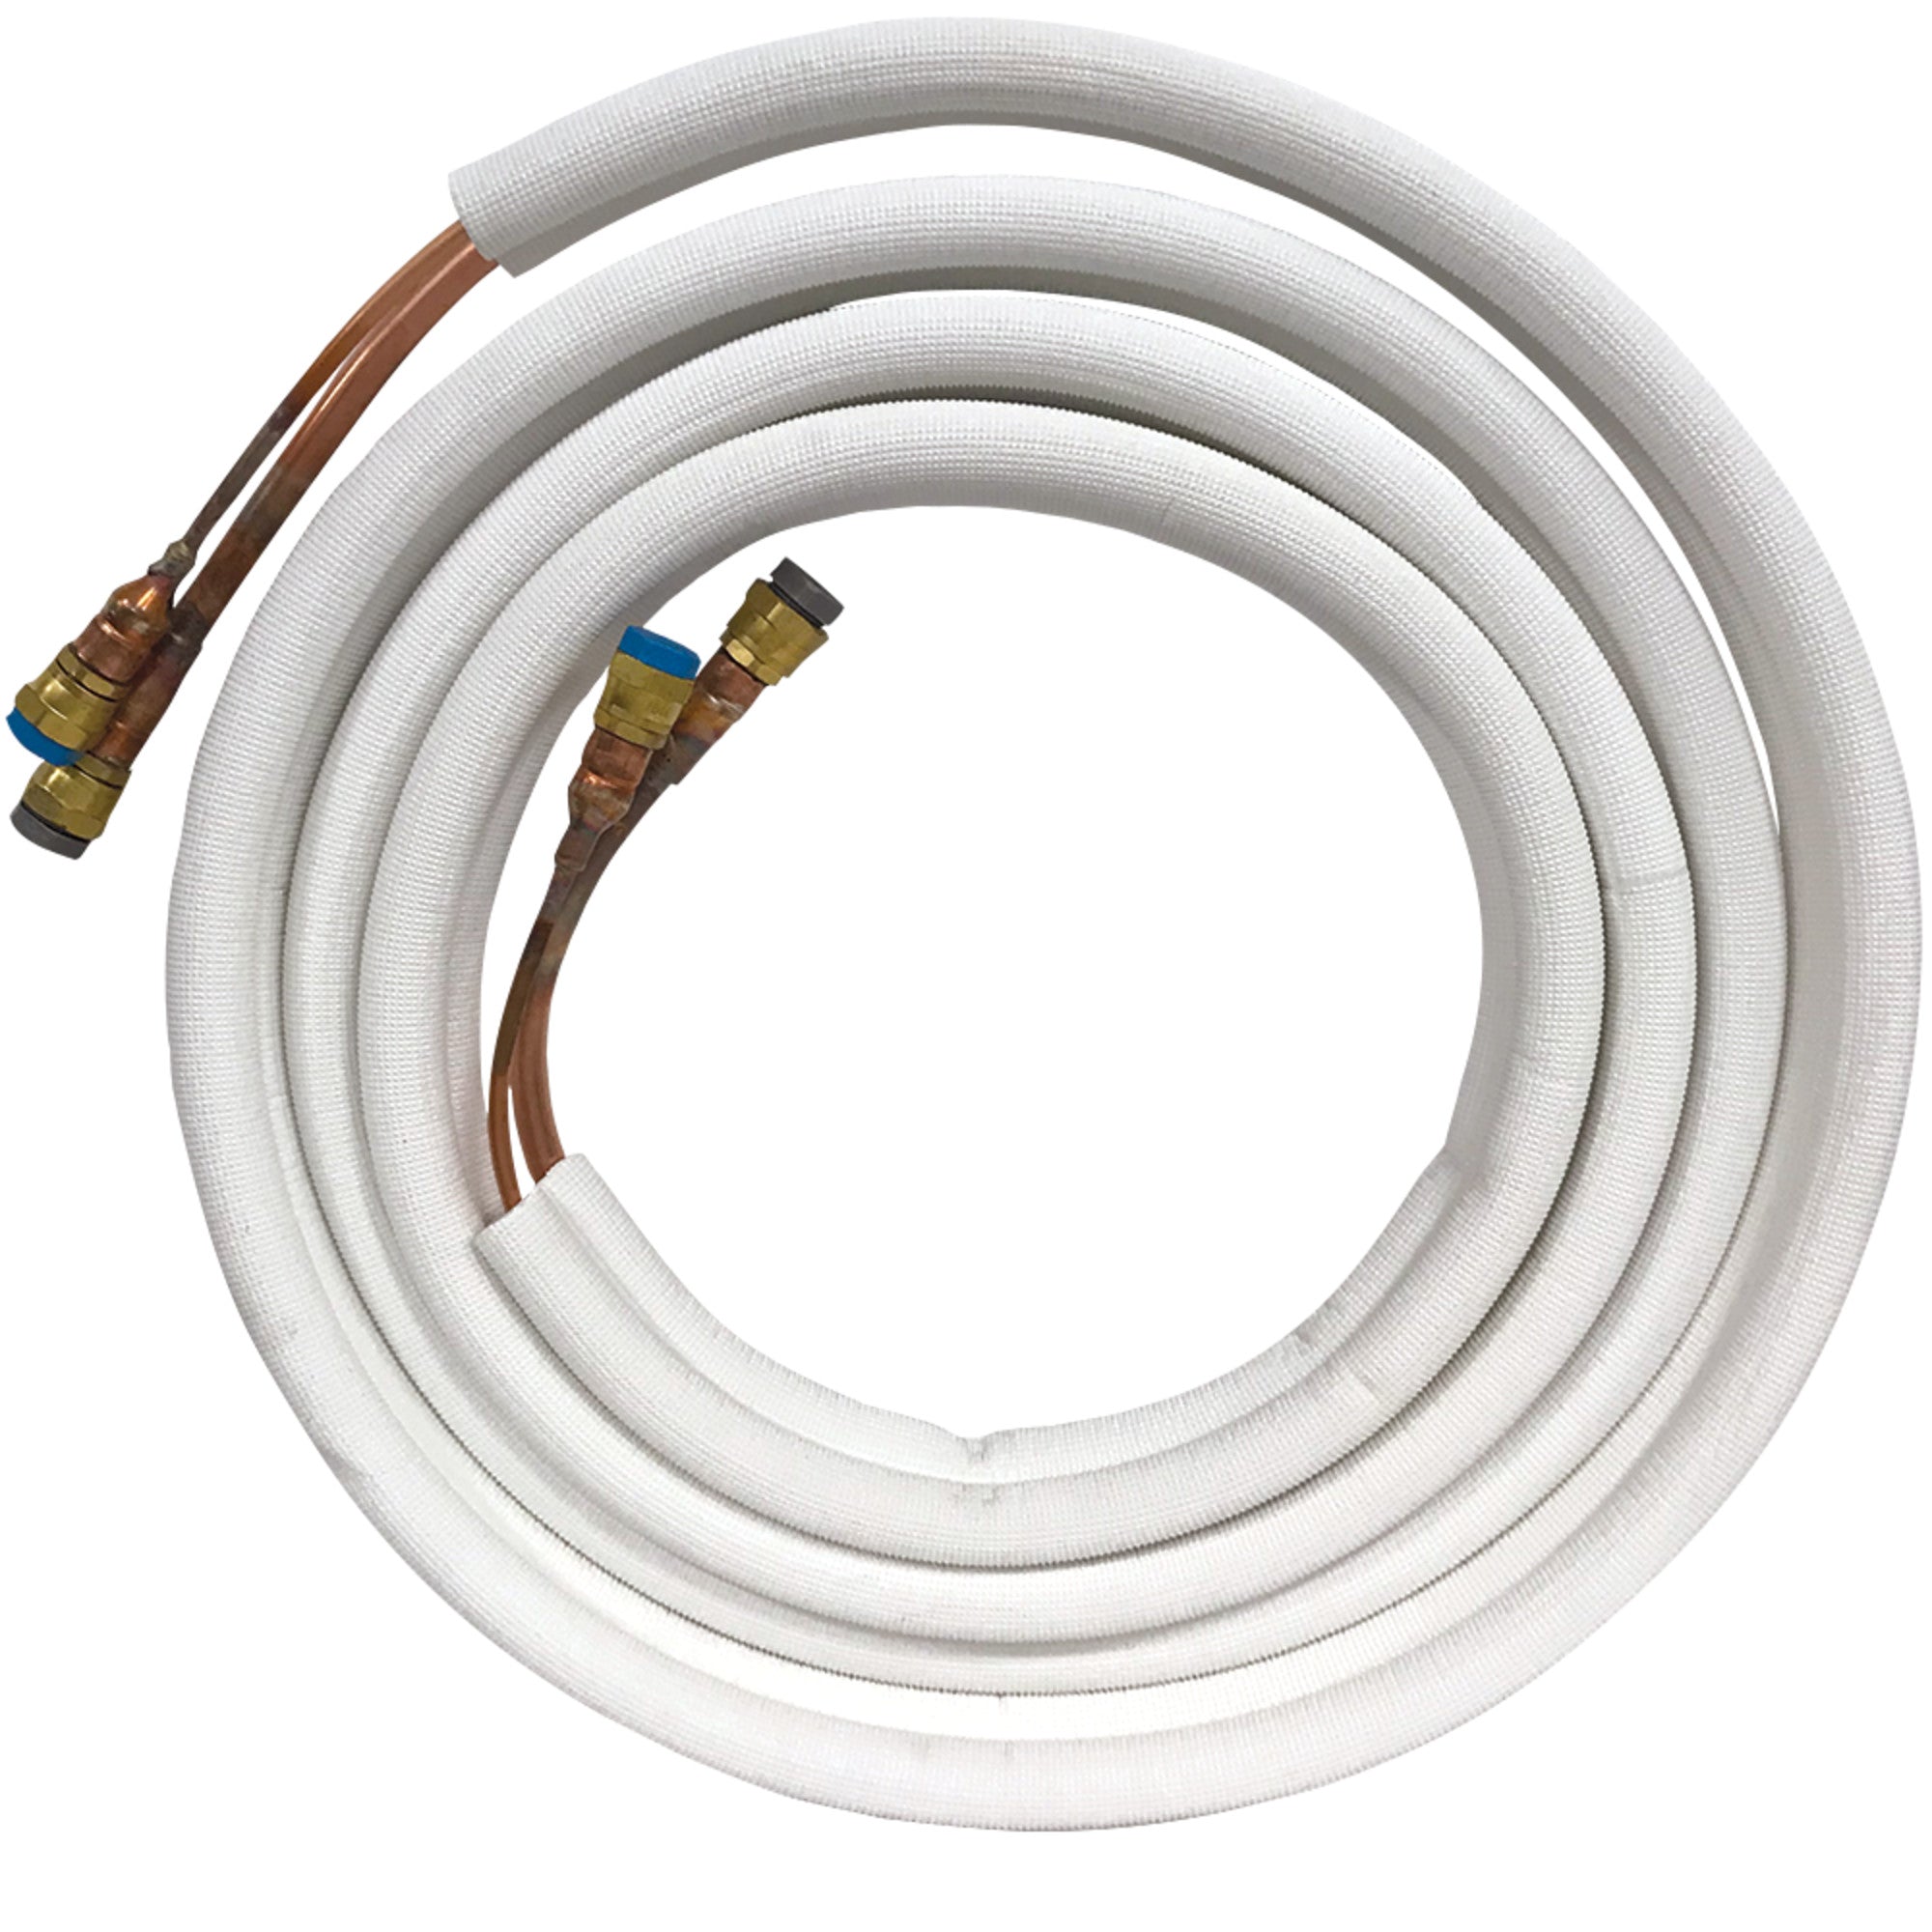
When you install a mini-split, the refrigerant lines and drain line run from the indoor unit to the outdoor condenser. Those lines are essential, but they’re not exactly decorative.
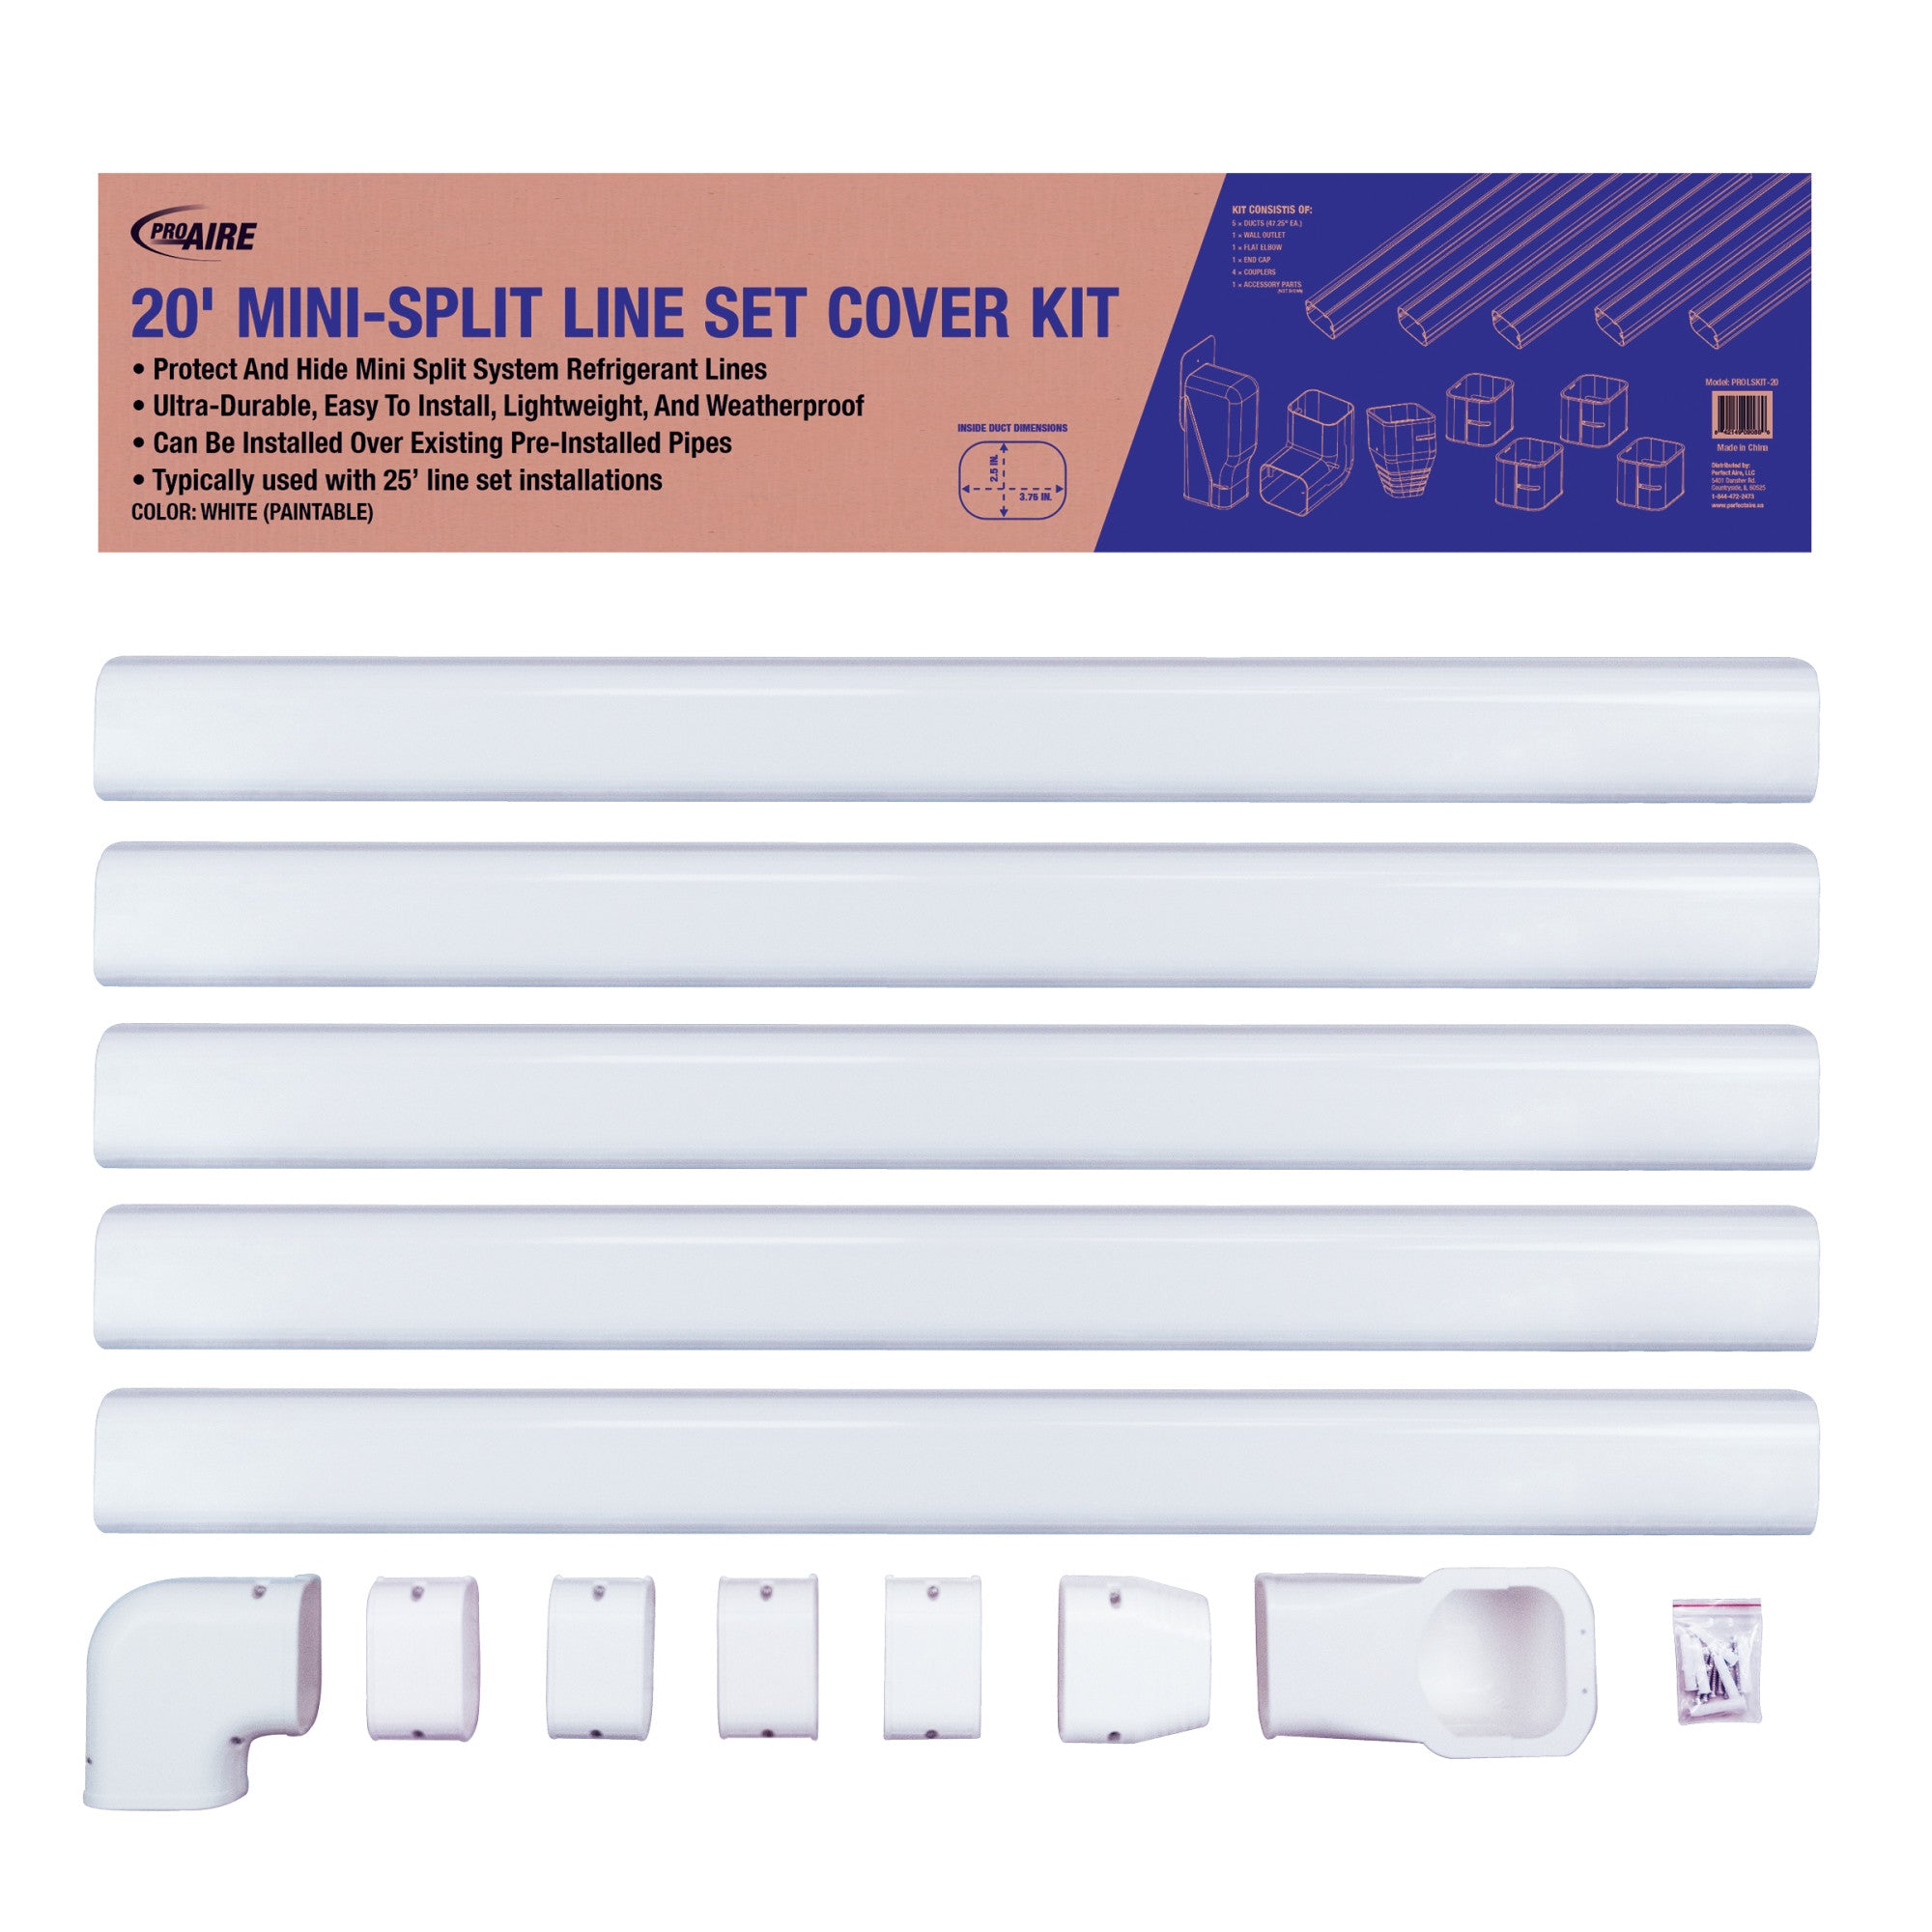
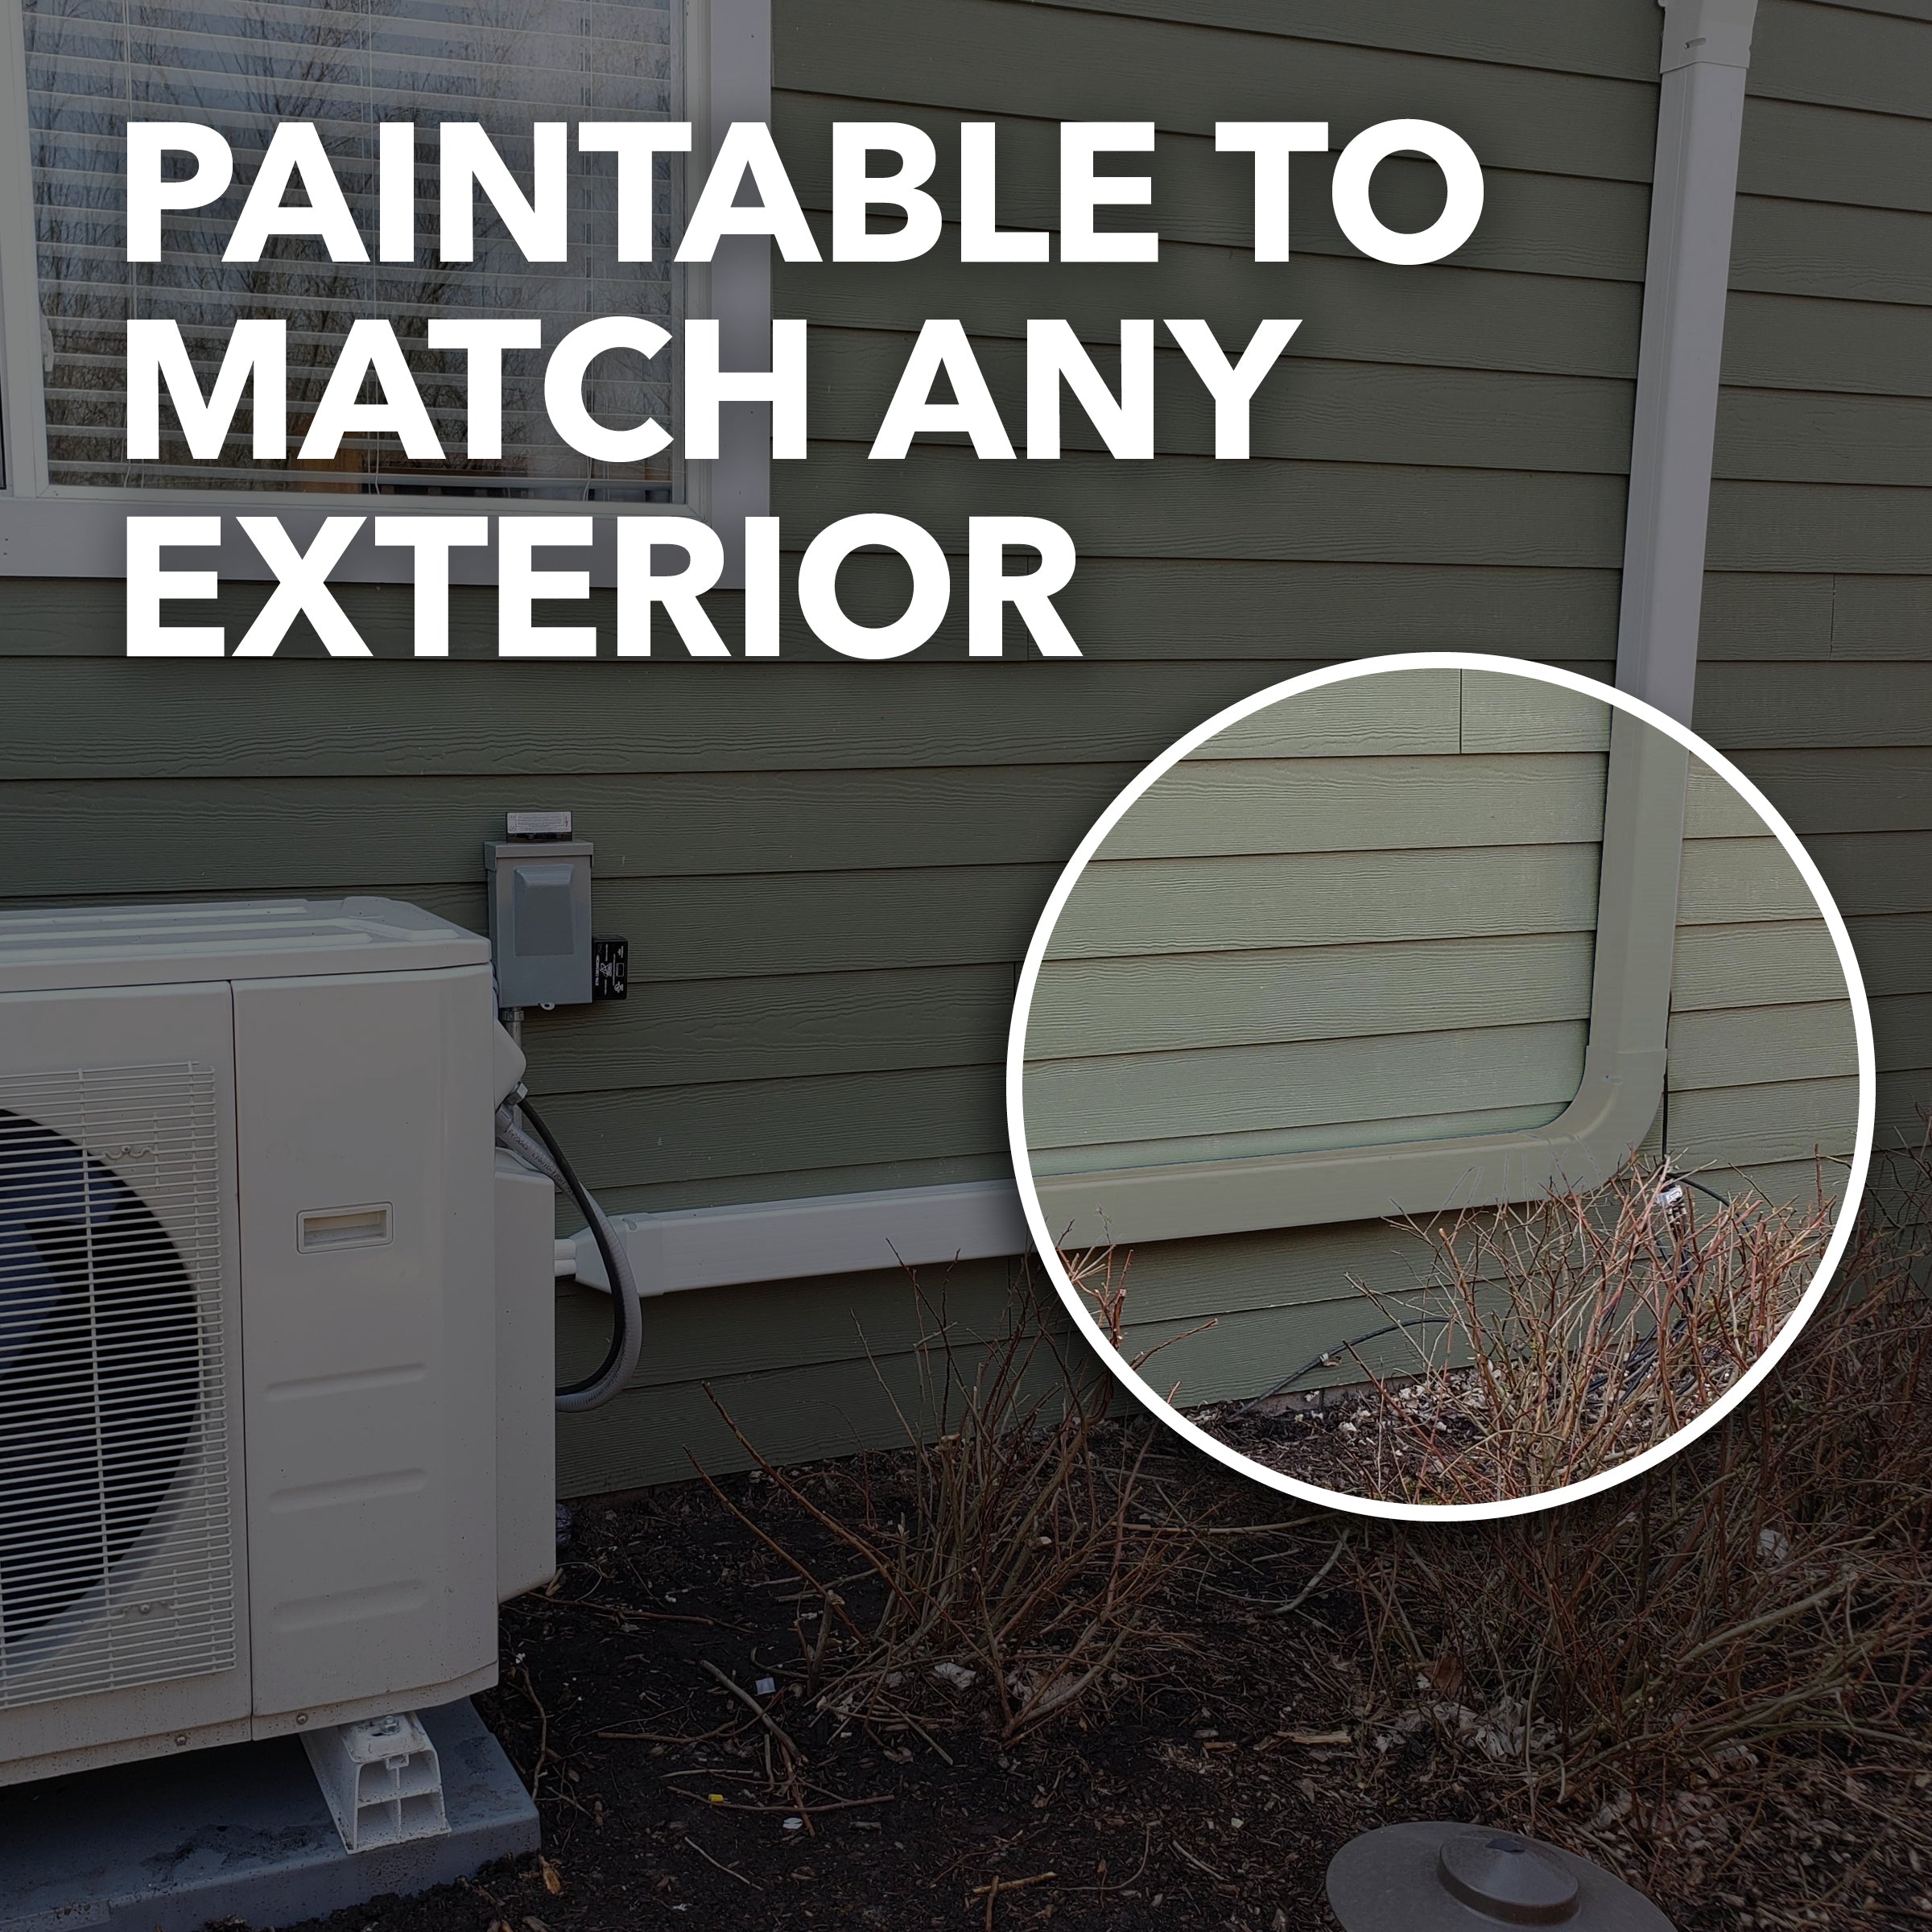
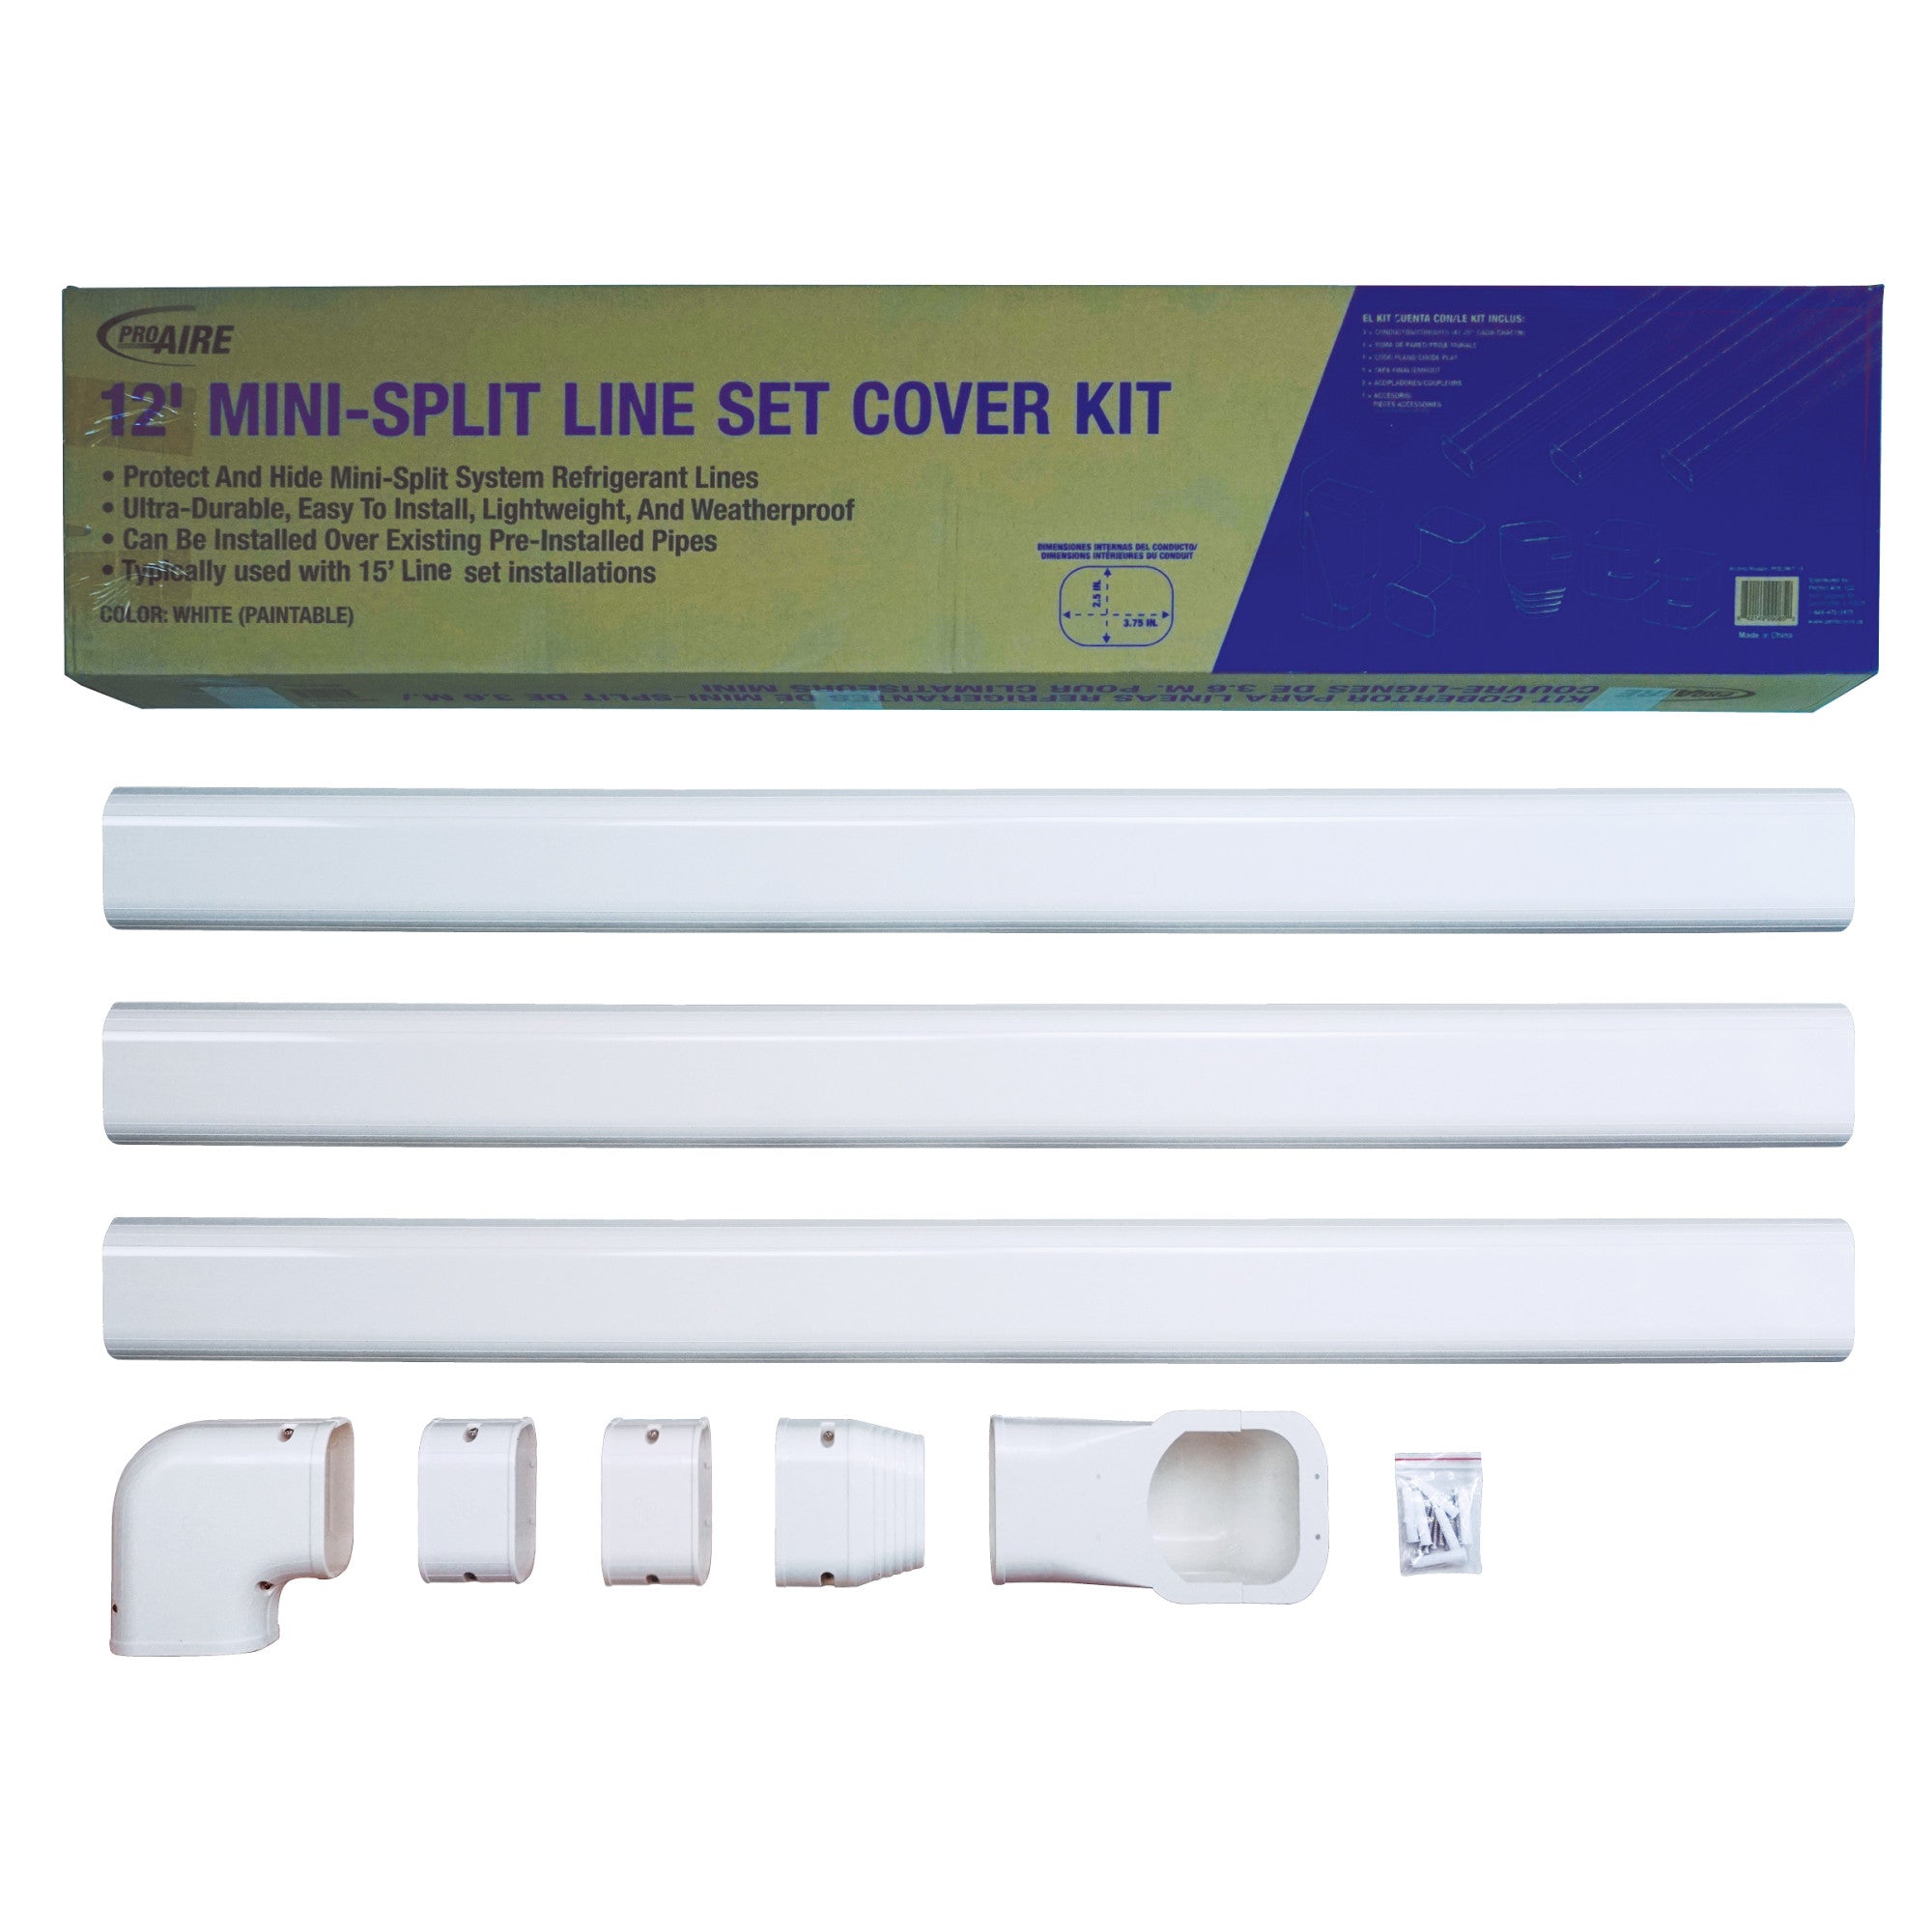
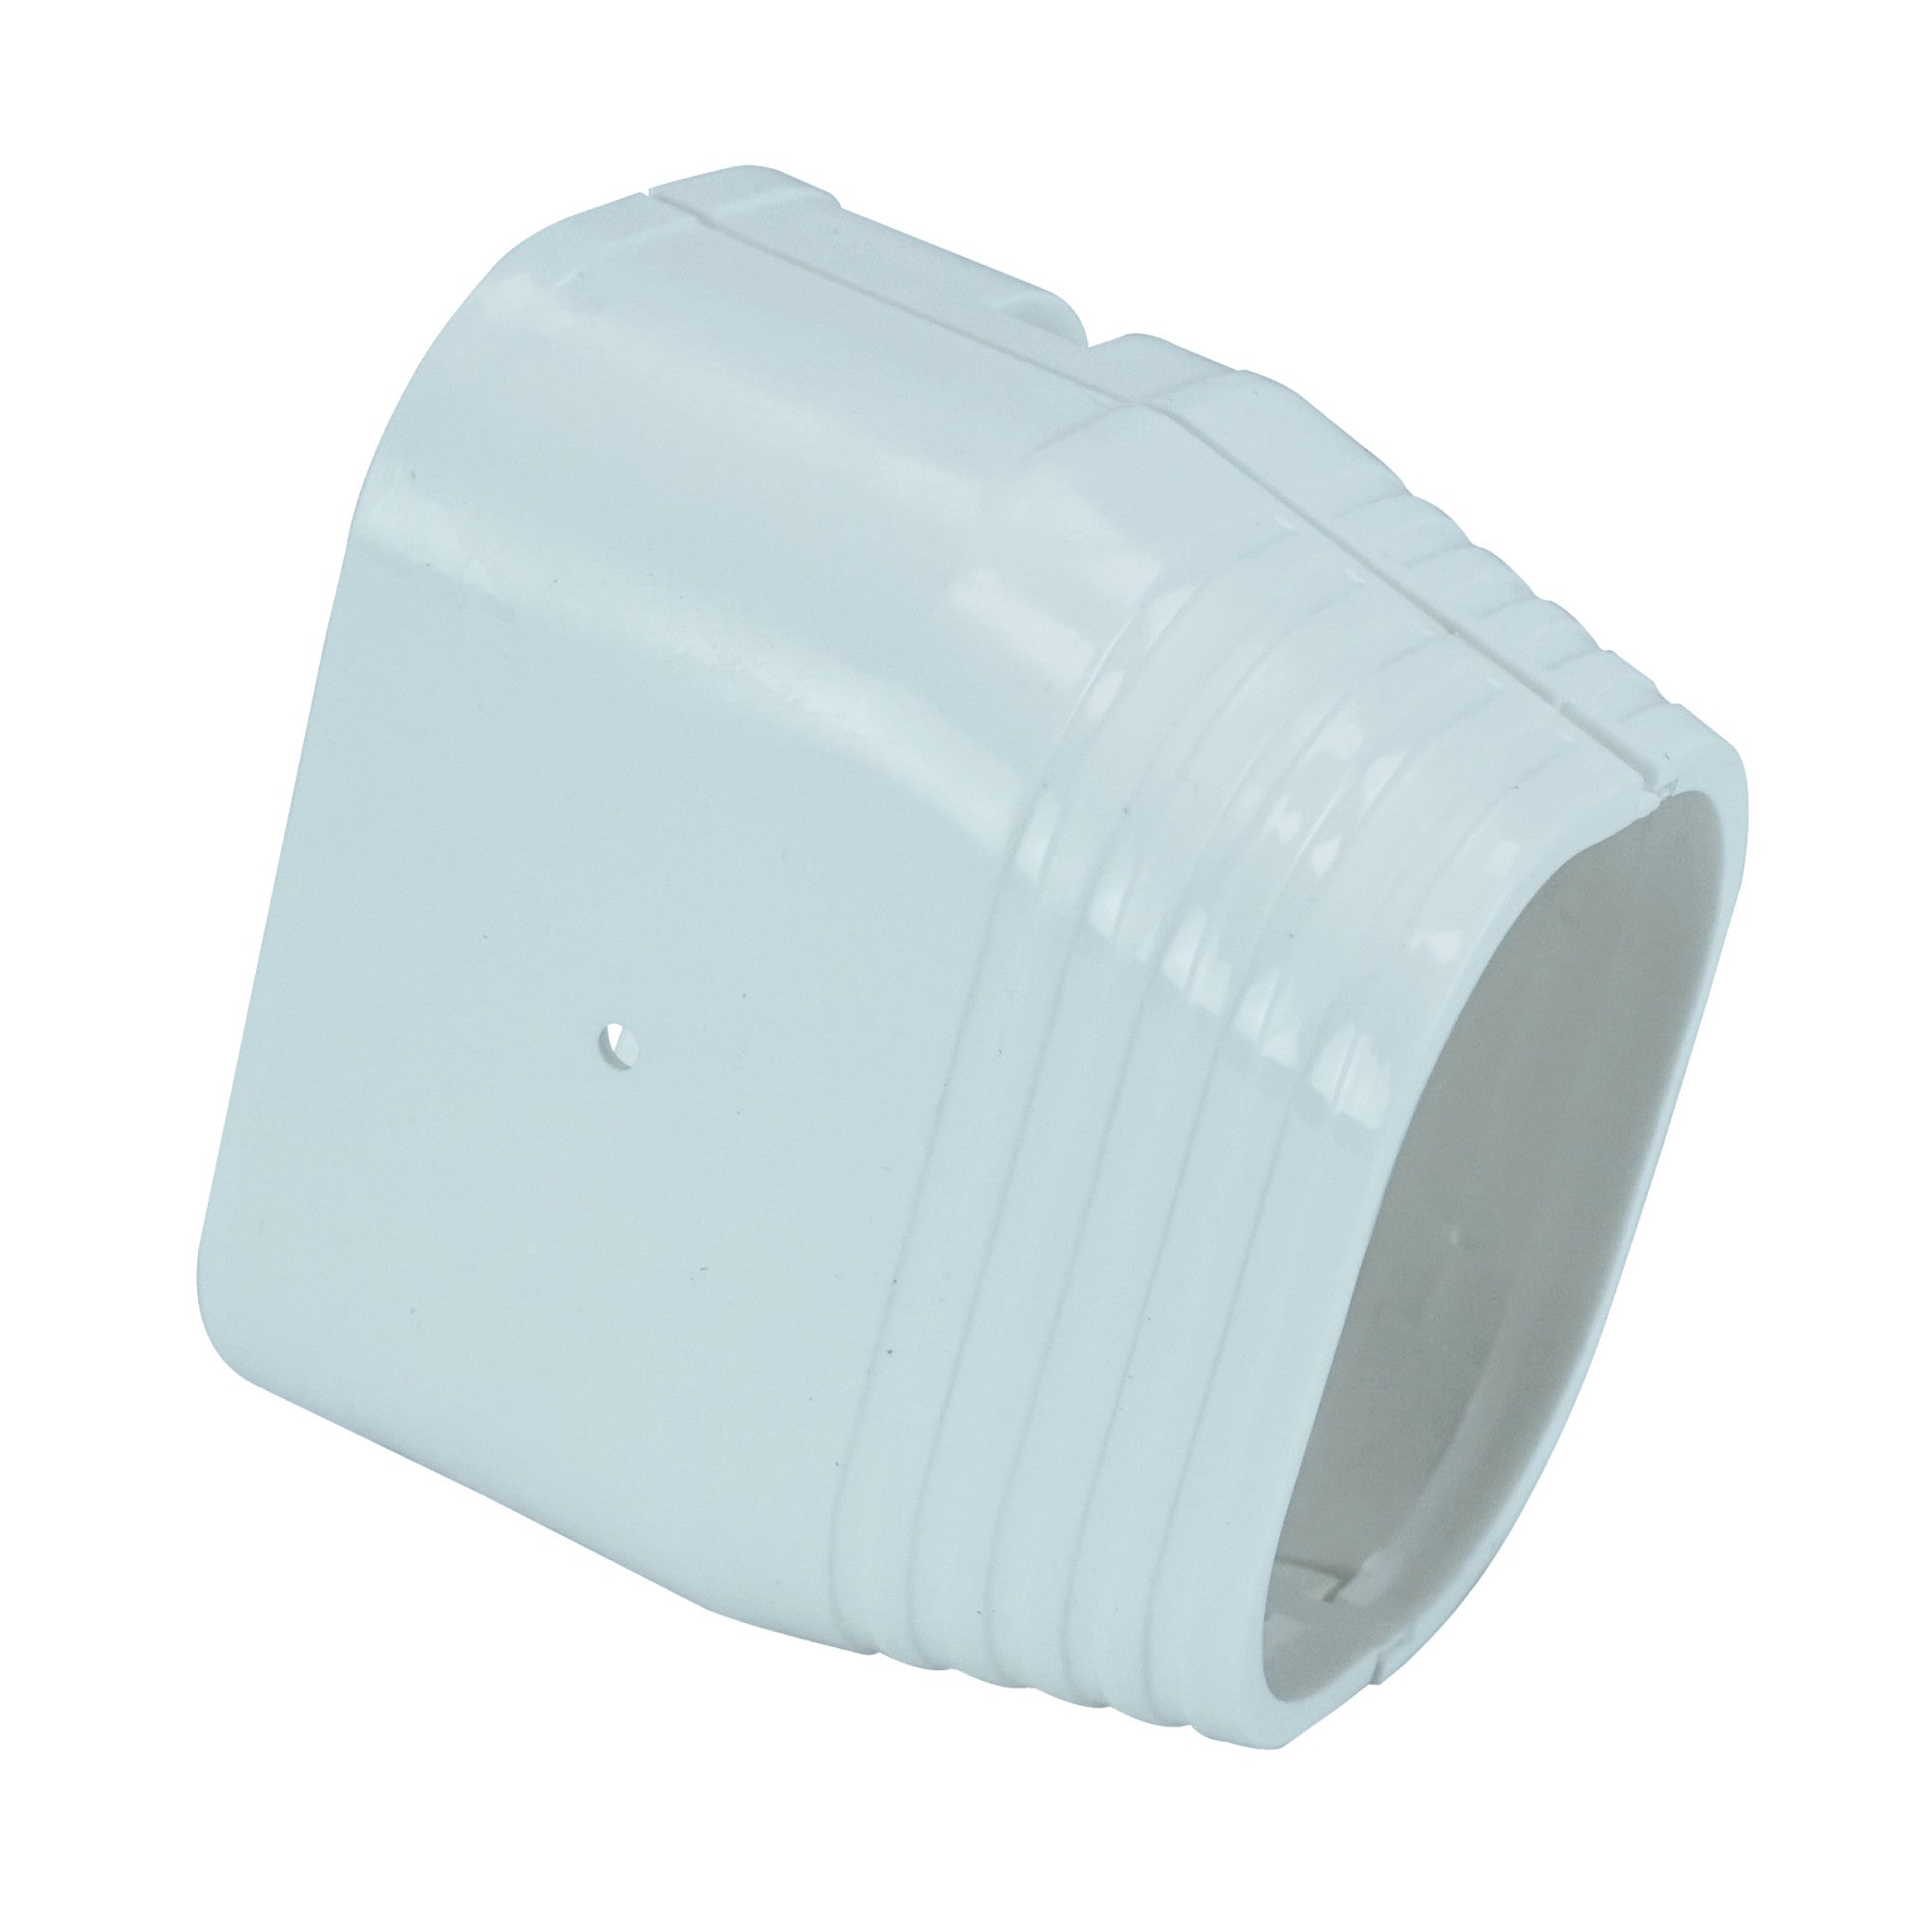
Line set covers are protective channels that enclose those exposed lines along the exterior wall of your home.
So do you need them? Technically, the system can run without them. But skipping them can cost you in other ways.
Why they matter:
- Protect refrigerant lines from UV exposure and weather damage
- Prevent accidental impact from landscaping tools or debris
- Improve curb appeal with a clean, finished appearance
- Help the install look intentional rather than improvised
In a spring renovation, aesthetics matter. If you’re updating a room, finishing an addition, or improving resale appeal, exposed lines can undercut the polished look you’re going for.
Best use case:
- Any exterior wall run where lines are visible
- Projects where appearance and long-term durability both matter
If you’re already investing in comfort, this is one of the simplest ways to protect it—and make your DIY install look professionally finished. Bonus: Most line-set covers are paintable to match your exterior, giving you a finished look that blends in so well, you’ll barely notice they’re there.

Do I Need a Pad Under My Mini-Split Condenser?
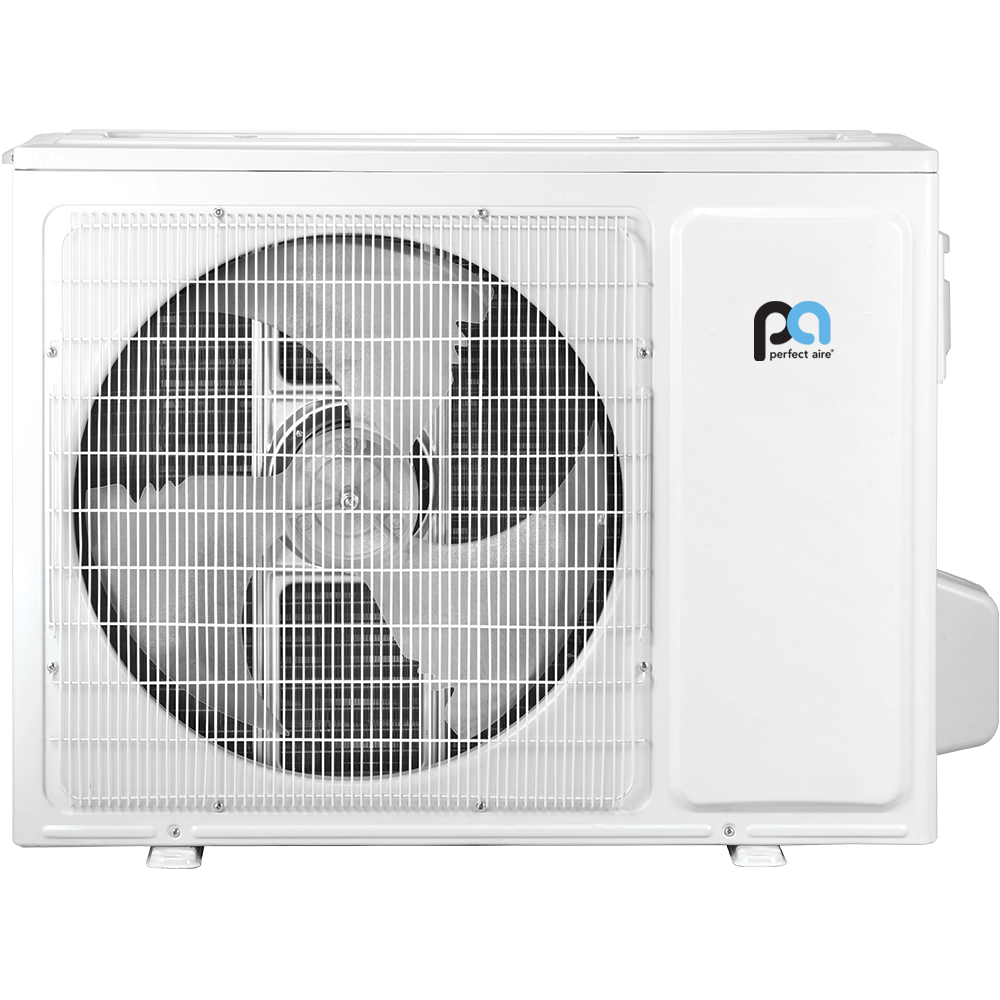
If you’re installing your outdoor unit at ground level, this is one of the most important planning decisions you’ll make.
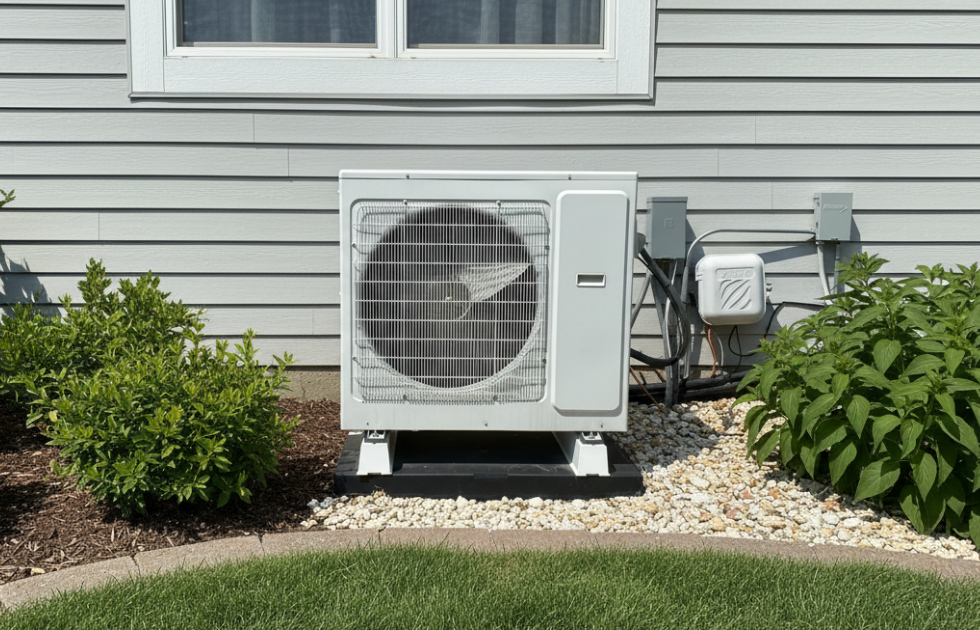
Technically, a mini-split condenser just needs a flat, stable surface. But placing it directly on soil, gravel, or an uneven patch of yard is asking for trouble over time.
Why it matters:
- Keeps the unit stable and level for proper operation
- Improves drainage and reduces standing water beneath the unit
- Minimizes vibration transfer into the ground
- Protects against mud, shifting soil, and debris buildup
Even small shifts in leveling can affect long-term performance. A stable base supports both airflow and mechanical reliability.
Best use case:
- Ground-level installs
- Areas with seasonal rain or snow
- Homes without an existing concrete slab
A pad isn’t about making the system work today. It’s about making sure it still works properly years from now.

Should I Mount My Mini-Split on the Wall Instead of the Ground?
If you don’t love the idea of placing your condenser on the ground, you’re not alone. In many situations, wall mounting is the smarter move.
Wall mounting brackets elevate the outdoor unit off the ground and anchor it securely to your home’s exterior structure.
This isn’t about preference. It’s about protection.
Why wall mounting can make sense:
- Keeps the unit above snow, pooling water, and yard debris
- Protects against accidental damage from landscaping or foot traffic
- Improves airflow clearance in tight spaces
- Reduces risk in areas prone to minor flooding
For homes in colder climates, elevation is especially helpful. Snow buildup around a ground-mounted unit can restrict airflow and make winter maintenance more difficult. Raising the condenser simplifies that.
Best use case:
- Snow-prone regions
- Tight yards or limited ground space
- Multi-unit building installs
- Homes where ground stability is questionable
There’s no one-size-fits-all answer. Pads work well in many situations. Wall brackets work better in others. The key is deciding early so you can plan your drill location and line routing accordingly.
Planning your mounting method before installation keeps the whole setup clean and intentional.

What Should I Plan Before Installing a Mini-Split?
Before you drill your wall opening or mount your outdoor unit, take a few minutes to think through the full setup. A smooth install starts with planning, and accessories are part of that plan.
Your mounting decision affects:
- Where your drill location will be
- How your line set exits the house
- The angle and slope of your drain line
- How clean and protected your exterior routing will look
If you’re using a wall bracket, you’ll need to account for the unit’s height and structural anchoring. If you’re placing the condenser on a pad, confirm the ground is level and drains properly. If you’re installing line set covers, map the straightest, cleanest path along the siding before you begin.
None of this makes the project harder. It makes it smarter.
Planning these details early helps you avoid awkward bends, exposed lines, or last-minute adjustments. The result is a DIY install that performs well, looks intentional, and holds up over time.
A Clean Install Starts With Smart Planning
A DIY mini-split upgrade should look like an upgrade.
The right accessories don’t just protect your system. They protect your home, improve longevity, and make your install look clean and intentional. Line set covers shield and conceal. Condenser pads provide stability. Wall mounting brackets elevate and protect in tougher conditions.
These aren’t extras. They’re part of doing the job right.
If you’re planning a spring renovation, start with a complete setup in mind. Choose your mounting method early. Map your line routing. Protect the system from day one.
When you’re ready, explore DIY mini-splits and the installation accessories that finish the job properly at The HVAC Spot. Comfort is the upgrade. A clean install is the standard.