When homeowners ask, “How much does a mini-split cost?” what they’re usually asking is something bigger.
What will this cost me from start to finish?
Are there hidden expenses?
Will this actually save me money long term?
The truth is, the cost of a mini-split isn’t just about the price of the unit. It includes the system itself, installation decisions, accessories, energy use, and long-term maintenance. Some of those costs are upfront. Others show up over time.
The good news? None of them have to be surprises.
If you’re planning a DIY installation, understanding these categories ahead of time gives you control. You can budget smarter, avoid unnecessary expenses, and choose upgrades that actually protect your investment.
Let’s break it down clearly so you know exactly what to expect.
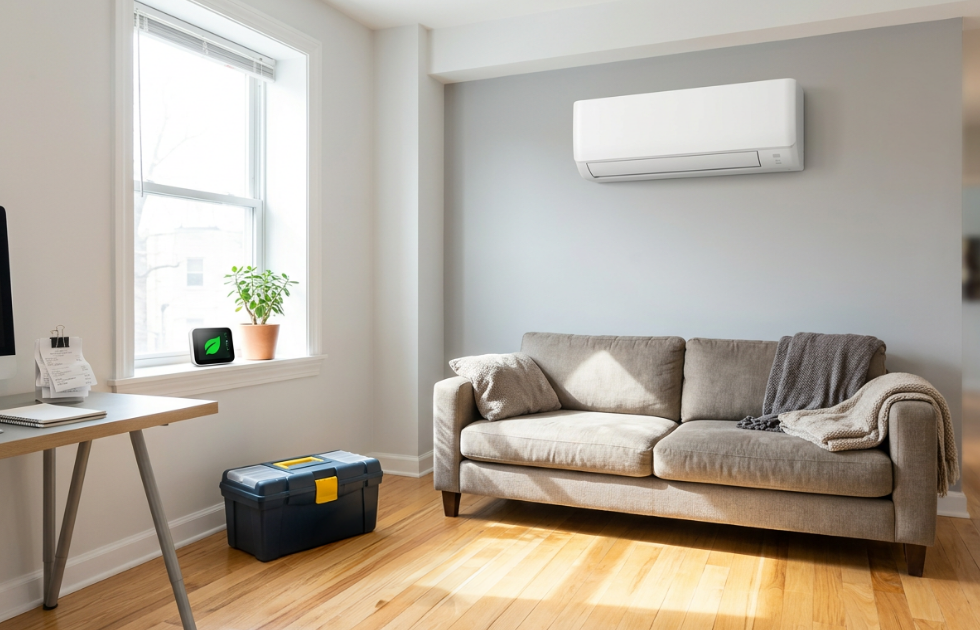
How Much Does a Mini-Split Unit Cost?
The first cost to consider is the system itself.
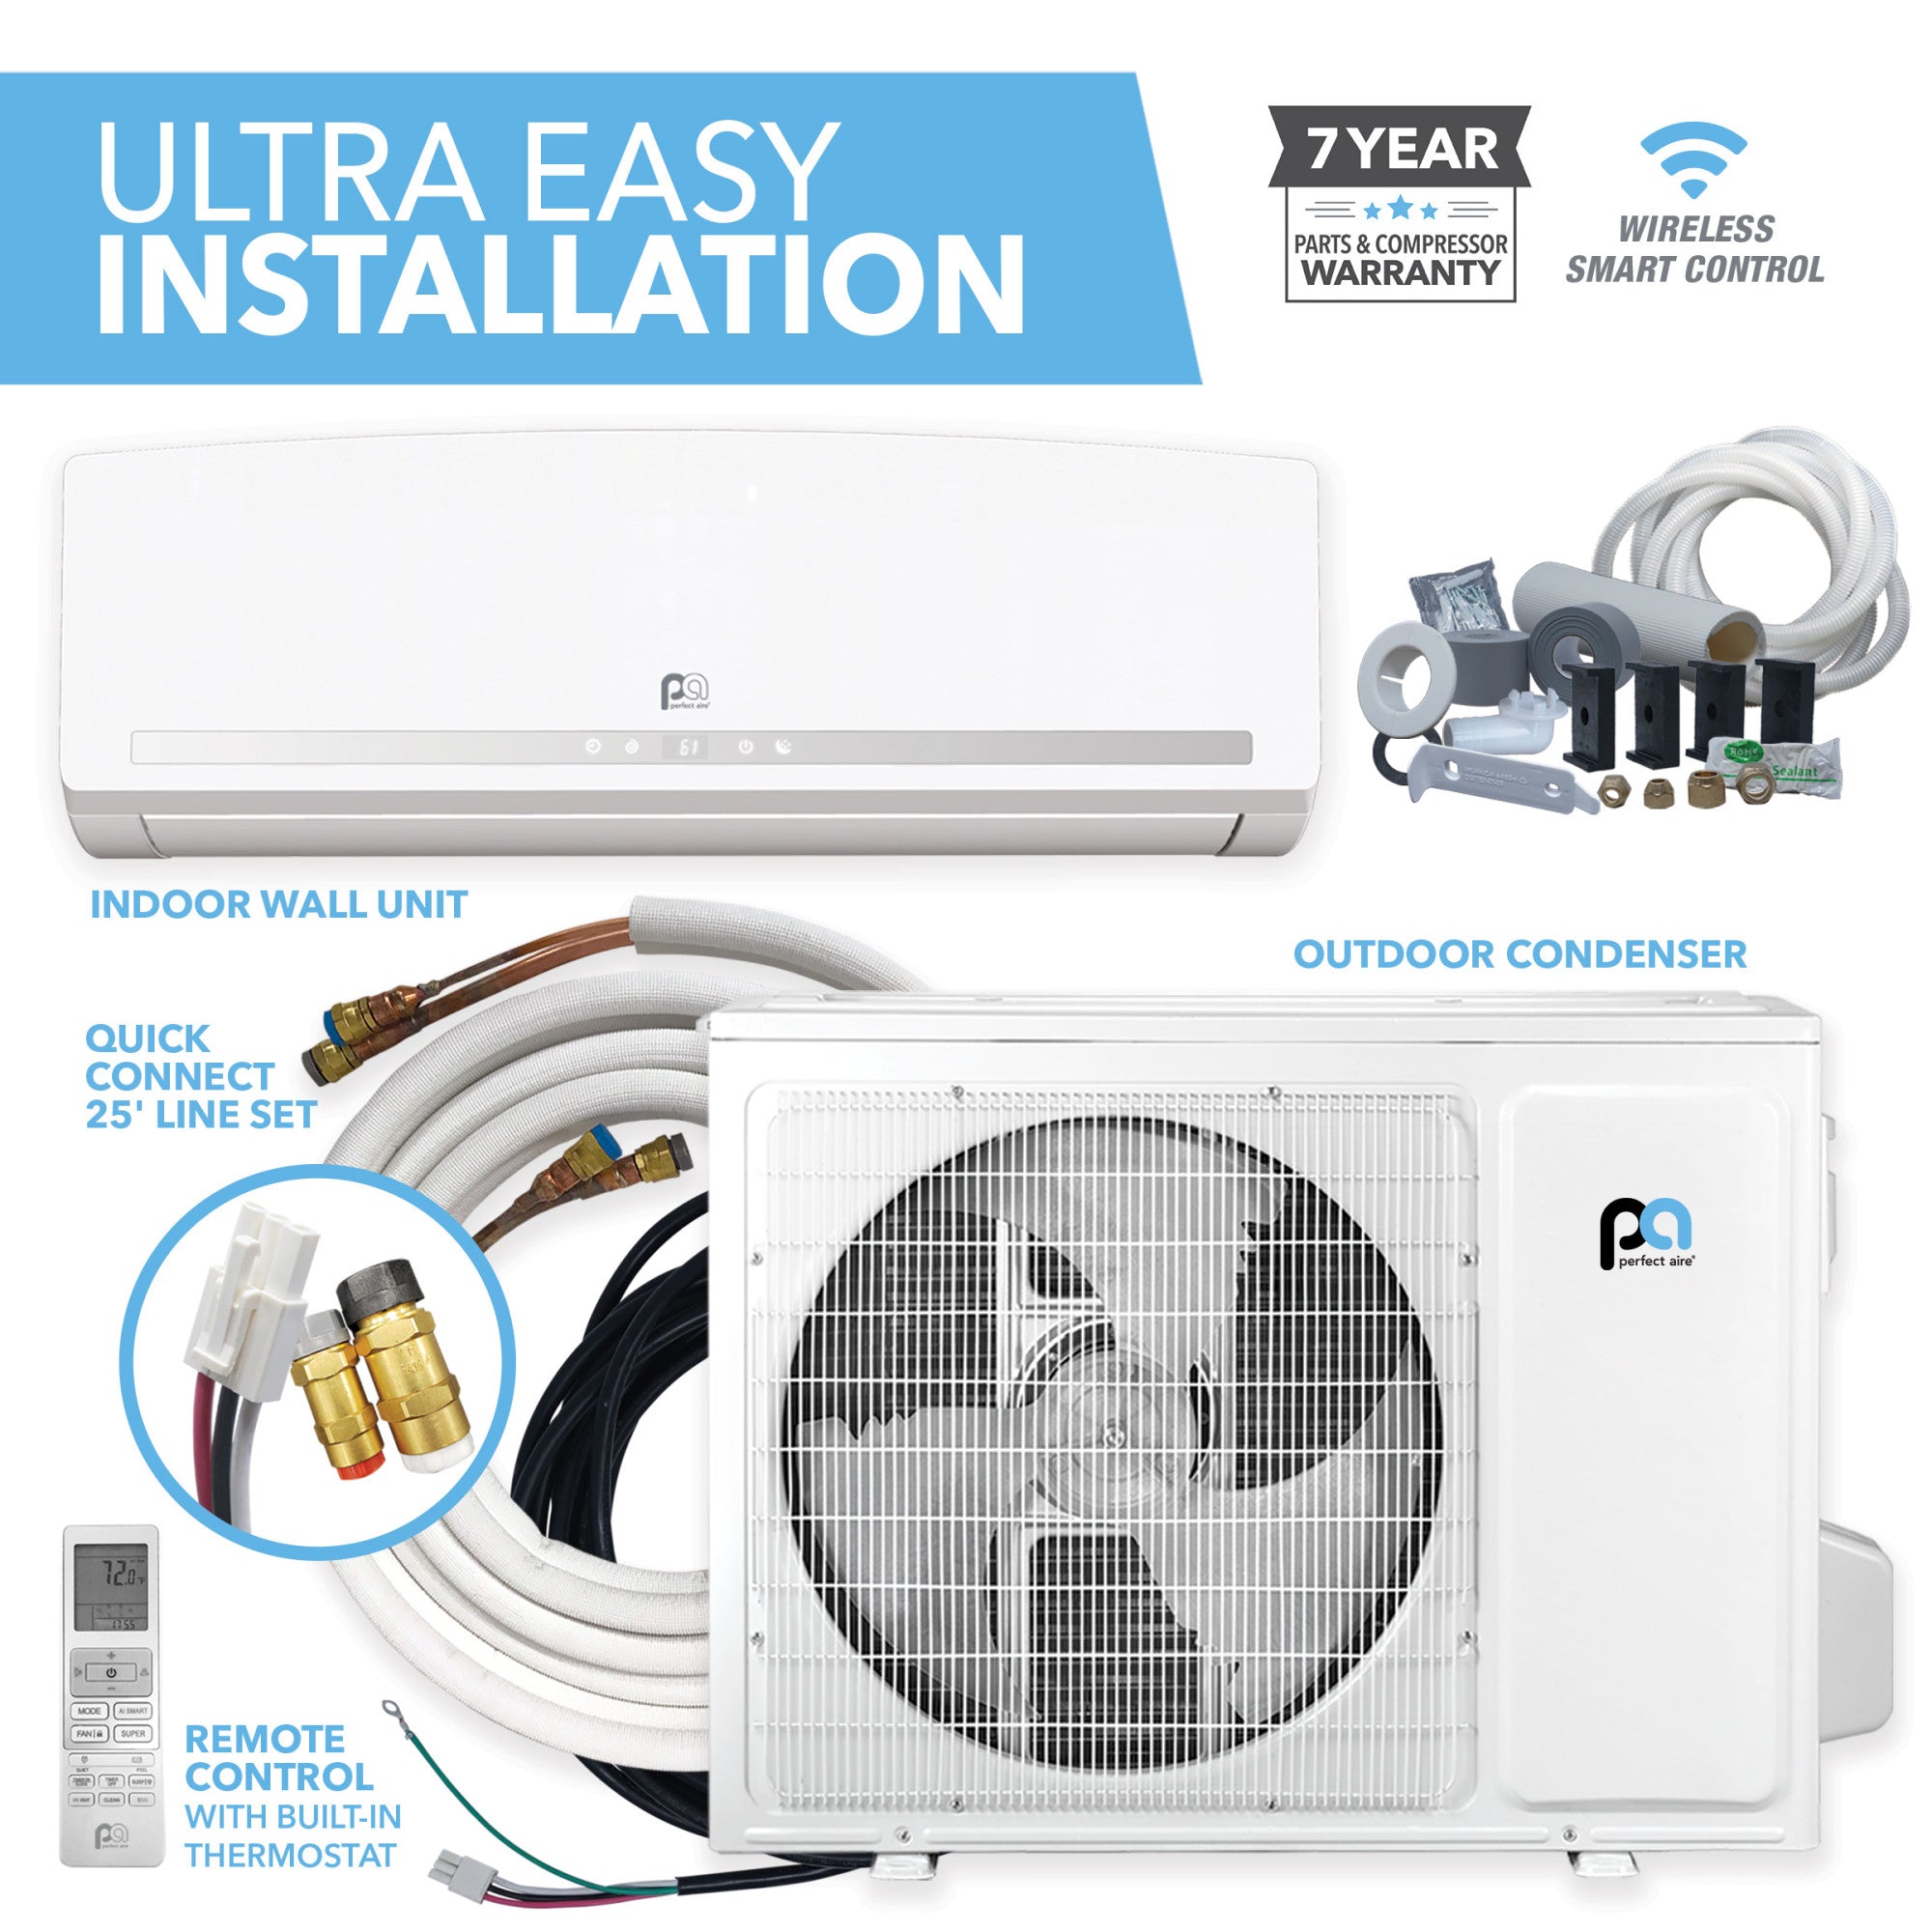
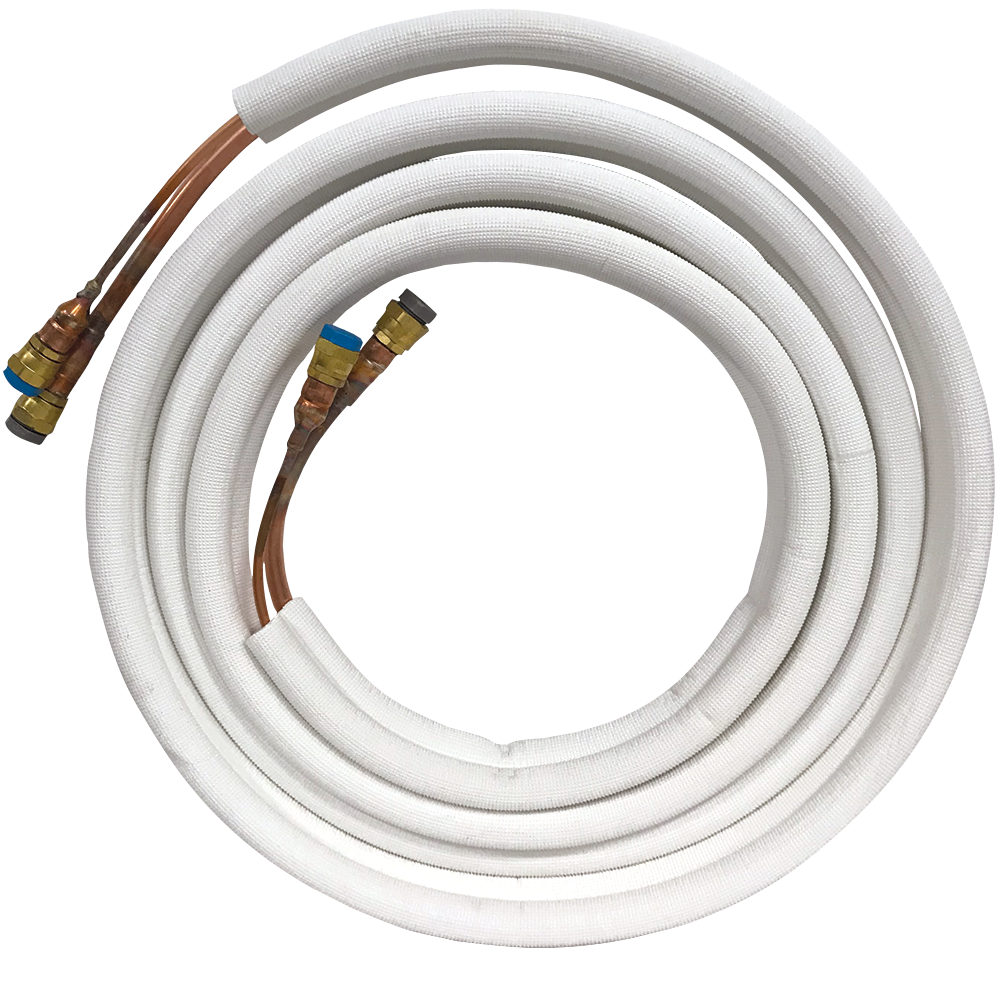
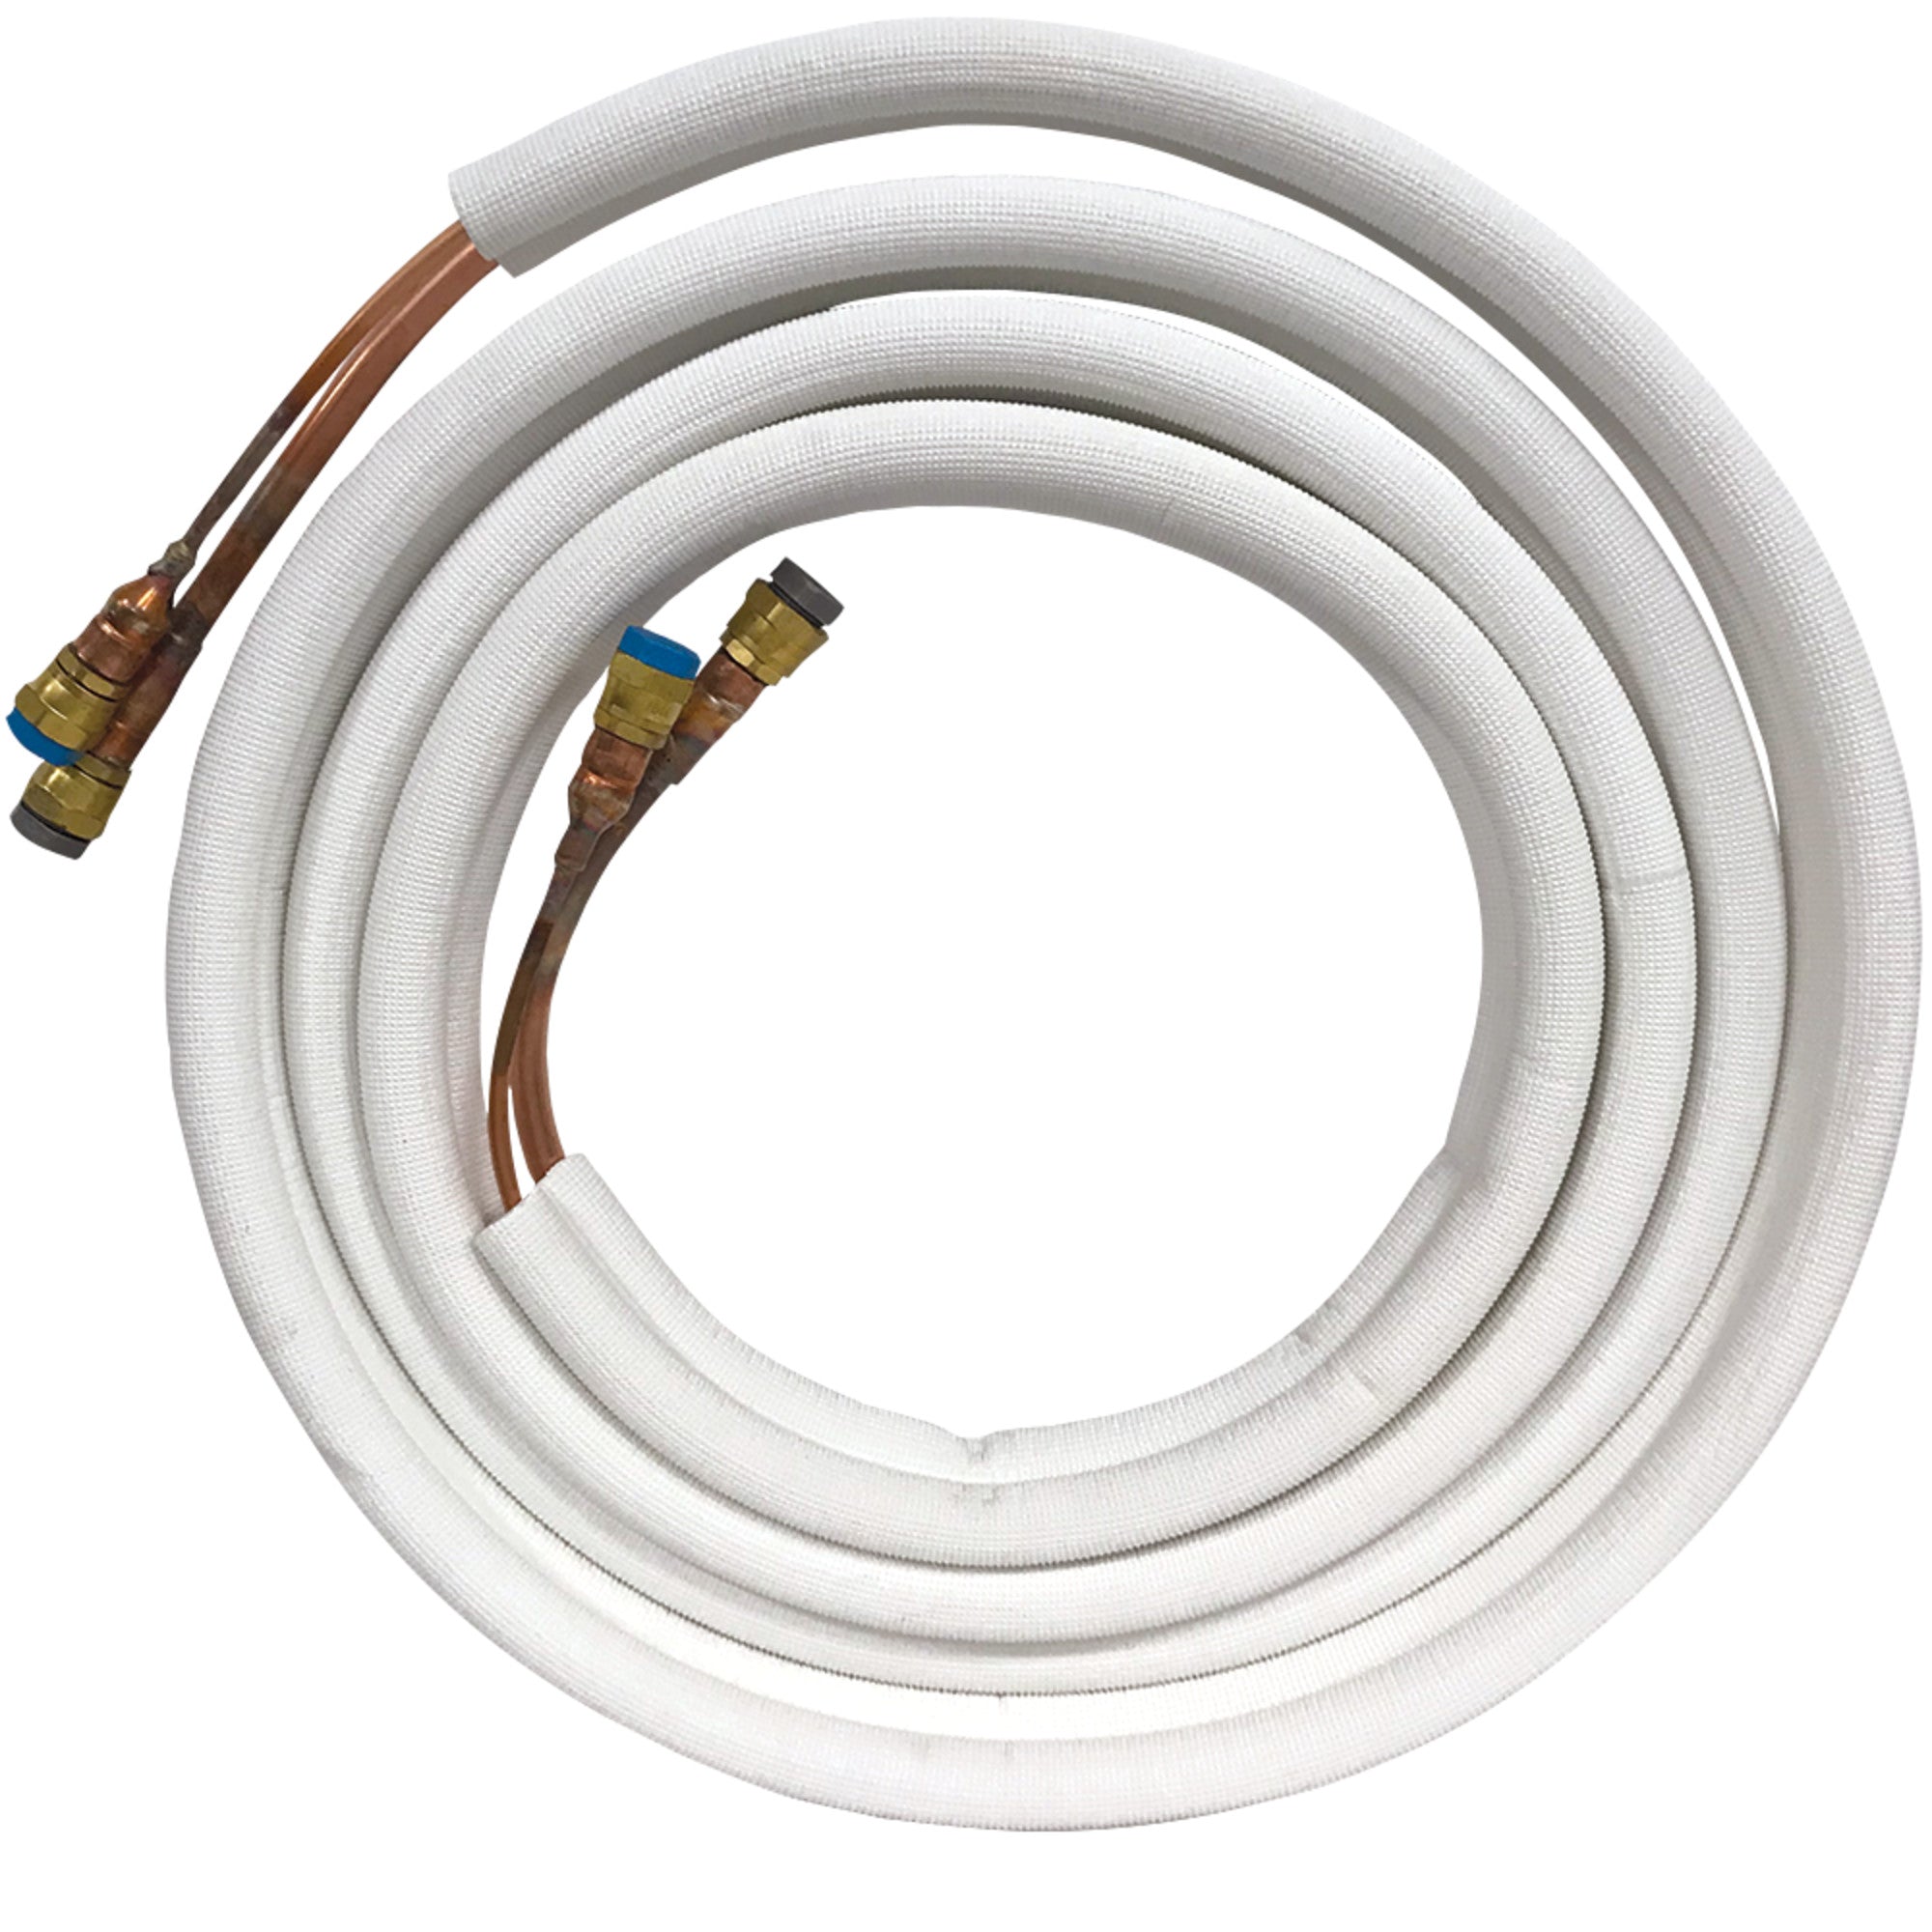
For most homeowners, a single-zone mini-split system typically ranges from $1,200 to $2,500 for the indoor unit, outdoor condenser, and included line set. Larger or multi-zone systems can range from $2,500 to $5,000 or more.
Final pricing depends on:
- BTU size (9k, 12k, 18k, 24k, etc.)
- Voltage (115V vs 230V systems)
- Number of zones
- Brand and efficiency rating
- Local pricing and availability
This is your base system cost.
What it does not include:
- Electrical work
- Mounting hardware or accessories
- Professional labor (if you hire it)
Think of this as the starting line. Installation decisions are what determine how much your total project will cost.
How Much Does It Cost to Install a Mini-Split? (DIY vs Hiring a Pro)
Now we’re talking about installation cost, not equipment.
This is where the price gap can widen quickly.
If You Hire a Contractor:
Professional installation typically adds $1,000 to $3,000+ per zone in labor alone. Multi-zone systems can cost significantly more.
That labor cost may include:
- Refrigerant handling
- Vacuum pump setup
- Electrical connections
- Mounting and drainage
- Permits (in some areas)
Actual pricing varies by region, demand, and job complexity. For many homeowners, labor ends up costing as much as, or more than, the equipment itself.
If You Install a DIY Quick-Connect System:
DIY systems remove the most expensive part of traditional installs: refrigerant work.
With a pre-charged, quick-connect system:
- No vacuum pump is required
- No refrigerant handling tools are needed
- No HVAC certification is required
However, you still need:
- A dedicated electrical circuit
- Proper mounting
- Correct drainage setup
- Permits (check your local codes - some areas may require permits for homeowner installation)
If your panel needs modification or you’re unsure about wiring, you may still hire an electrician. That cost varies locally but is usually far less than full HVAC labor.
The key difference? DIY gives you control over your labor cost. You’re not paying for specialized HVAC service calls or scheduling delays.
What Installation Accessories Are Required — and Which Are Optional?
When budgeting for a mini-split, it helps to separate what you must have from what improves longevity and appearance. Some items are essential. Others are smart upgrades.
Required for a Proper Installation:
These aren’t upgrades. They’re part of doing the job correctly.
-
Dedicated electrical circuit
Every mini-split must be hardwired to your electrical panel. This is non-negotiable. -
Mounting solution for the outdoor unit
The condenser must sit on a stable, level surface. That typically means a condenser pad or wall-mount bracket. -
Proper drainage routing
The drain line must slope downward to prevent water buildup.
Optional — But Highly Recommended:
These aren’t required for operation, but they improve durability and curb appeal.
-
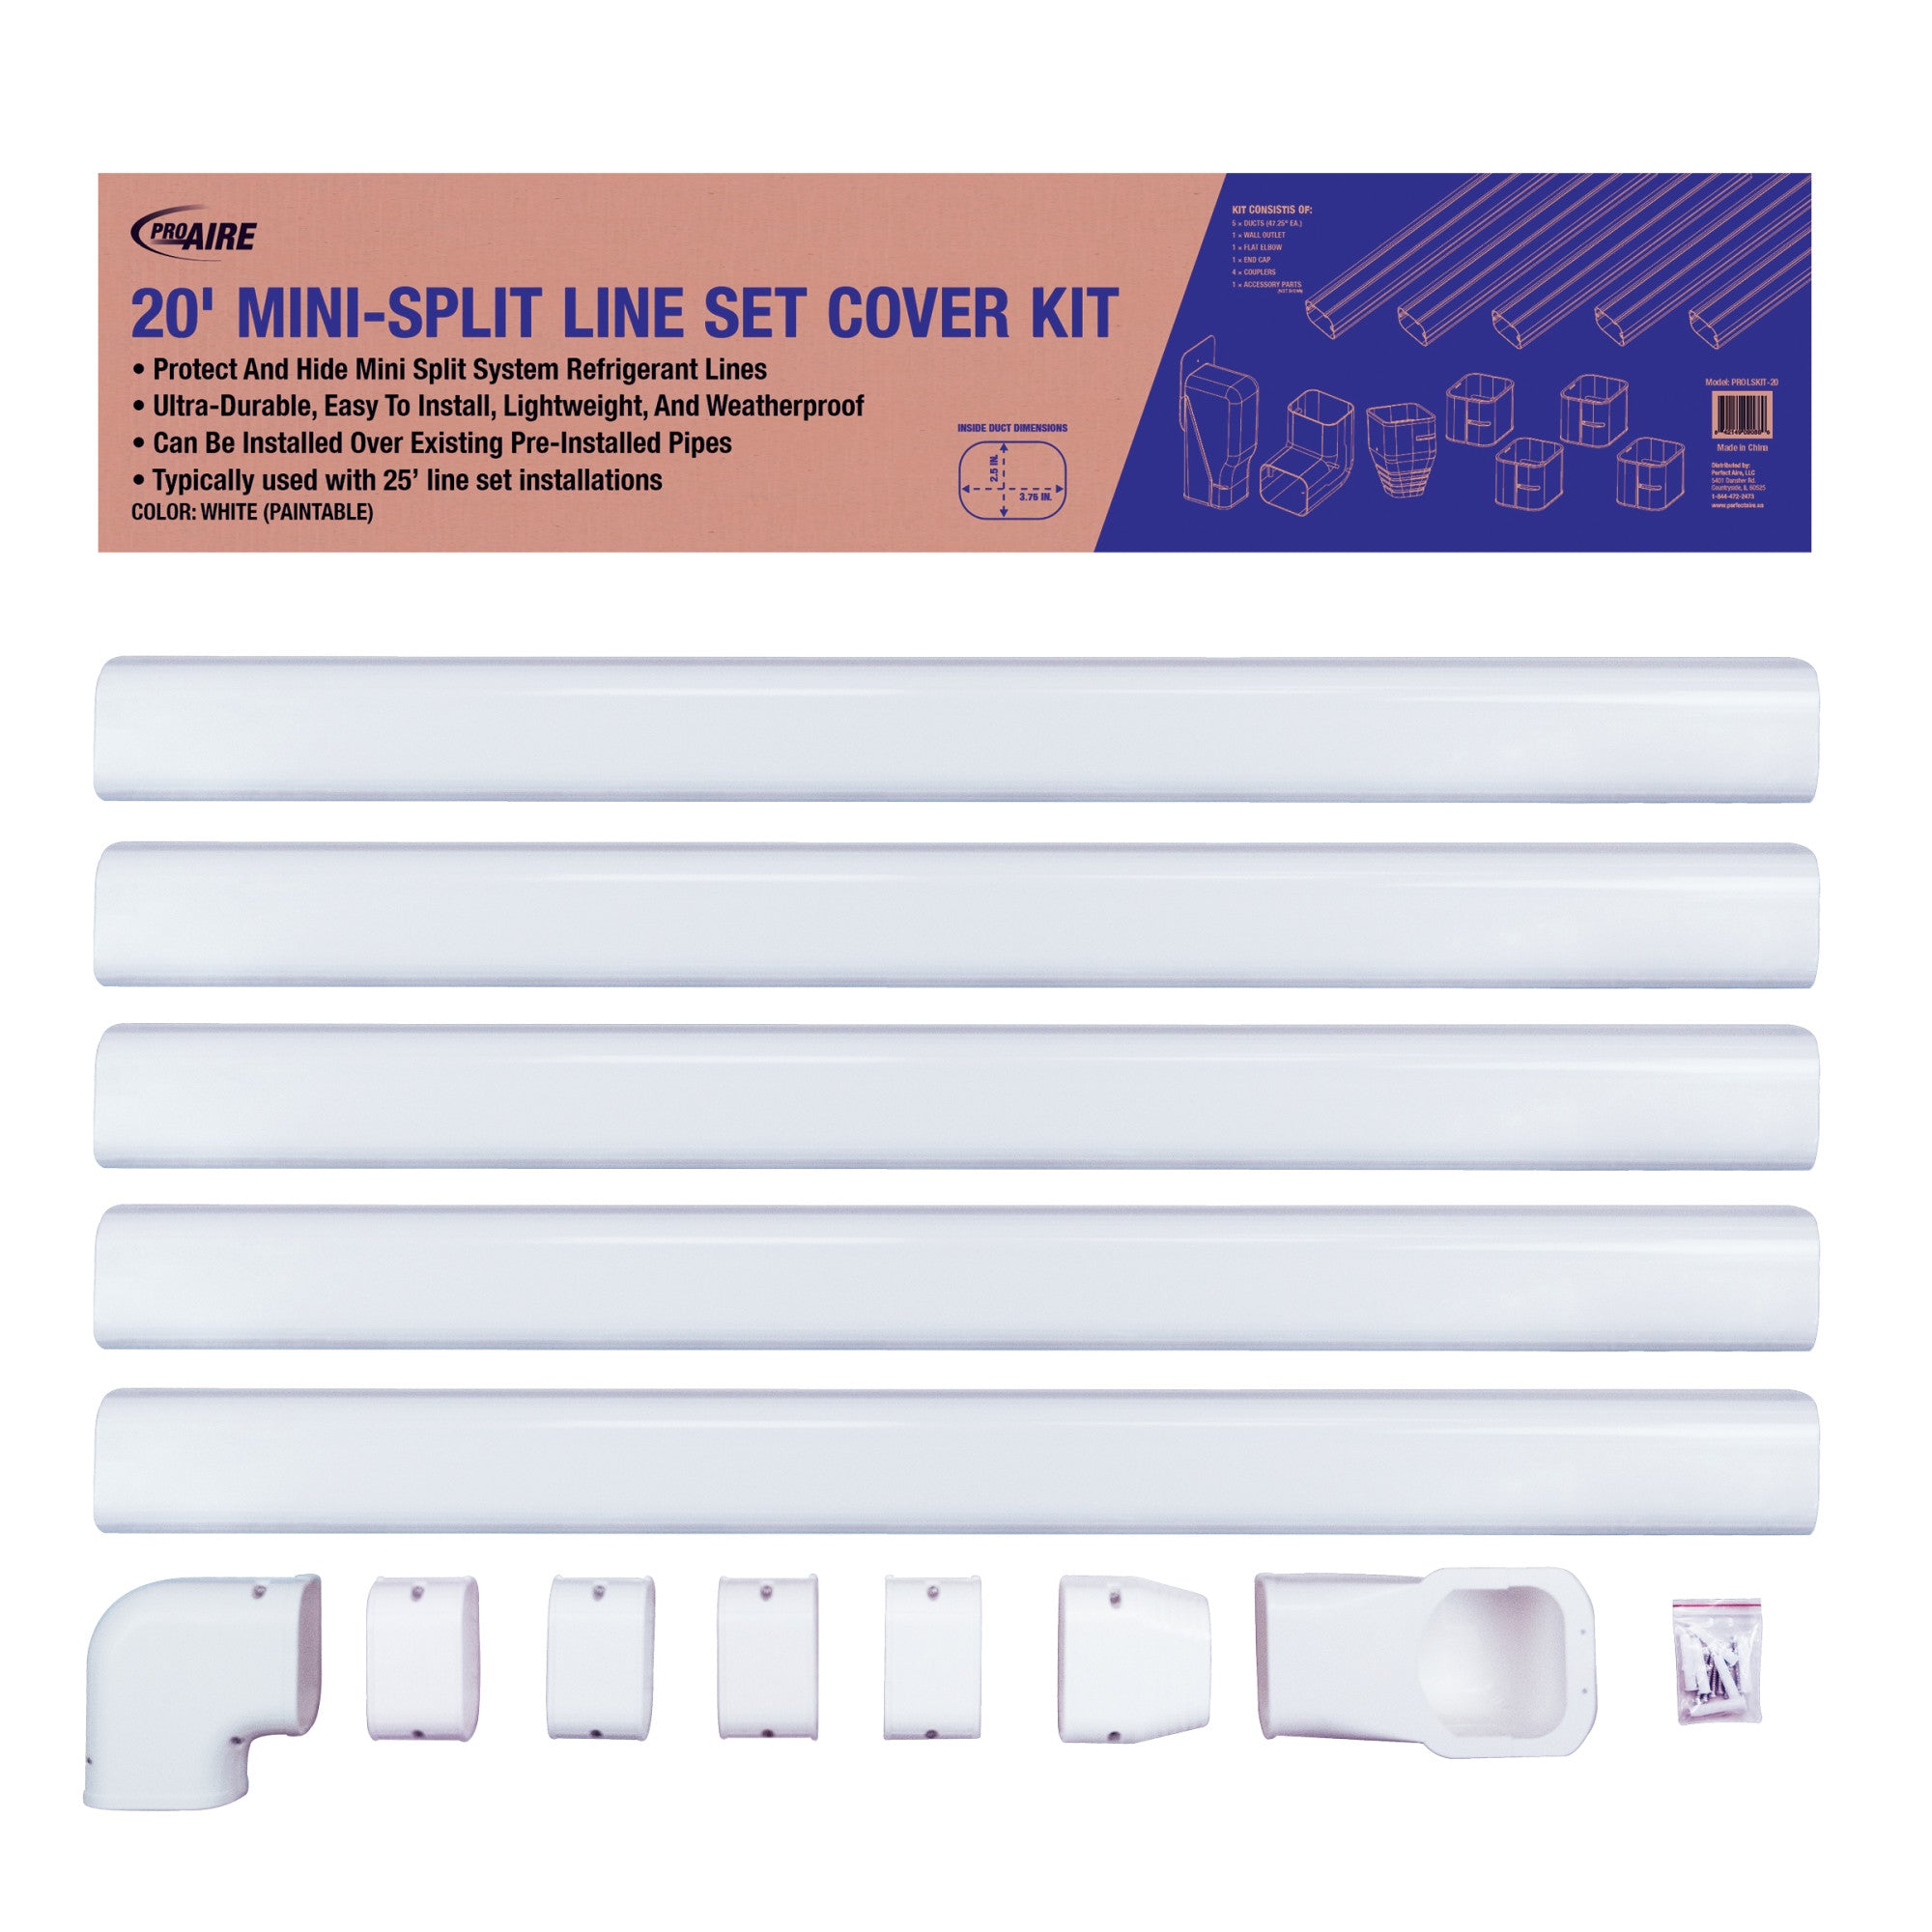
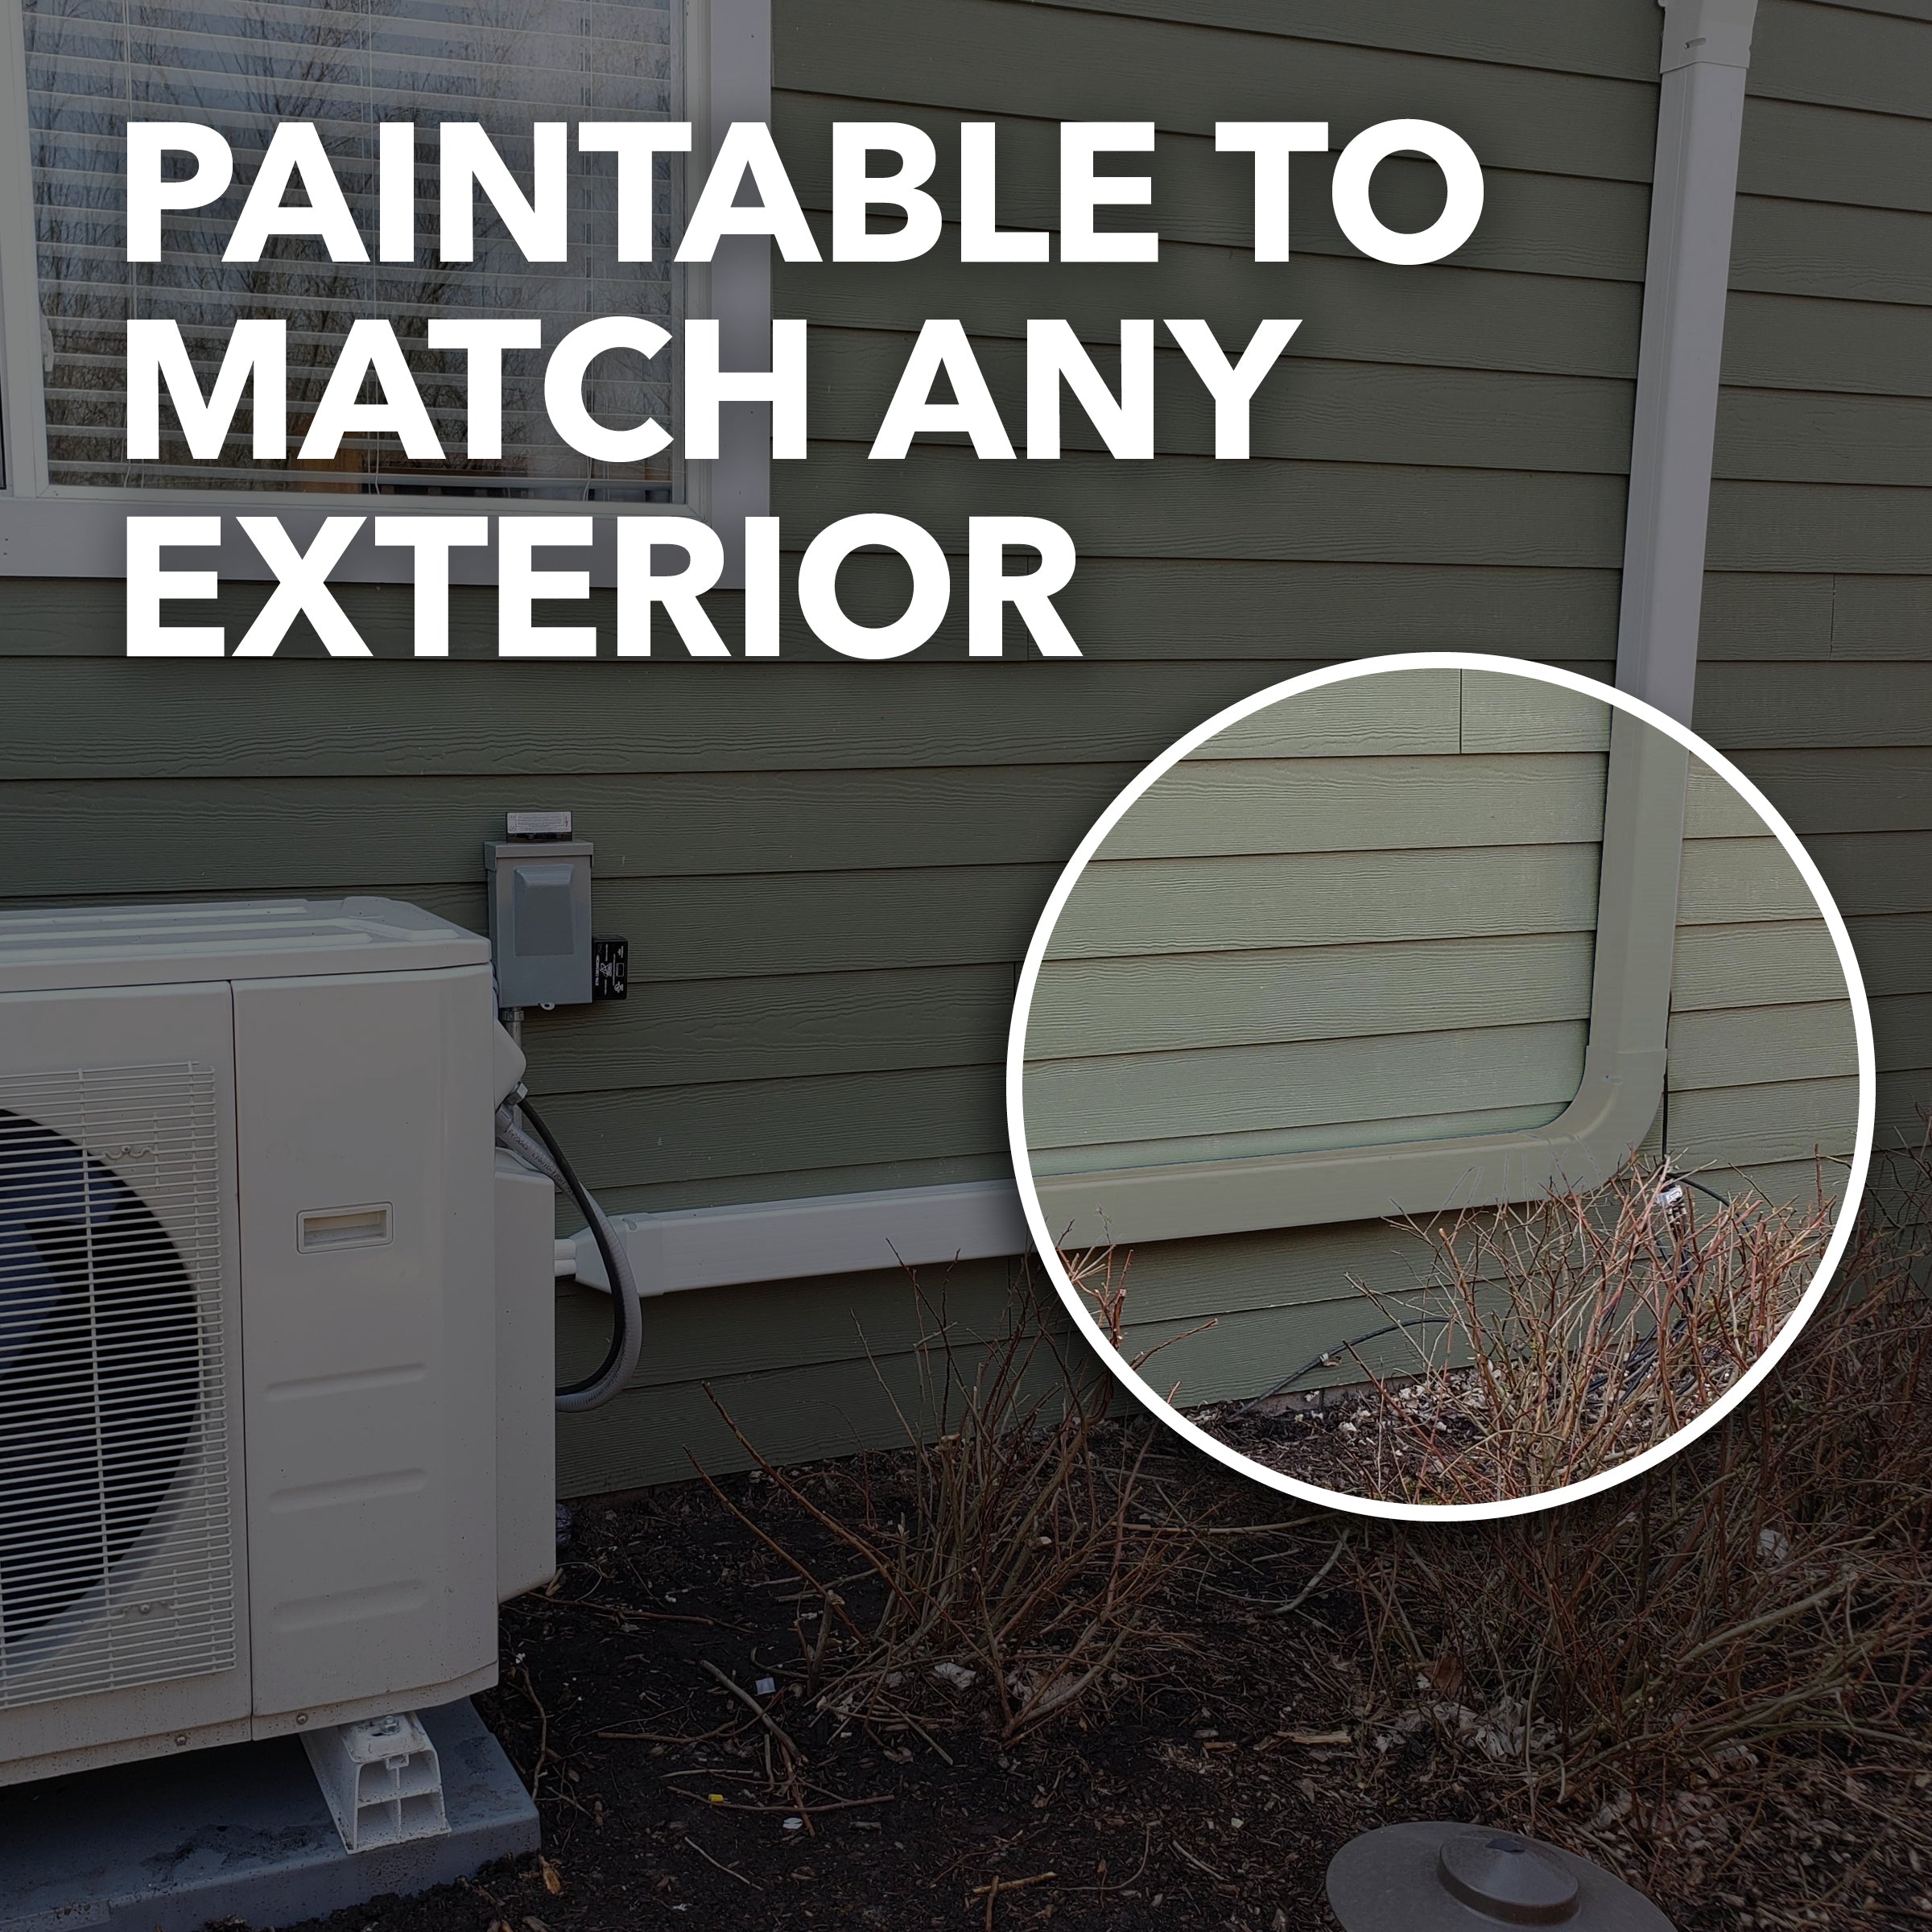
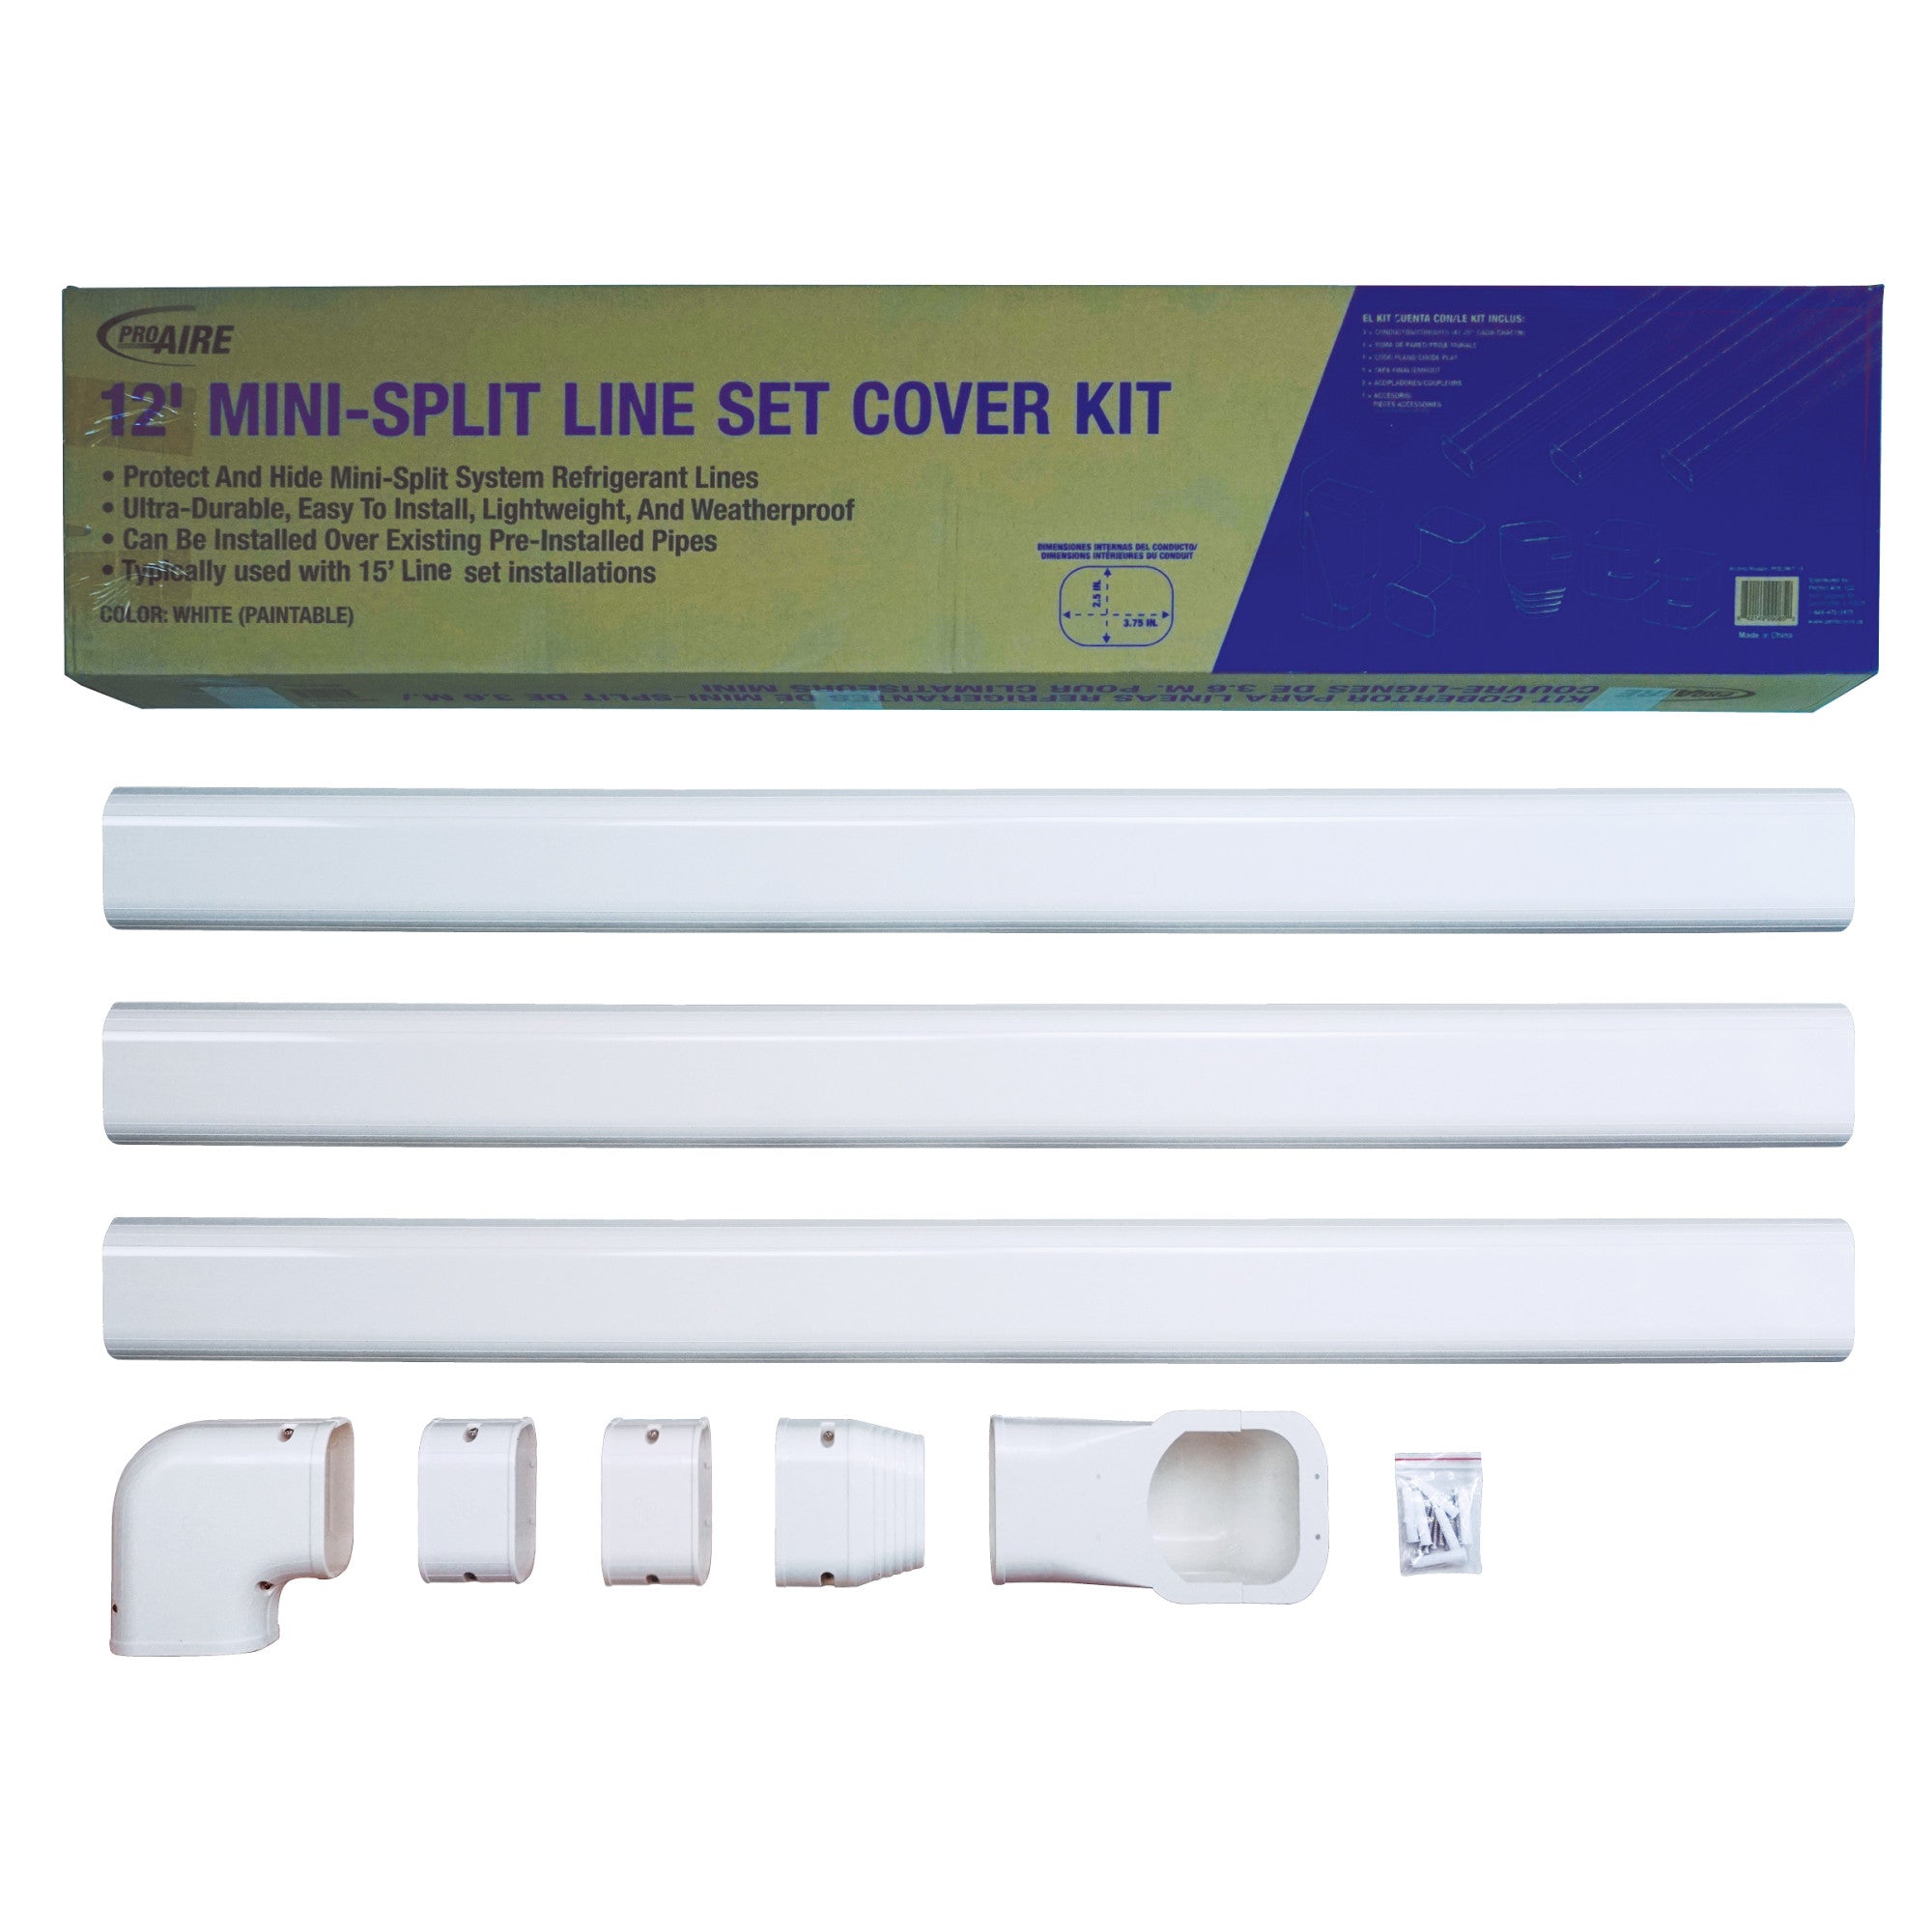
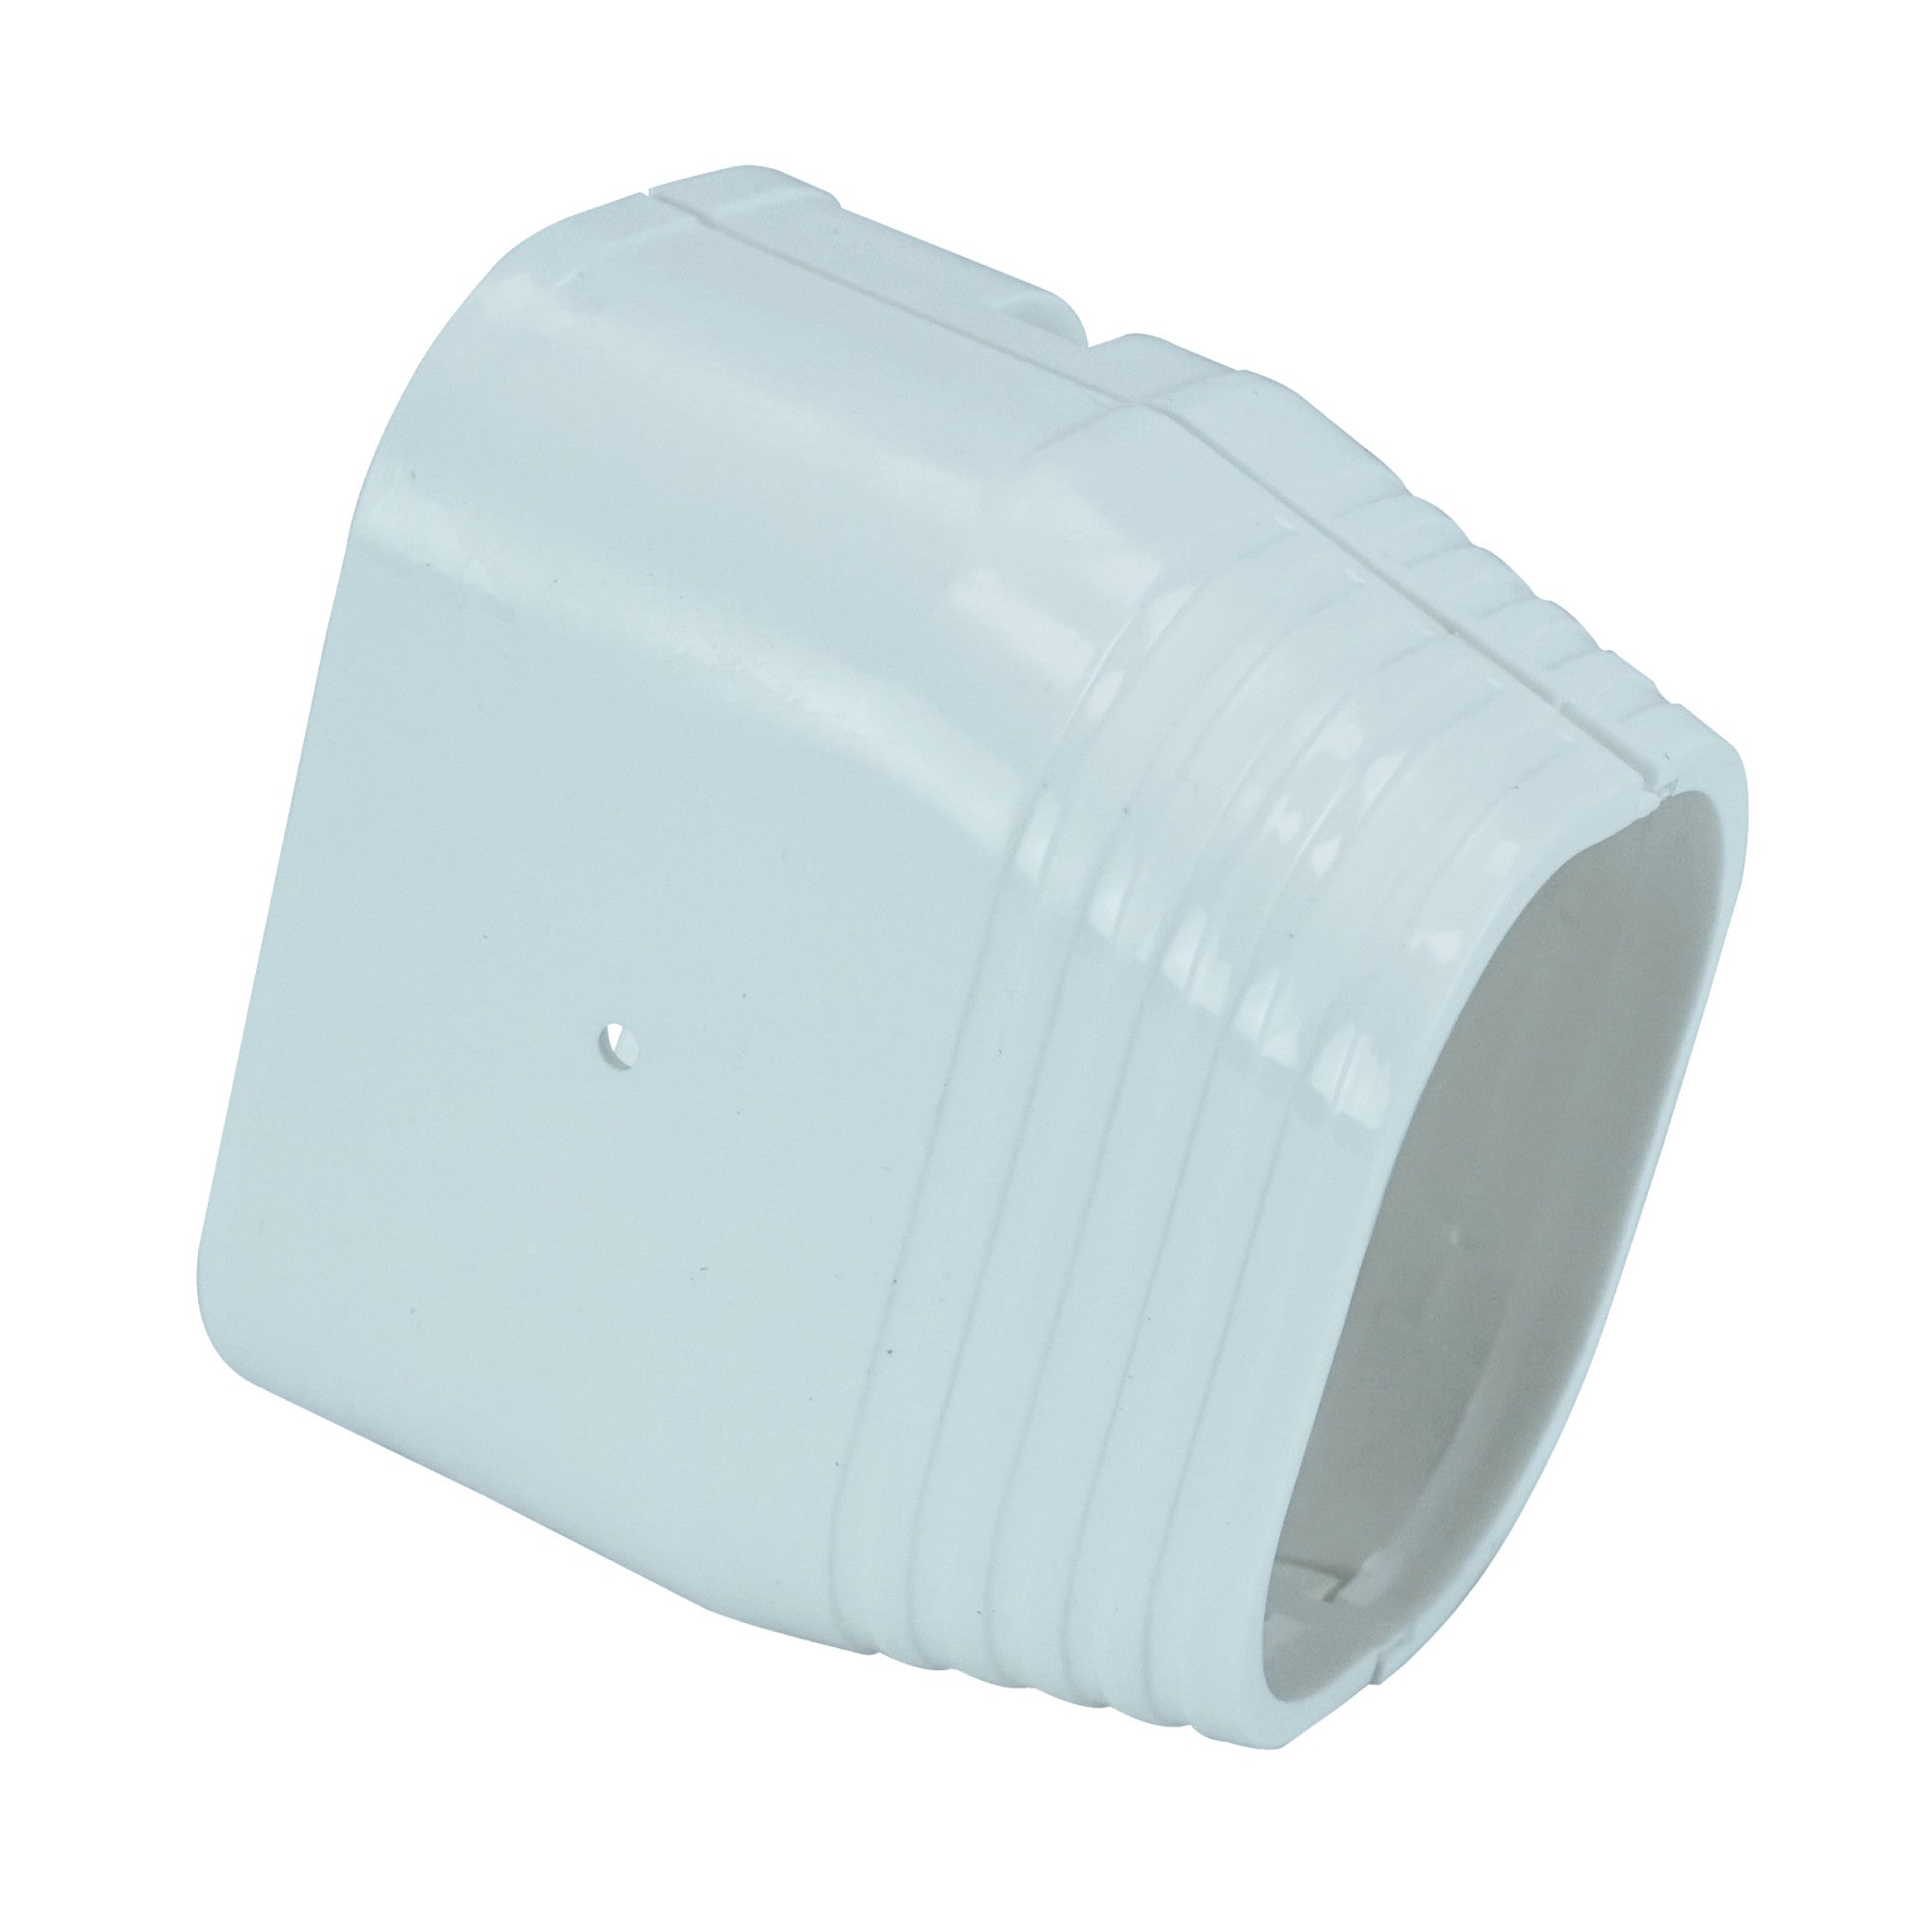
Line set covers (line hide kits)
Protect refrigerant lines from UV exposure and physical damage. They also clean up the look of your exterior. Most covers are paintable, so they blend in with your siding. -
Wall mounting brackets
Useful when ground space is limited or snow buildup is a concern. Elevating the condenser can extend its lifespan. -
Surge protection
Not required, but a smart safeguard to protect your investment from damage due to power surges or electrical storms.
This is where many homeowners accidentally underestimate costs. Accessories aren’t always included in the base system price, but budgeting for them upfront prevents shortcuts later.
How Much Does It Cost to Run a Mini-Split Compared to Window Units or Baseboard Heat?
Upfront cost is only part of the story. Operating cost is where mini-splits often make the biggest difference. Temporary solutions may seem cheaper upfront, but they are usually less efficient and end up costing more to operate.
Space heaters or baseboard heat:
- Pull high wattage
- Heat small areas unevenly
- Drive noticeable spikes in your bill
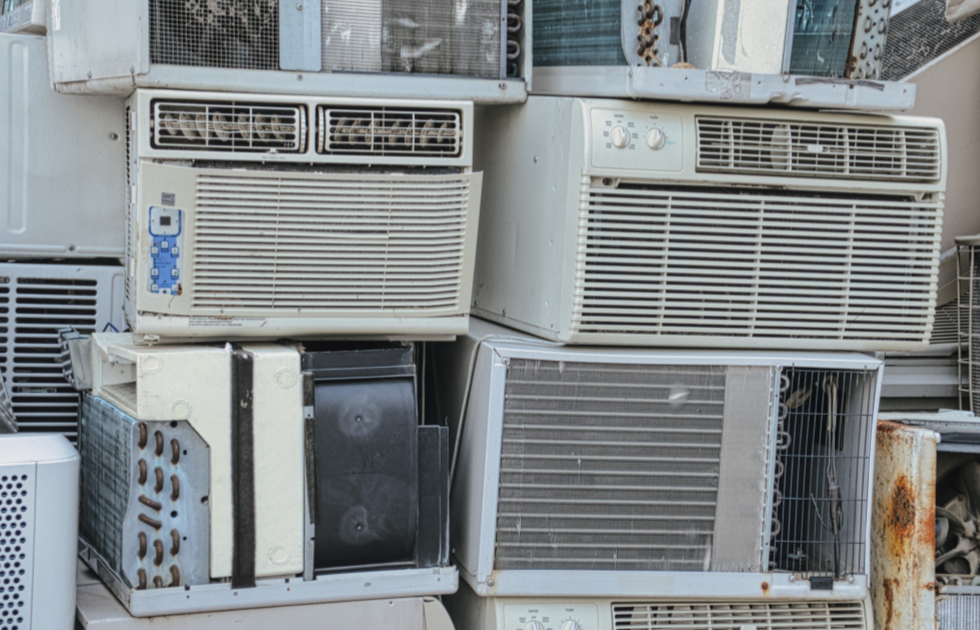
Window AC units:
- Often less efficient than inverter systems
- Struggle in extreme temperatures
- Add seasonal installation and storage hassle
A properly sized mini-split:
- Uses inverter technology to avoid constant on/off cycling
- Heats or cools only the rooms you use
- Maintains steady temperatures without spikes
- One unit with combined year-round cooling & heating
For many homeowners, the result is more predictable monthly costs, especially in rooms that rely on window AC, baseboard, or space heaters.
What Does Maintenance Cost Over Time?
One reason homeowners choose mini-splits is predictable upkeep. Unlike central HVAC systems with ductwork, blowers, and large air handlers, ductless systems are relatively simple.
Routine Maintenance (Low Cost)
Most ongoing maintenance includes:
- Cleaning or replacing washable filters
- Keeping the outdoor condenser clear of debris
- Occasional coil cleaning
- Checking drainage lines
There are no fuel lines, no combustion components, and no duct cleaning costs.
When Costs Increase
Maintenance expenses typically rise when:
- Filters are ignored
- Drain lines clog
- Outdoor units sit directly on soil or snow
- Electrical issues go unchecked
Preventive care costs far less than emergency service calls. Planning for proper installation accessories, like condenser pads or wall brackets, can help reduce long-term wear.
Compared to aging window units or inefficient baseboard heaters that often get replaced outright, mini-splits are designed for long service life when maintained properly.
What Is the Real Cost of Owning a Mini-Split? (Putting It All Together)
When you break it down clearly, the “real cost” of a mini-split isn’t just one number. It’s a combination of smart decisions.
Equipment cost is your upfront investment.
Installation cost depends on whether you hire a contractor ($$$$) or choose a DIY Quick-Connect system. ($)
Accessories protect your system and improve longevity.
Operating cost is where mini-splits often outperform temporary solutions like baseboard heaters and space heaters.
For many homeowners, the biggest surprise isn’t the purchase price. It’s how much they’ve been spending year after year on inefficient heating and cooling.
A properly sized mini-split with inverter technology:
- Reduces wasted energy
- Avoids temperature swings
- Heats or cools only the rooms you use
- Delivers more predictable monthly bills
And when you install a true DIY system, you remove thousands in labor costs while still ending up with a professional-grade result.
Is it the cheapest option on day one? Not always.
Is it often the smarter long-term investment? In many homes, yes.
Ready to Plan Your Upgrade?
If you're budgeting for a home upgrade this spring, don’t just look at sticker price. Look at total cost over time.
Explore our DIY Quick-Connect Mini-Splits at The HVAC Spot, compare system sizes, and see what accessories make sense for your setup.
When you're ready to upgrade, we’re here to help you do it right — on your timeline, and within your budget.