Installing a mini-split yourself might sound intimidating, especially if HVAC work feels like something only professionals handle. But today’s DIY mini-split systems are built for homeowners who are willing to follow directions, take their time, and do the job right.
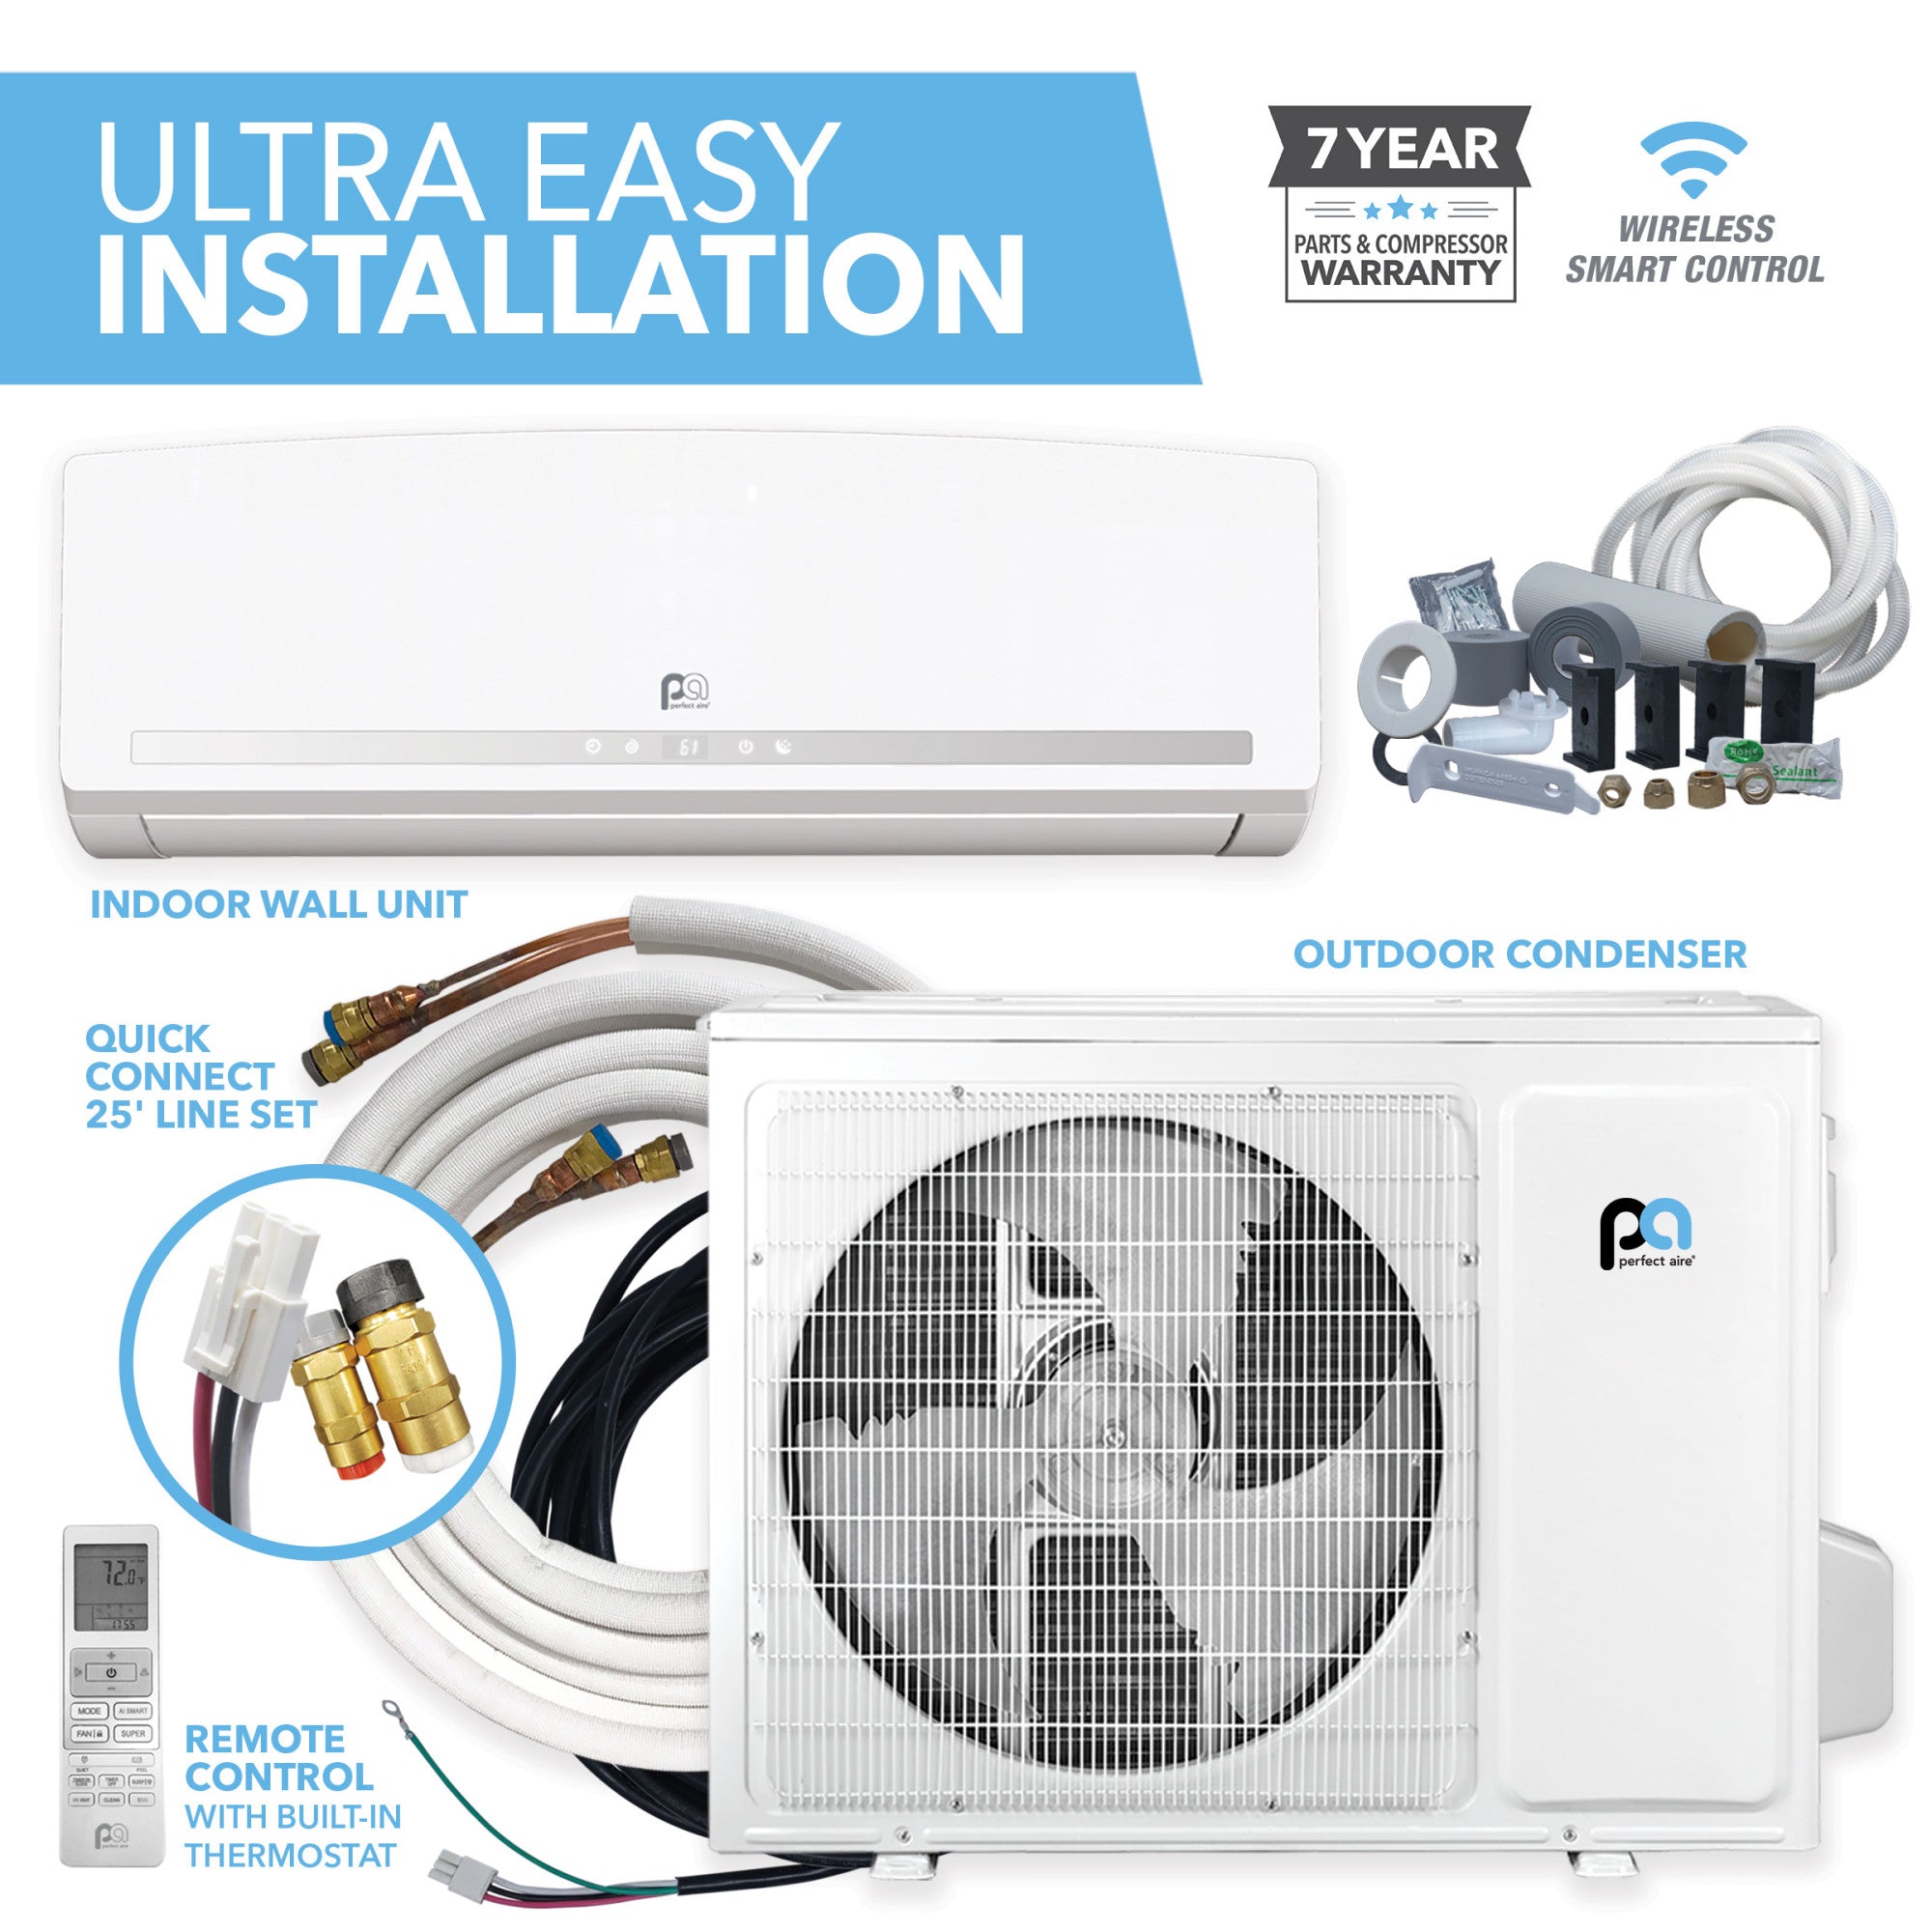
These systems come pre-charged, clearly labeled, and designed to be installed with common tools. No refrigerant handling. No specialized HVAC equipment. Just solid planning, careful installation, and a clear understanding of what matters before you start.
This guide walks through the key things first-time installers should know, from planning and placement to electrical considerations and final checks. If you’re comfortable measuring, drilling, and following instructions, this is a project you can take on with confidence — and the payoff is a professionally performing system installed on your timeline.
1. Planning the Install Is the Most Important Step
A successful DIY mini-split install starts long before you pick up a drill. Taking the time to plan your layout properly will save you headaches later and help ensure your system performs the way it should.
Before installing, you’ll want to think through:
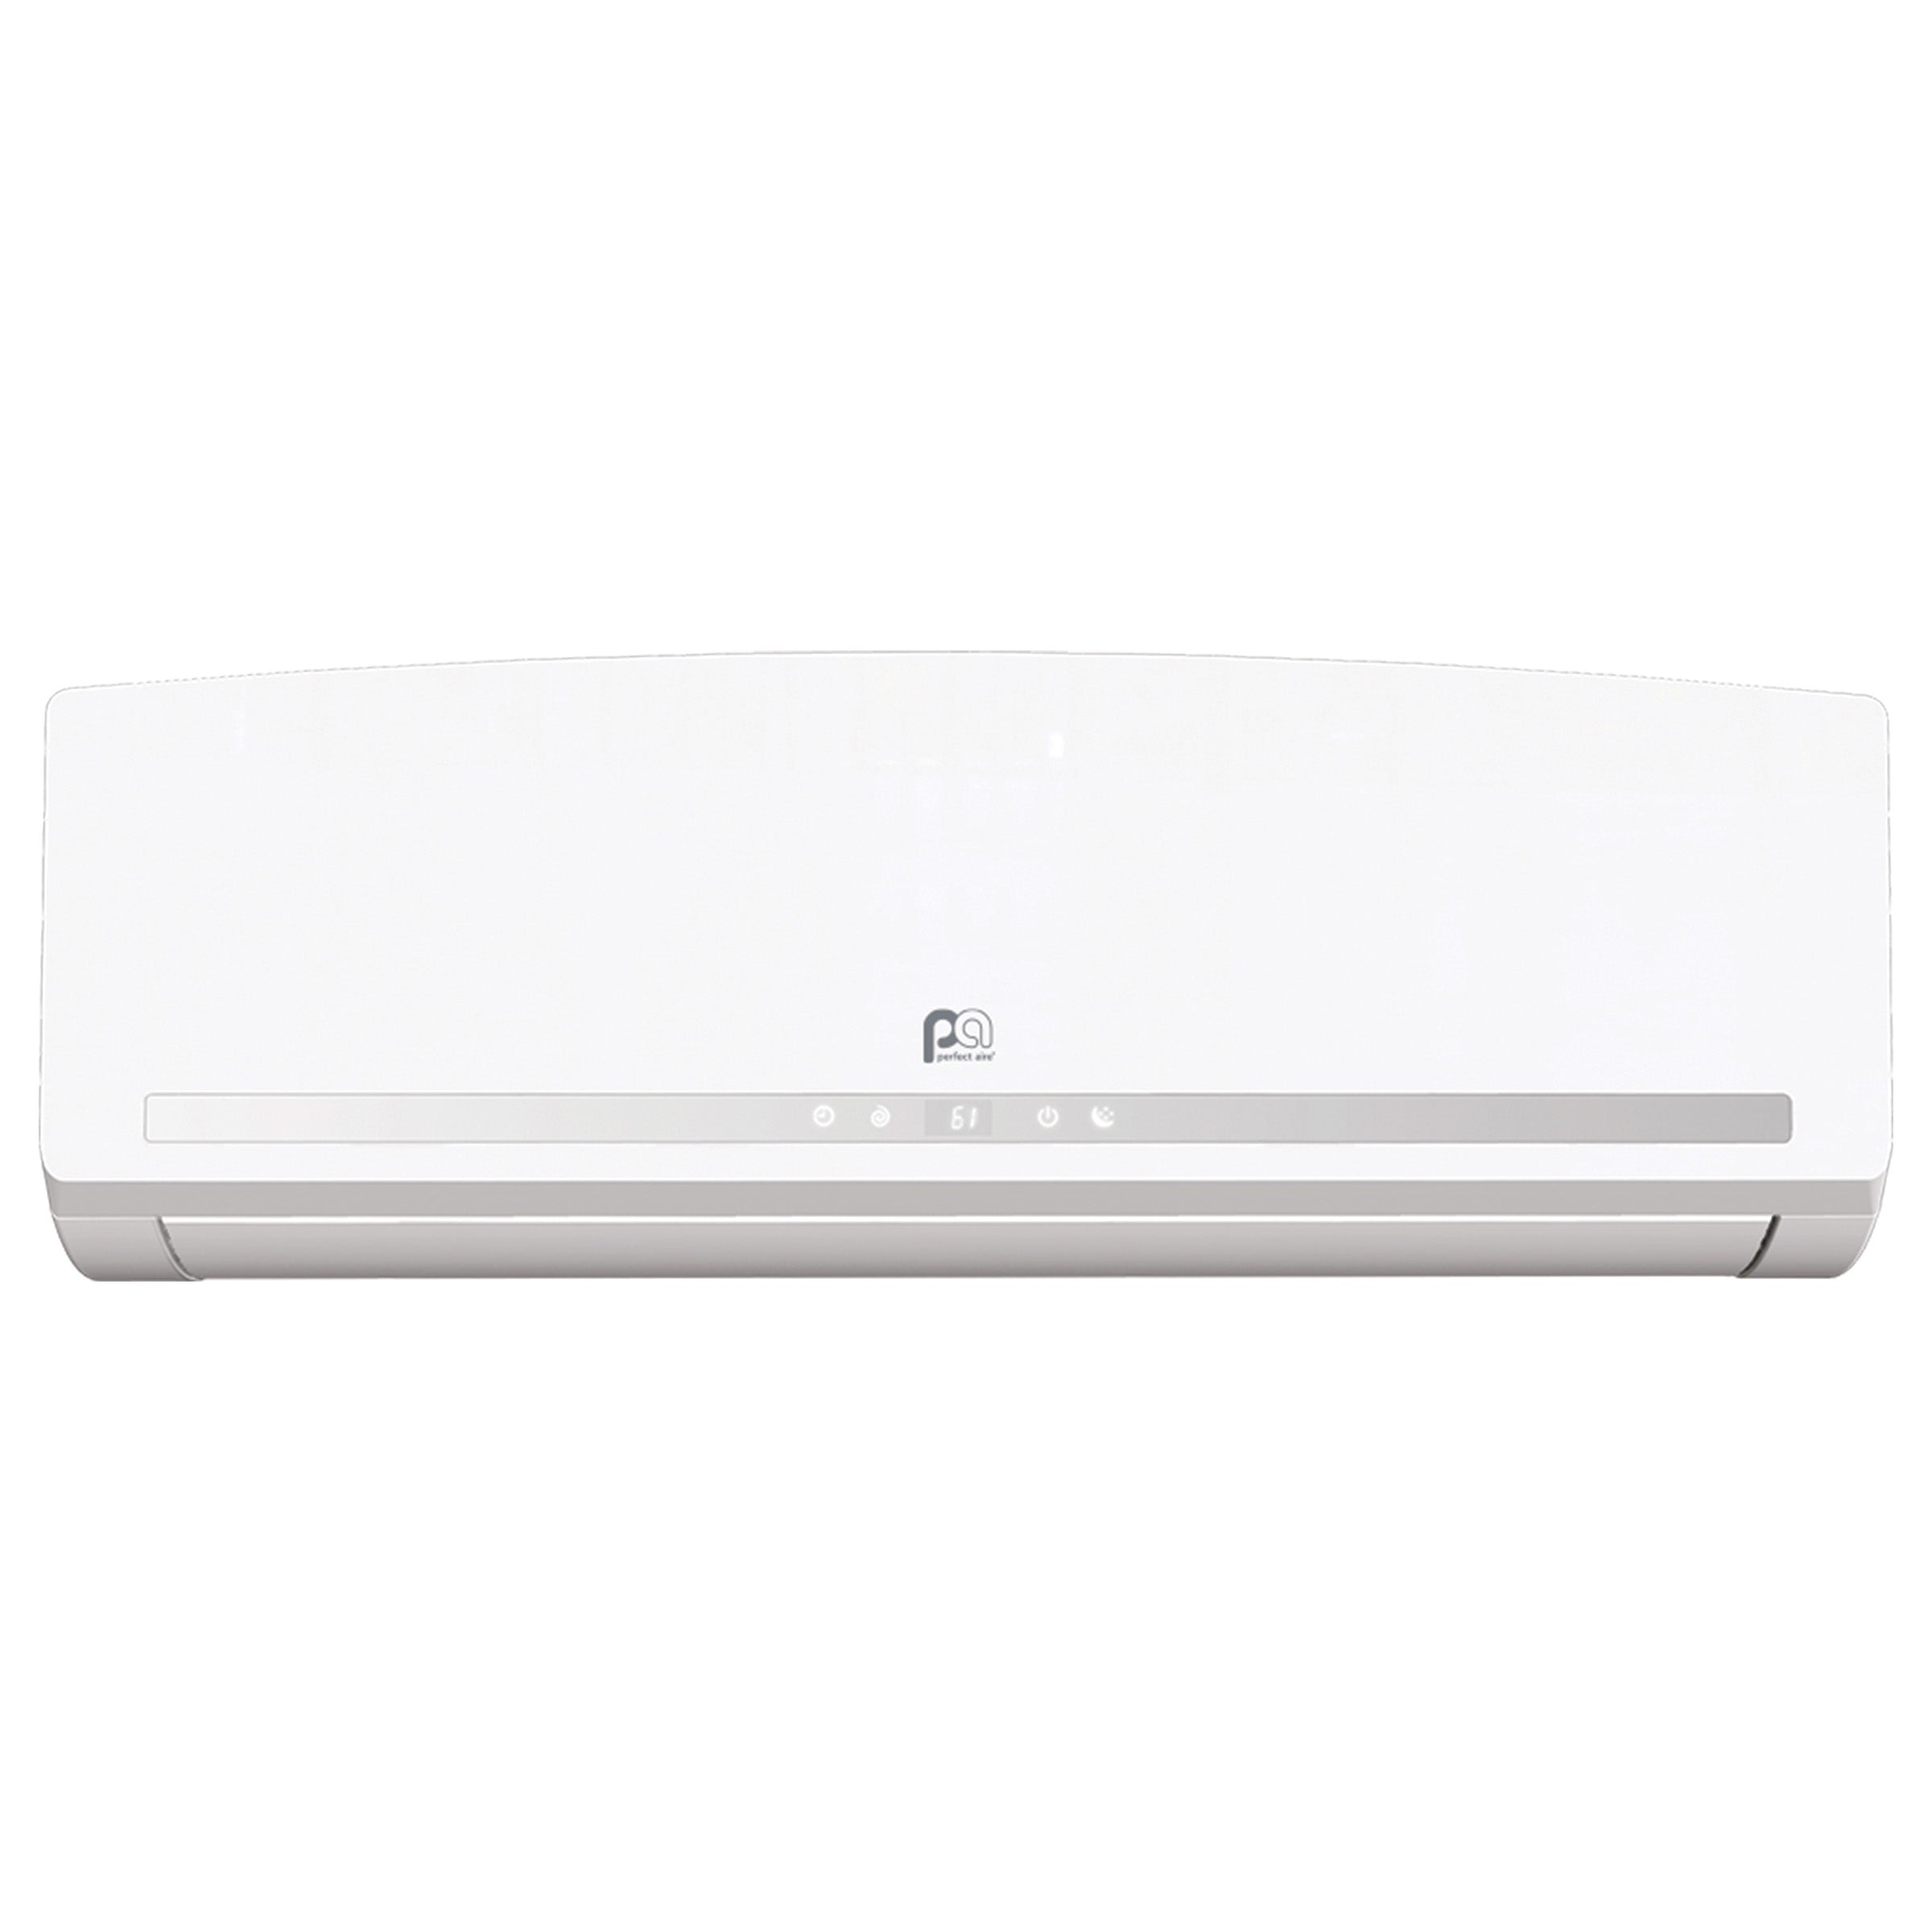
- Indoor unit placement: Proper height, clearance, and airflow matter for comfort and efficiency.
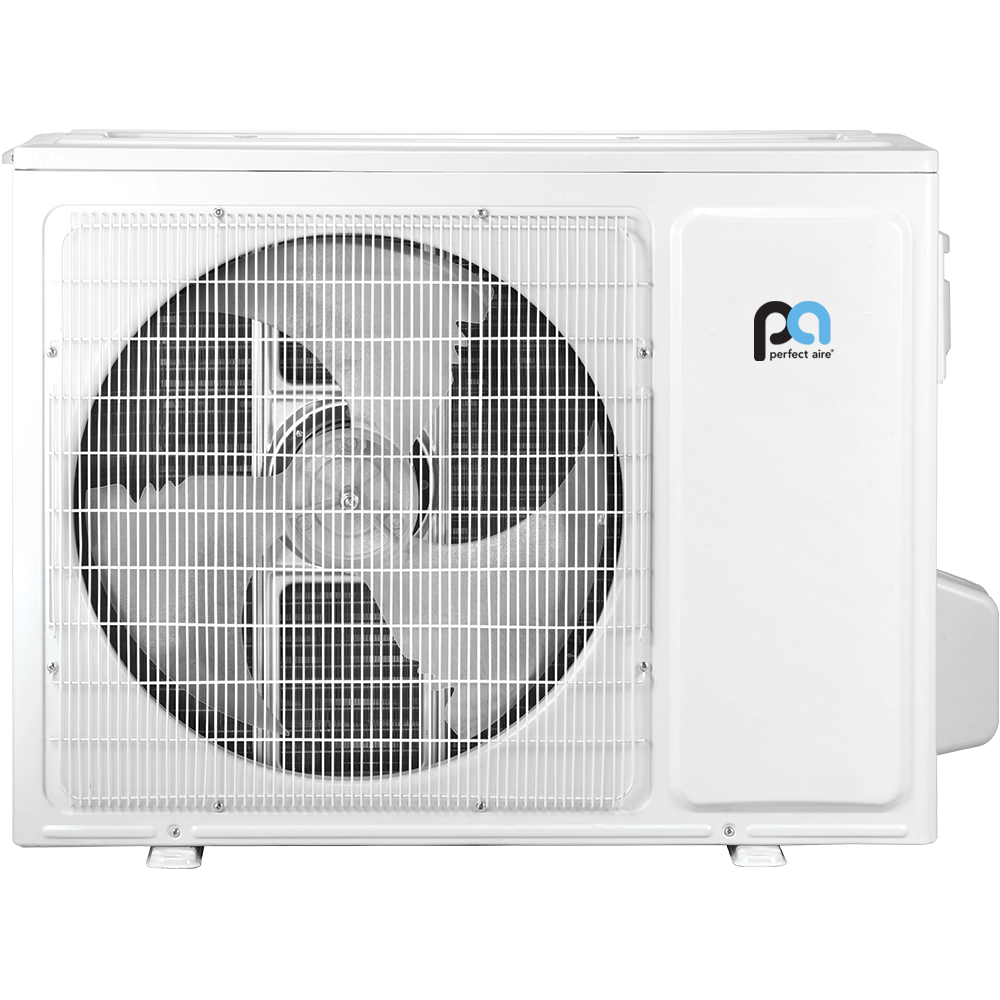
- Outdoor unit location: The condenser needs a level surface, adequate clearance, and protection from debris.
- Line set length: DIY systems are designed to work within specific limits, typically up to 25 feet.
- Drill location: Confirm there are no studs, pipes, or wiring where you’ll drill.
This is not about overthinking the project. It’s about setting yourself up for a smooth install. Measure carefully, review the mounting clearances, and map out your line routing before you begin. A little planning up front goes a long way toward a clean, professional-looking result.
2. Know the Electrical Requirements Before You Start
DIY mini-splits are homeowner-installable, but they are not plug-and-play appliances. Every system requires a dedicated electrical connection, and understanding that upfront will help you avoid delays during installation.
Before you begin, make sure you know:
- Voltage requirements: Smaller systems typically run on 115V, while larger systems require 230V.
- Dedicated circuit needs: Mini-splits must be hardwired to your electrical panel. They do not plug into a standard outlet.
- Breaker sizing: The correct breaker size is critical for safe operation and long-term reliability.
- When to call an electrician: If your panel needs upgrading or the correct voltage is not available, it’s smart to bring in a licensed pro.
This step is about being realistic, not cautious. Many homeowners handle the mounting and line set routing themselves and bring in an electrician for the final connection. Knowing where your comfort level ends helps keep the project moving without surprises.
3. Make Sure It’s Actually a DIY Mini-Split
Not every system labeled “DIY-friendly” truly is. Before you buy or start installing, it’s important to confirm that your mini-split is designed for homeowner installation without specialized HVAC tools.
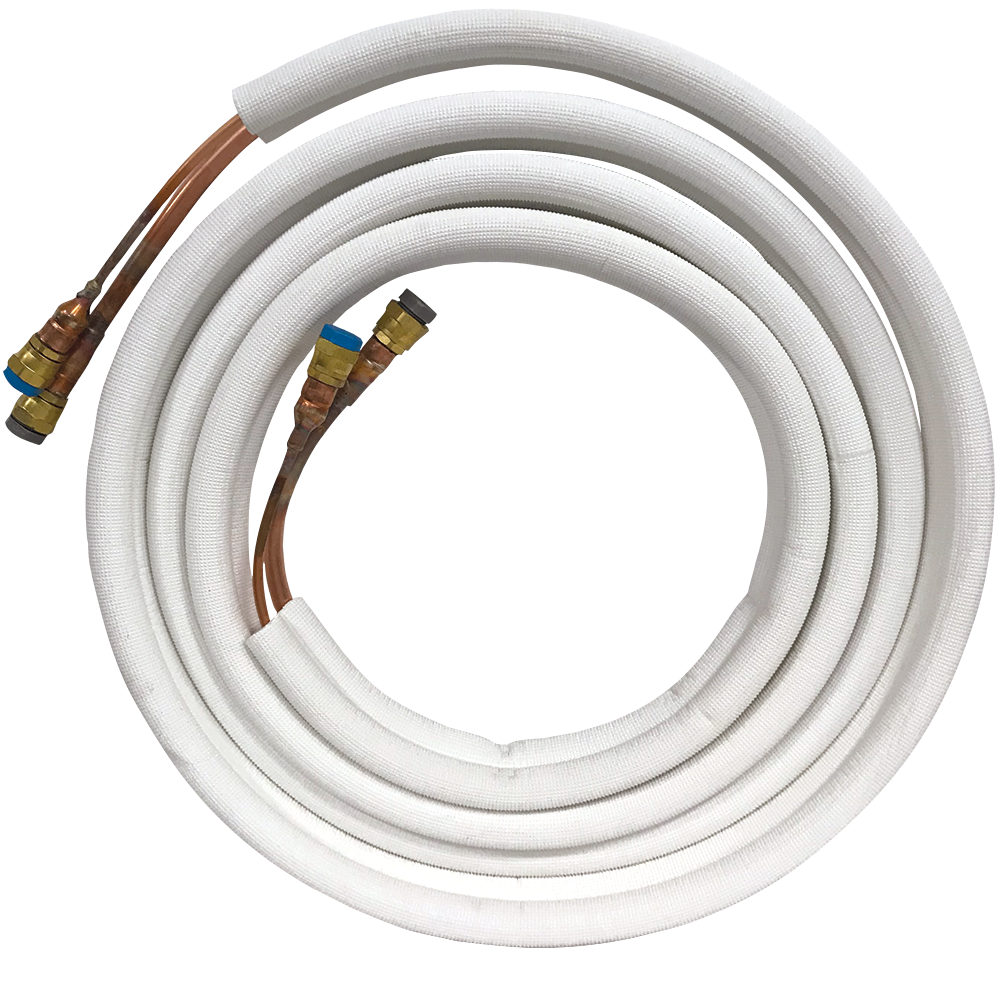
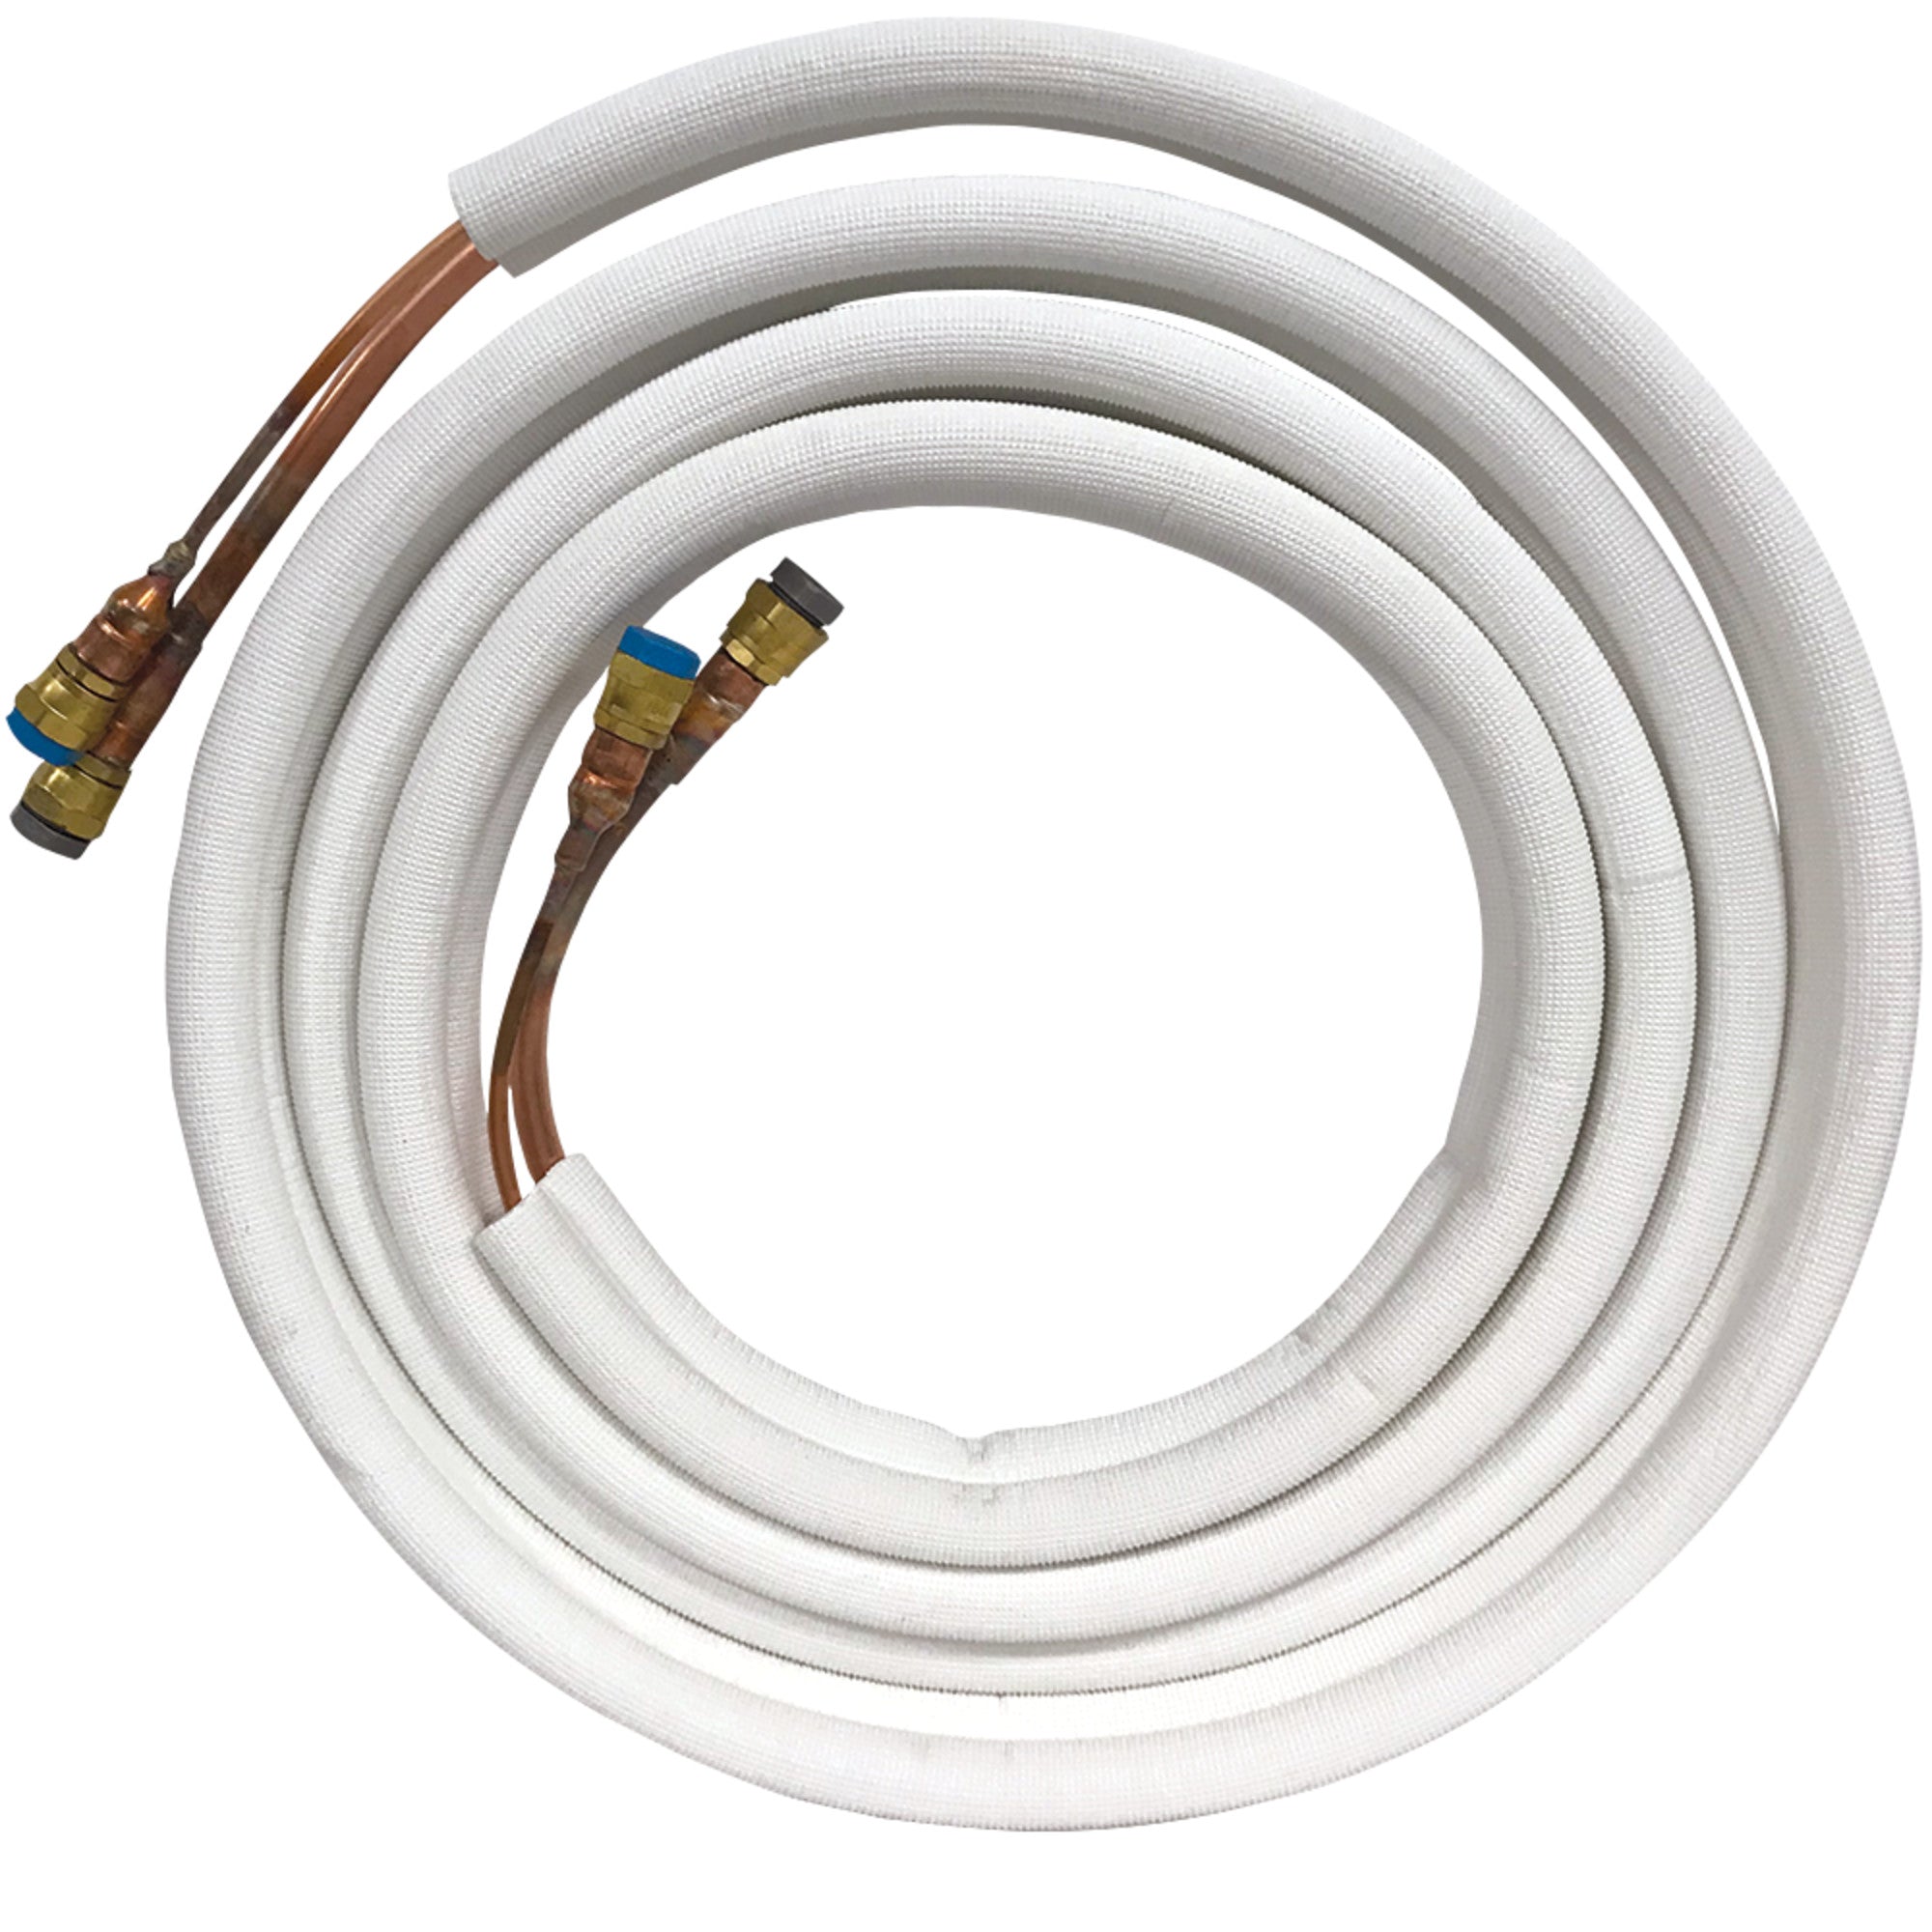
- Pre-charged refrigerant lines so there’s no vacuuming, flaring, or refrigerant handling
- Quick-connect fittings that seal automatically when connected
- No need for gauges, pumps, or refrigerant certification
- Clear, step-by-step instructions written for homeowners, not technicians
If a system requires you to evacuate lines, weigh in refrigerant, or pressure-test connections, that’s no longer a DIY install. At that point, you’re crossing into licensed HVAC territory.
This distinction matters. Choosing a true DIY system keeps the project predictable, reduces risk, and lets you focus on the parts you can confidently handle with standard tools and careful planning.
Red Flags That a System Isn’t Truly DIY
When you’re reading a product listing, certain phrases can signal that a system may not be designed for a first-time installer. Watch for these common red flags:
-
“Professional installation required”
- This usually means specialized tools, certifications, or refrigerant handling are involved.
-
Mentions of vacuum pumps, gauges, or refrigerant charging
- If the description references evacuating lines, pulling a vacuum, or adding refrigerant, it’s not a DIY setup.
-
“Line set not included” or “field-charged line set required”
- DIY systems typically include pre-charged lines sized for the system. Separate or uncharged line sets are a warning sign.
-
Flaring or brazing required
- Any mention of flaring copper lines or brazing connections points to pro-level HVAC work.
-
Vague installation language
- Listings that say “installer responsible for…” or “installed per local HVAC code” without clarity often assume a licensed technician.
-
No mention of quick-connect or pre-charged technology
- True DIY systems are proud of this feature and call it out clearly.
If a product description leaves you wondering whether you’ll need specialty tools or outside help, that uncertainty alone is a red flag. A genuine DIY mini-split should clearly state that it’s designed for homeowner installation, start to finish.
4. Know the Tools You’ll Actually Need
One of the biggest misconceptions about mini-split installation is that it requires specialty HVAC equipment. That’s true for traditional systems, but not for a properly designed DIY mini-split.
Most first-time installers are relieved to find they already own the majority of the tools needed.
Common tools you’ll likely use:
- Drill and drill bits
- Level
- Stud finder
- Tape measure
- Adjustable wrench or socket set
- Screwdrivers
- Utility knife
- Safety gear like gloves and eye protection
That’s it. No vacuum pumps. No gauges. No refrigerant handling. If a system requires those, it’s not DIY, no matter how it’s marketed. This is where true DIY systems earn their name: fewer tools, fewer steps, and far fewer opportunities to overcomplicate the job.
5. Outdoor Unit Placement Matters
Where you place the outdoor condenser has a direct impact on how well your system performs and how long it lasts. This isn’t just about convenience. It’s about protecting your investment.
A few non-negotiables to keep in mind:
- The unit must sit on a flat, level surface
- Adequate clearance from walls and obstructions is required for airflow
- The condenser should never sit directly on soil, mulch, or uneven ground
In colder or snow-prone regions, elevation matters even more. Keeping the outdoor unit raised helps prevent snow buildup, ice formation, and debris from interfering with airflow or drainage.
This is where mounting accessories earn their keep. Condenser pads, wall brackets, and mounting blocks help:
- Keep the unit level over time
- Protect it from ground moisture and shifting
- Improve performance by maintaining proper airflow
- Extend the life of the system
It’s easy to think of these as optional add-ons, but in reality, proper placement is part of doing the install right the first time.
6. Drainage and Line Routing Are Easy to Get Wrong
If there’s one step that trips up first-time installers, it’s drainage. Not because it’s complicated, but because it’s easy to rush.
Mini-splits rely on gravity to move condensation away from the indoor unit. That means the drain line must always slope downward, from the unit to its exit point. No dips. No flat runs. No shortcuts.
A few things to get right from the start:
- The drain line should never run horizontally
- The outlet must be lower than the indoor unit
- The drain line should exit cleanly to the exterior, away from foundations
- When bundled, the drain line belongs at the bottom of the line set
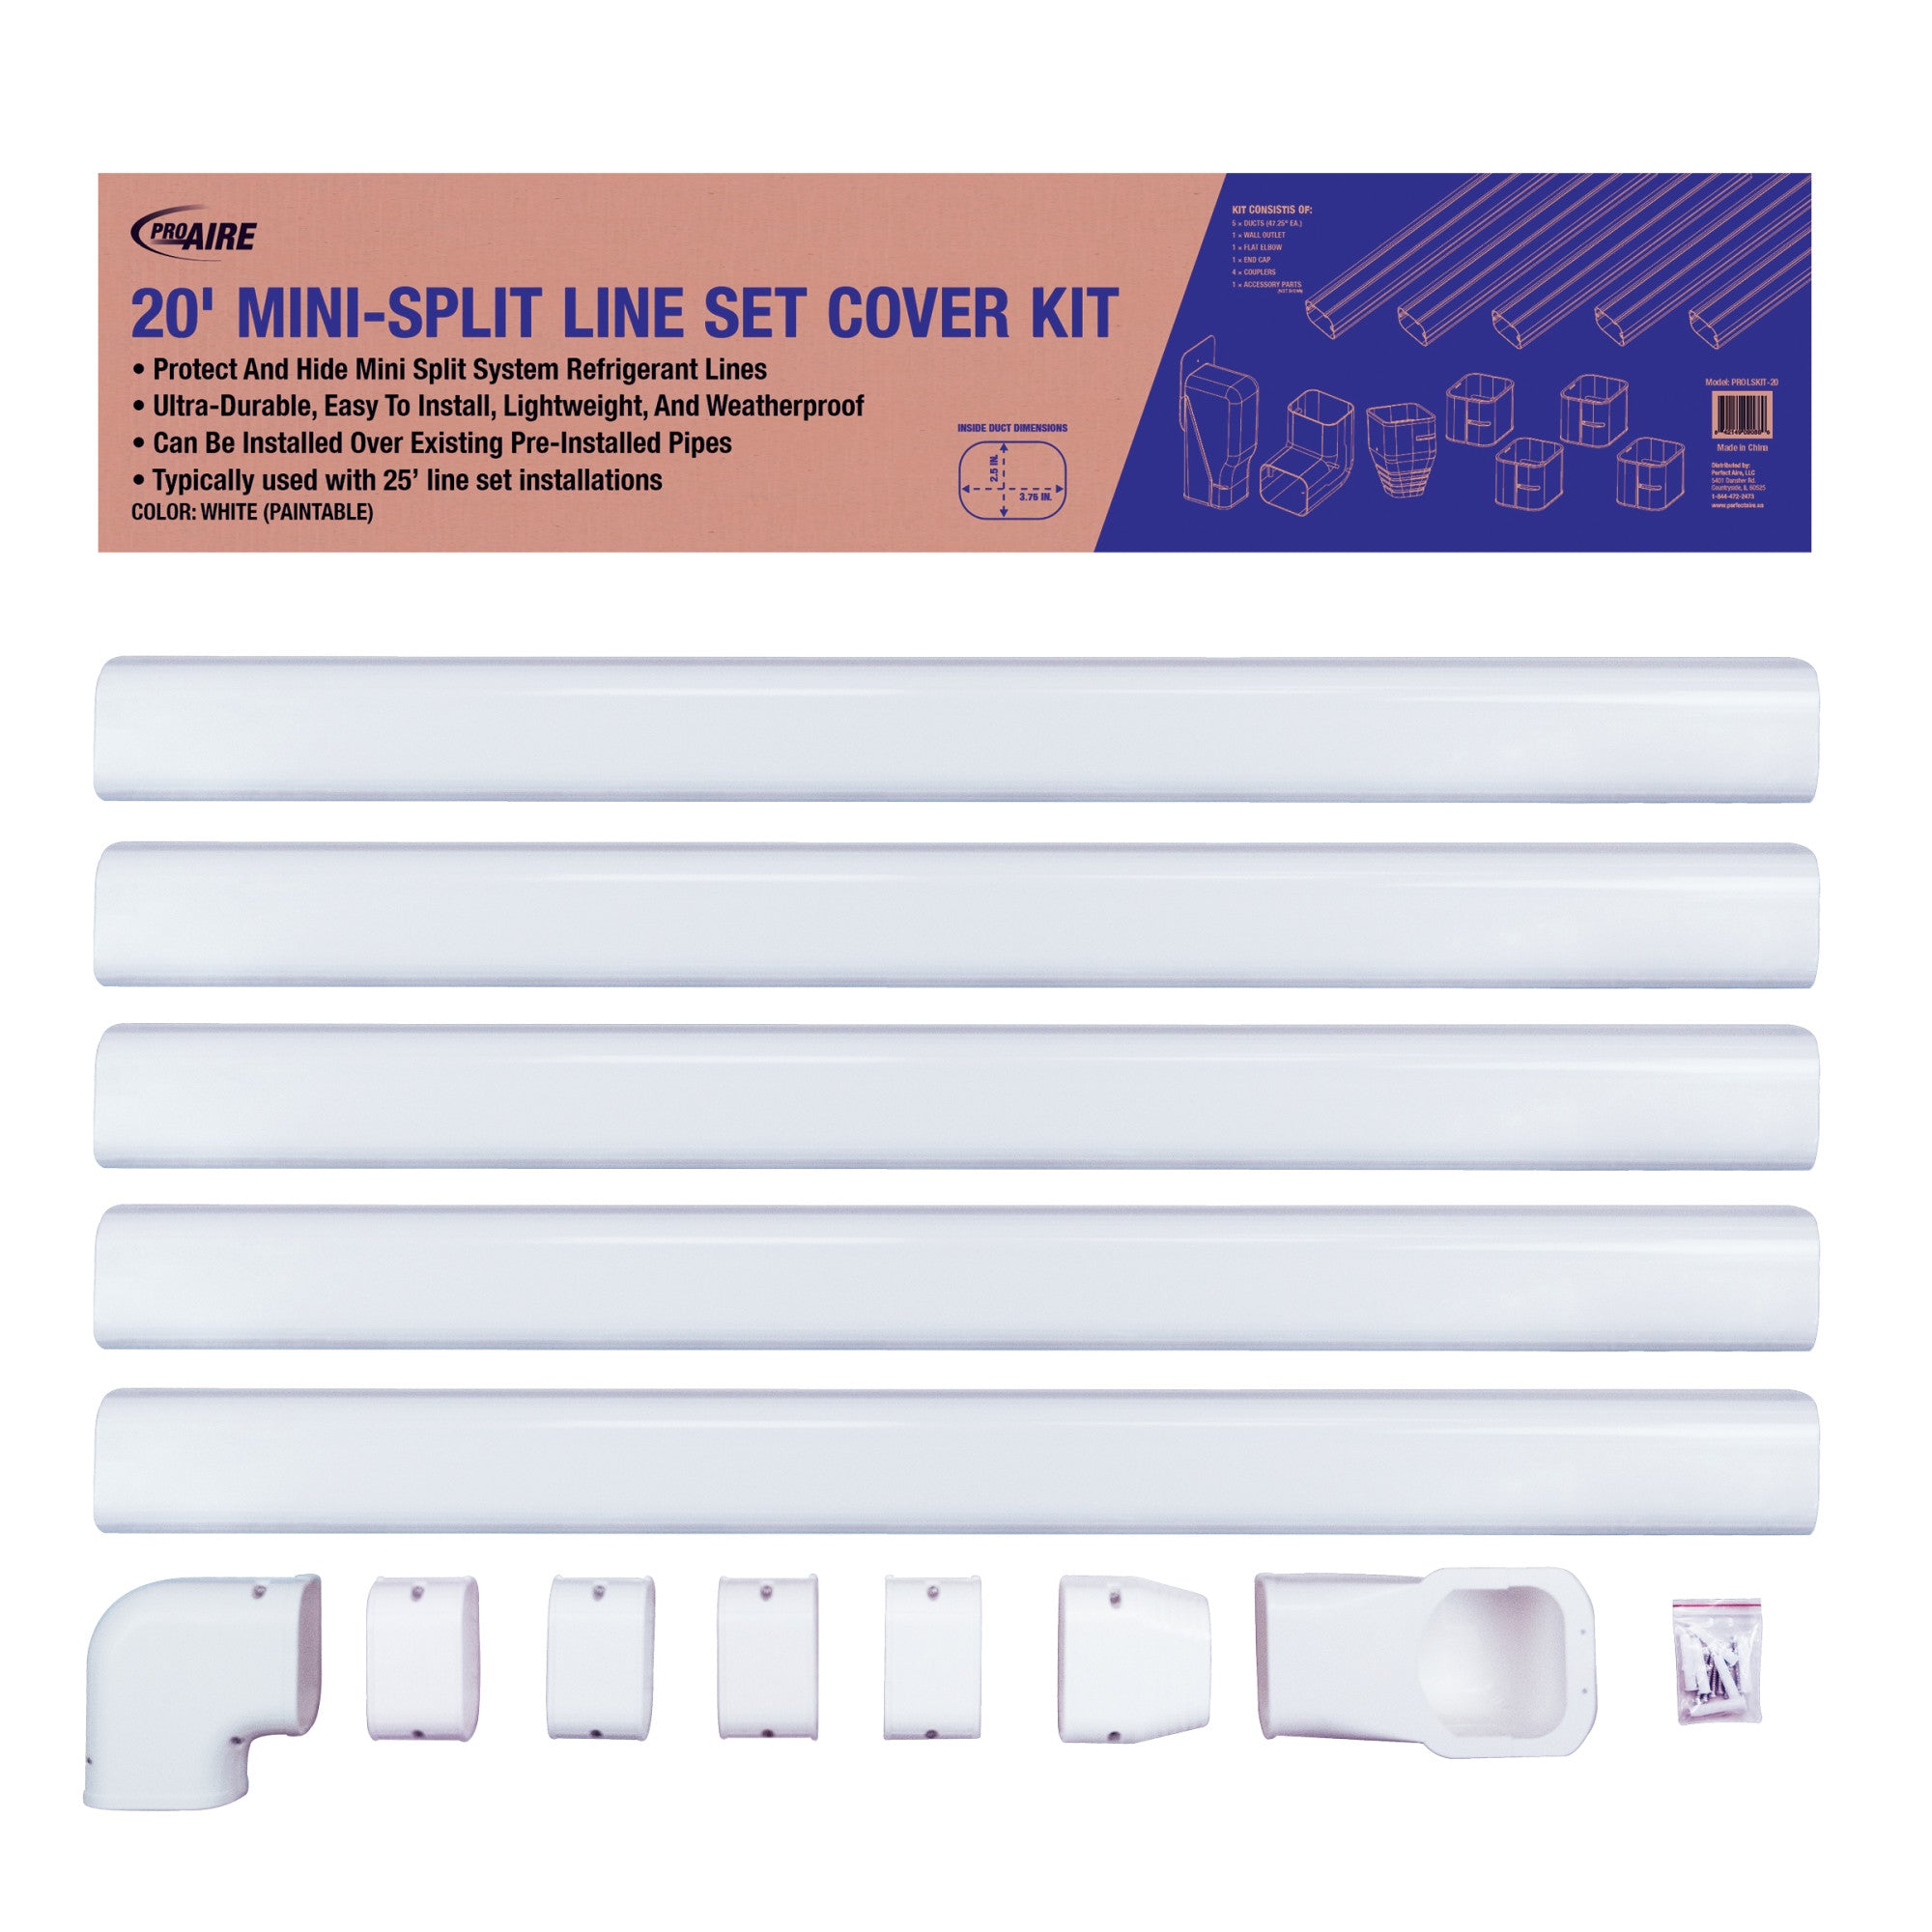
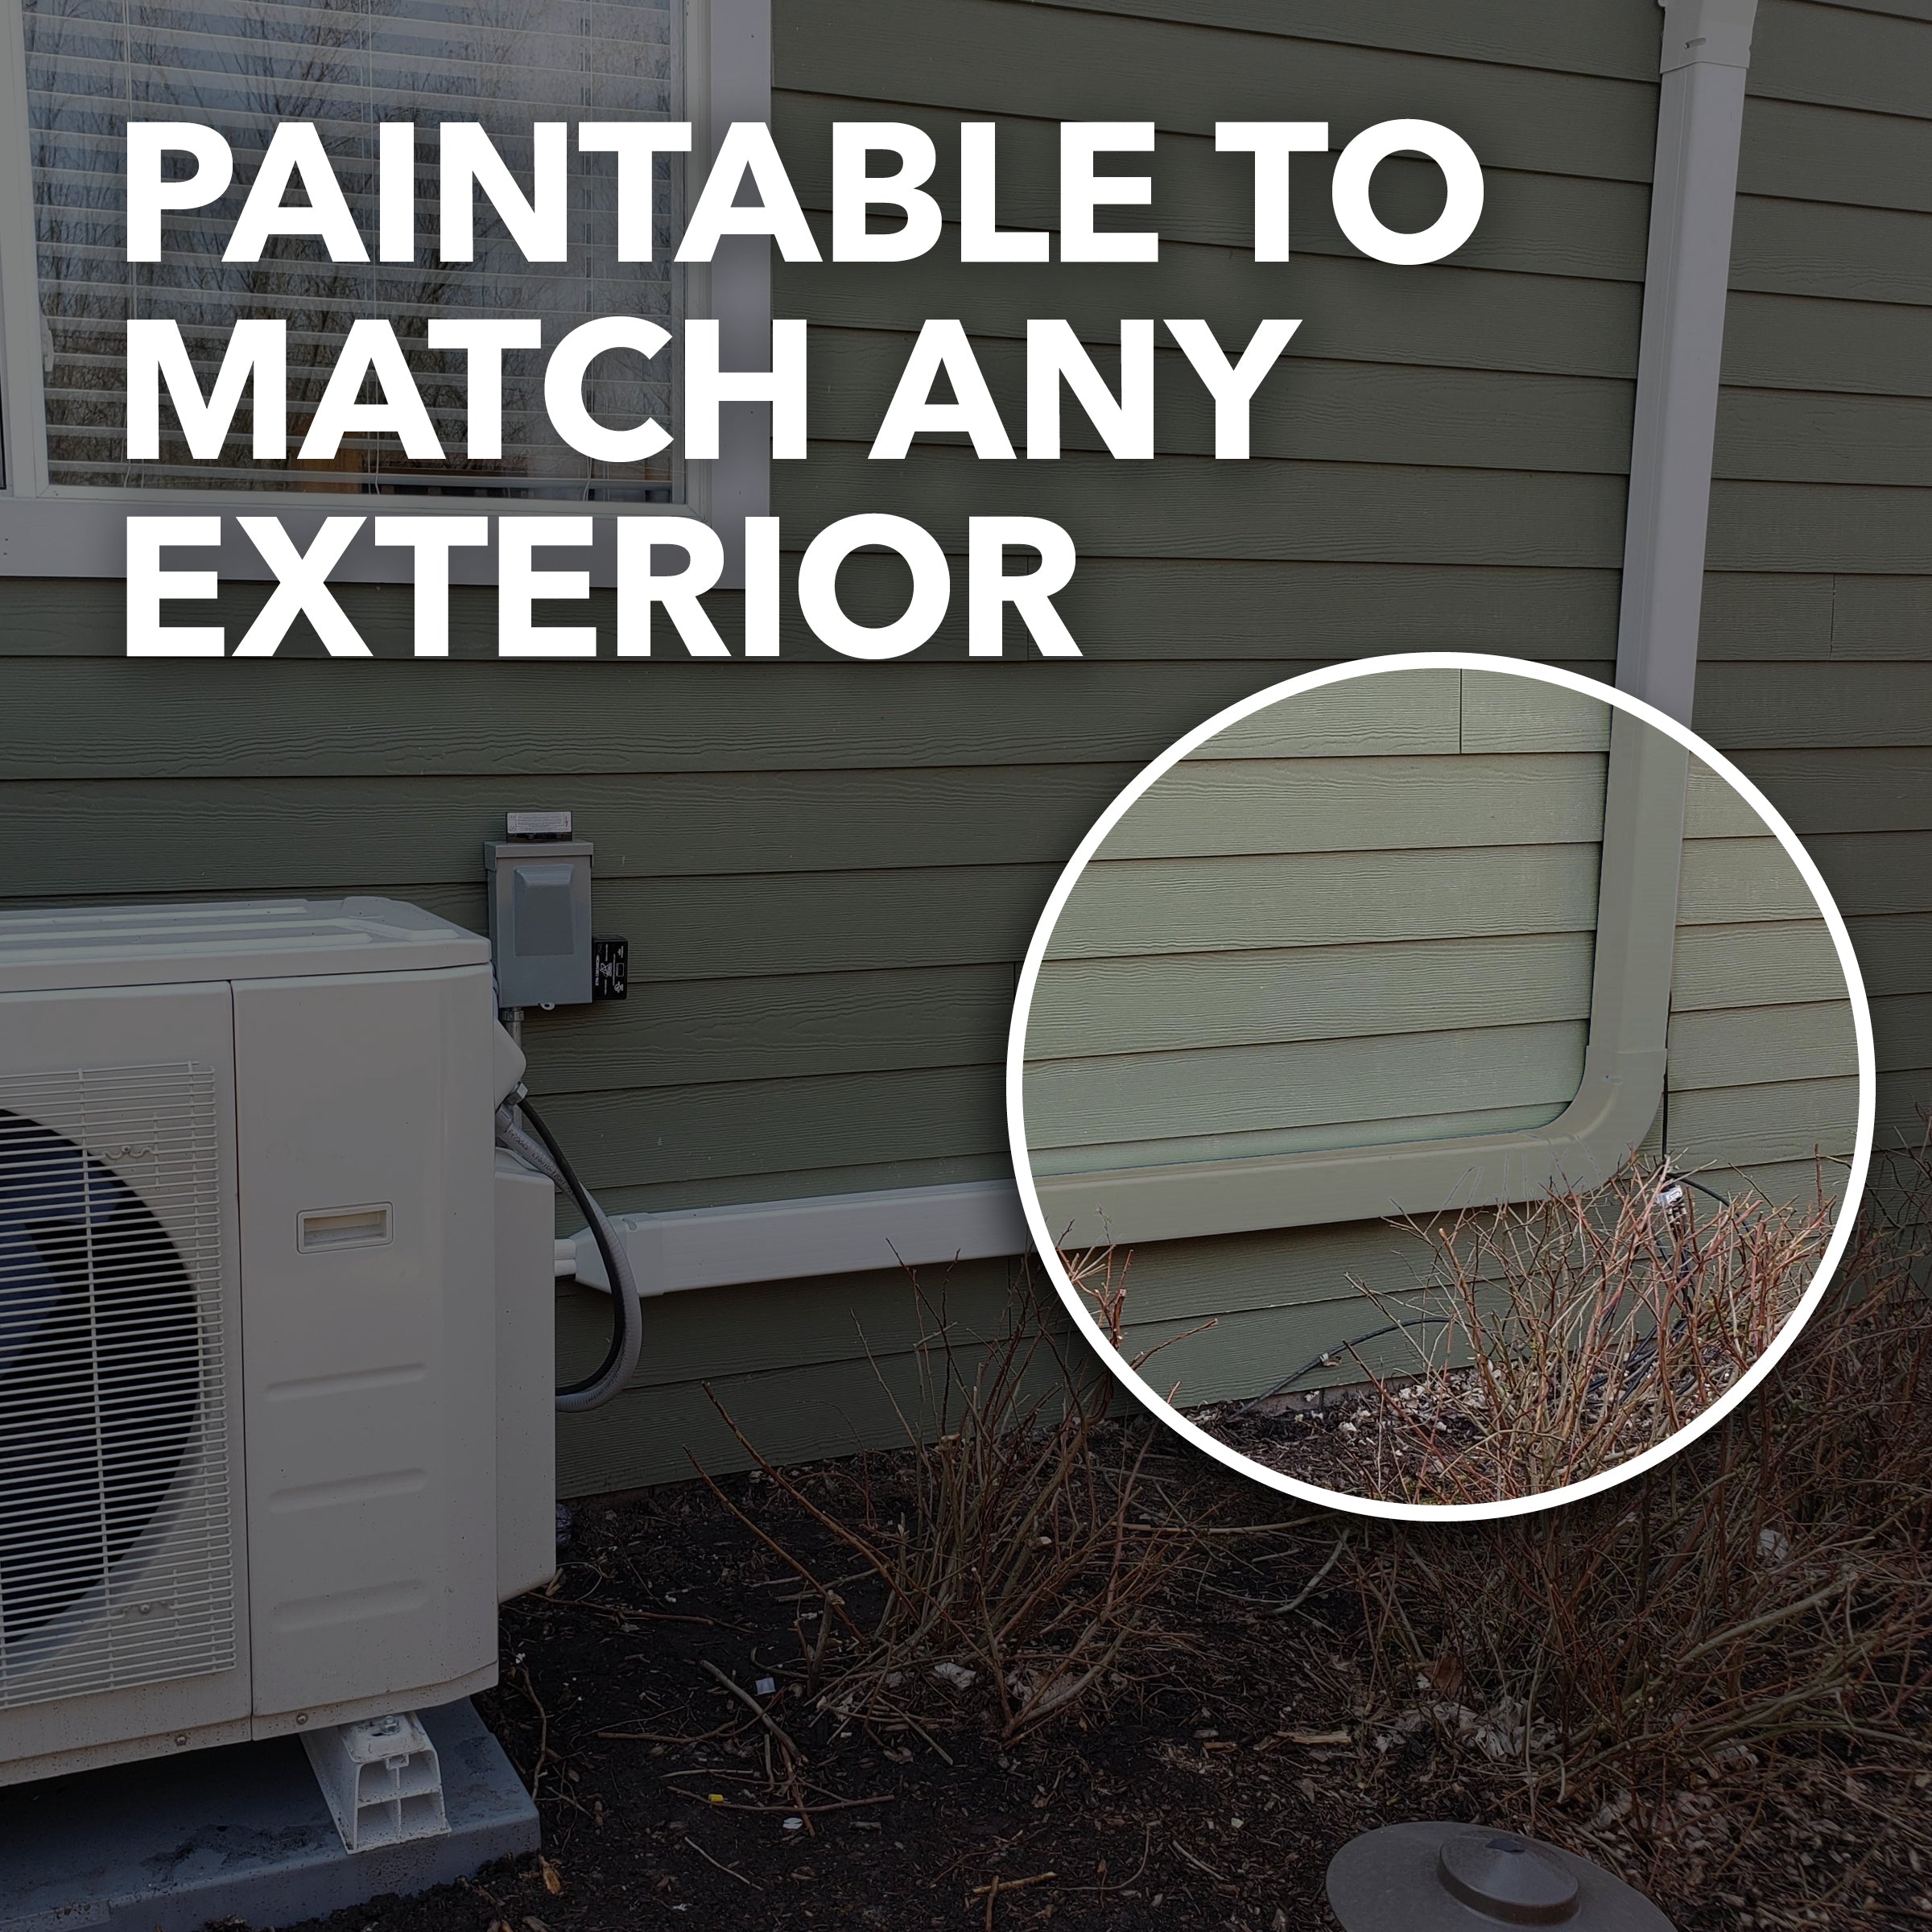
Routing order matters too. Planning your path before you drill helps avoid tight bends, kinks, or having to redo work later.
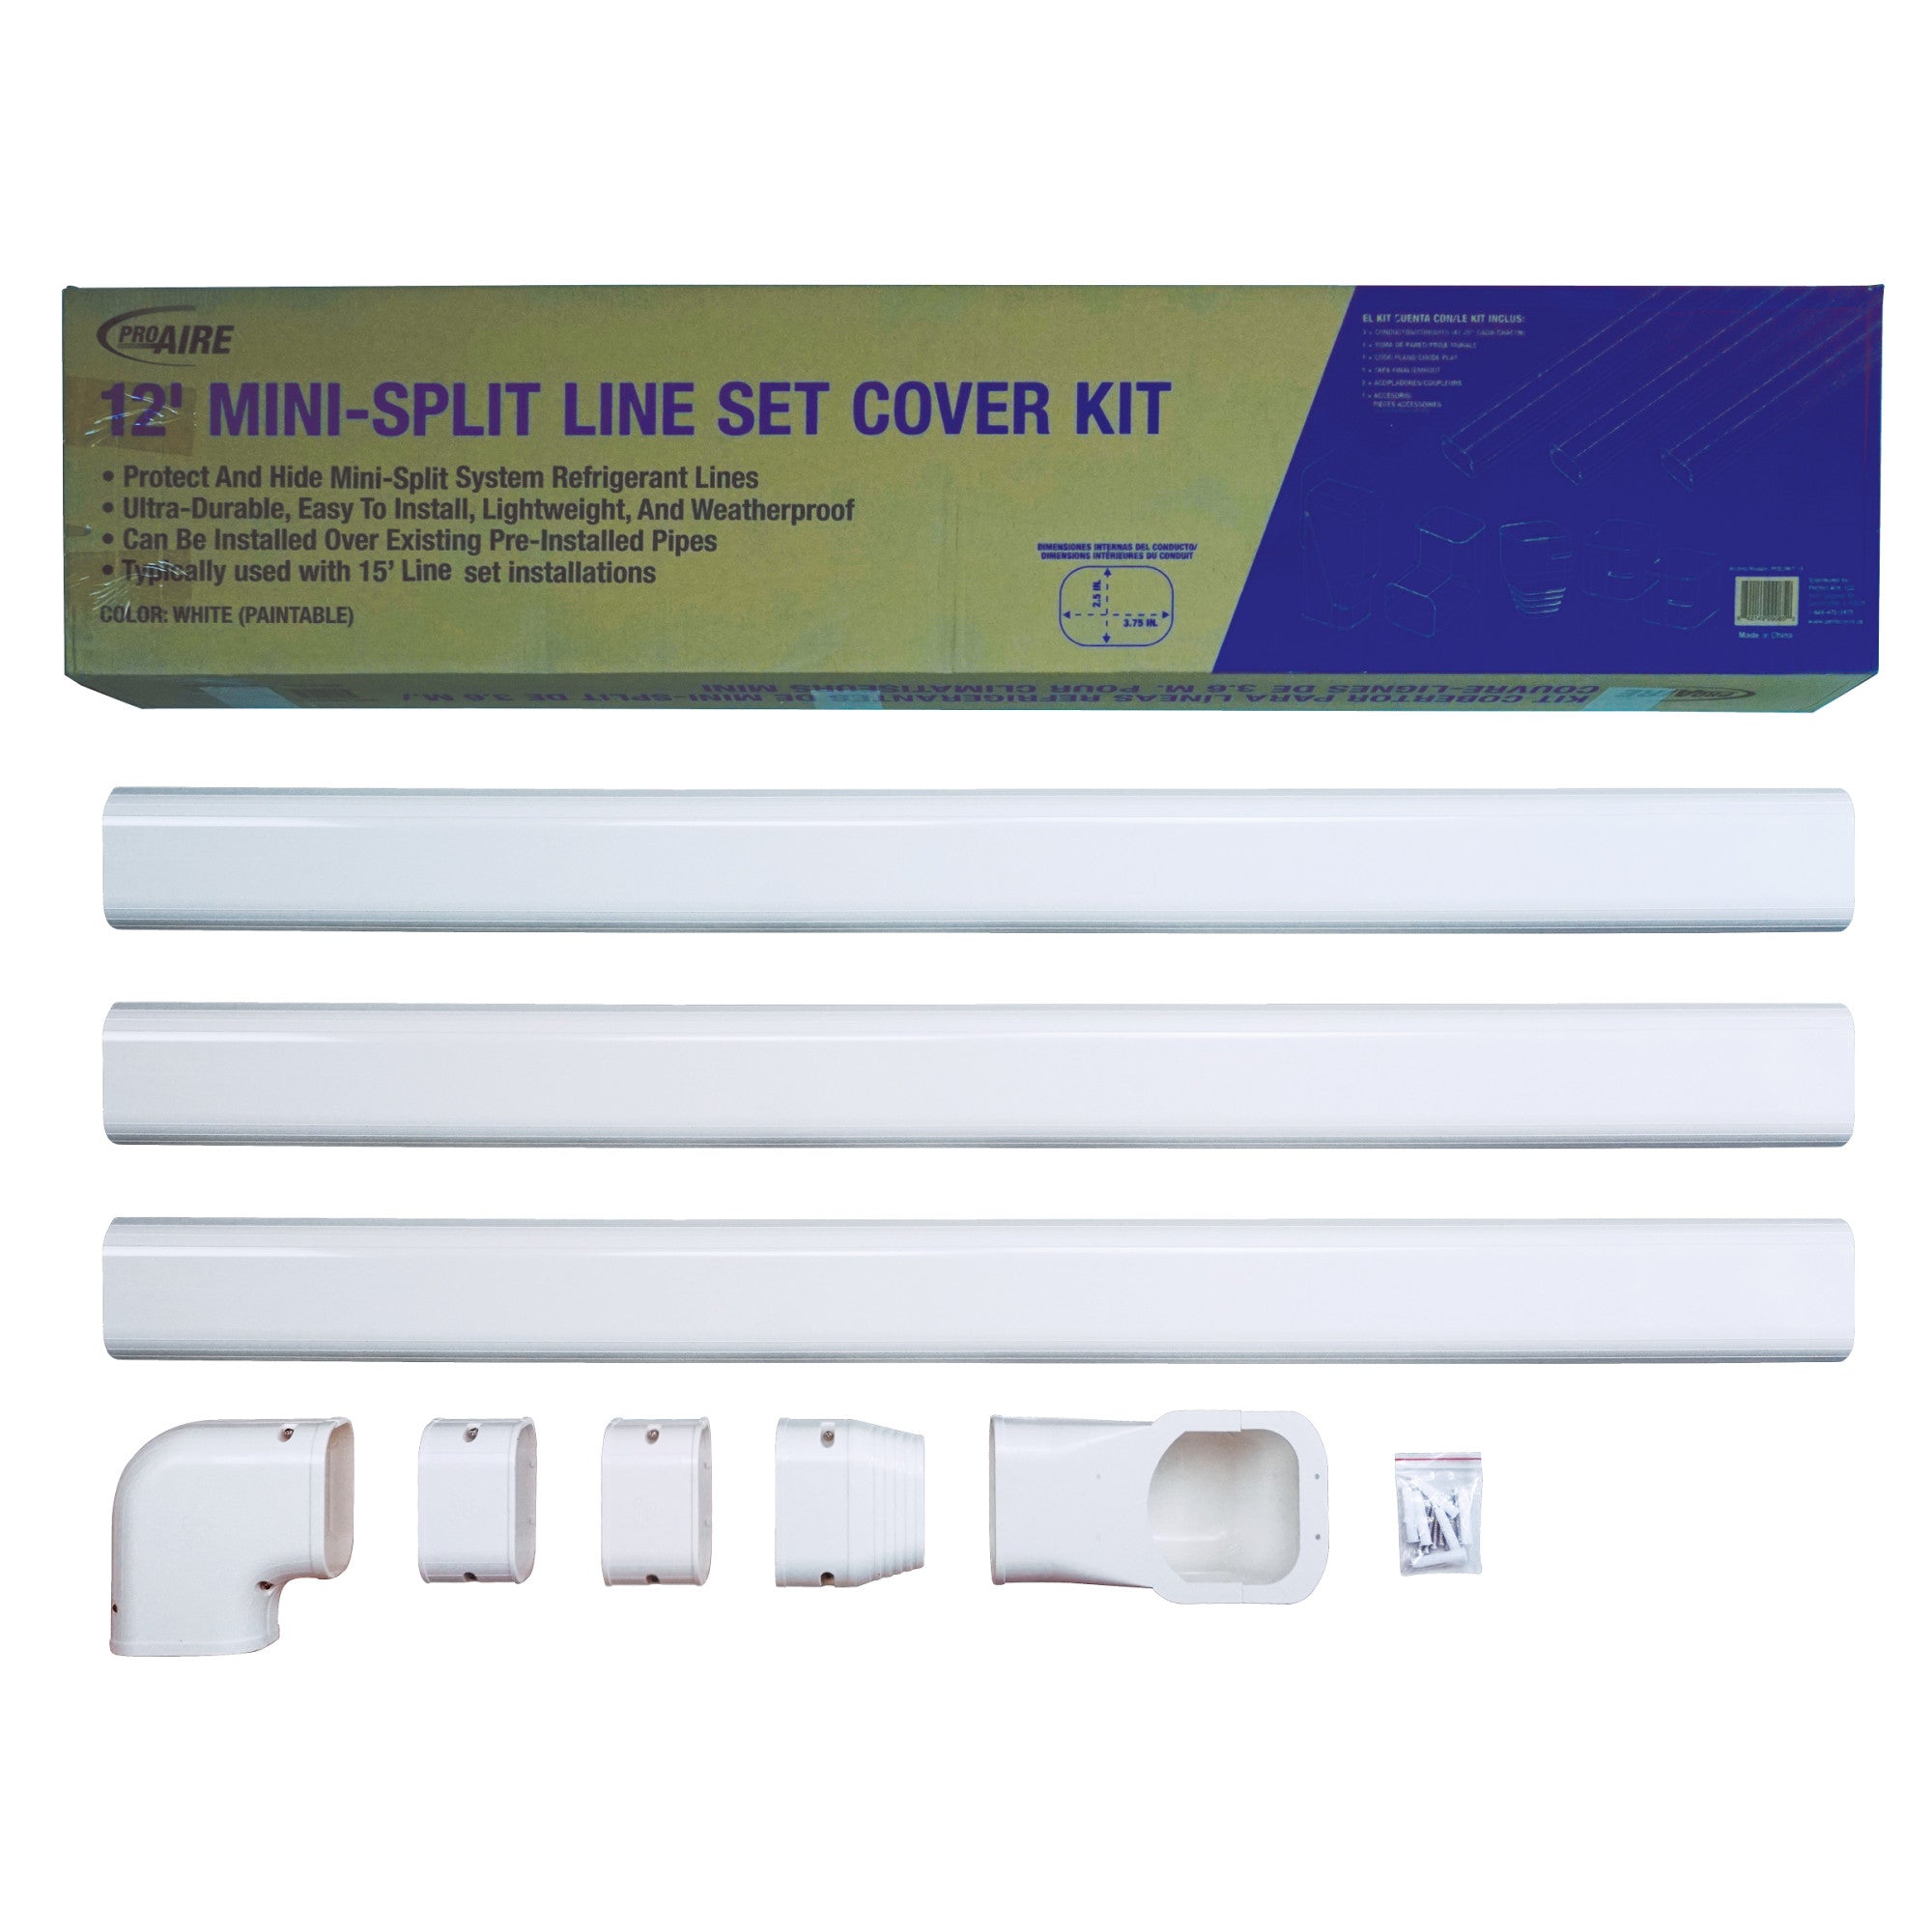
- Protect refrigerant lines and drain tubing from sun and weather
- Keep everything organized and properly aligned
- Reduce the chance of sagging or accidental damage over time
Drainage issues are one of the most common causes of callbacks and frustration. Taking an extra few minutes here saves hours later.
7. Final Checks That Protect Your Warranty
Once everything is mounted, connected, and routed, there are a few final checks that protect both your system and your warranty. This is not the step to rush.
Before powering on, make sure you:
- Fully open the condenser service valves
- Check all quick-connect fittings for leaks using a simple soap-and-water solution
- Confirm electrical connections are secure
- Verify the drain line is sloped correctly and unobstructed
Skipping or rushing these steps can lead to performance issues later, even if everything else looks right. Taking an extra 10 minutes here helps ensure the system runs efficiently from day one and keeps your warranty intact.
8. Smart Controls Are a Fun Bonus (But Not Necessary!)
DIY mini-splits are designed to work right out of the box using the included remote. No apps, no accounts, no setup required.
That said, if you enjoy app- or voice-controlled products, smart controls are a genuinely fun upgrade.
With Wi-Fi-enabled accessories, you can:
- Adjust temperatures from your phone
- Set schedules that follow your daily routine
- Make quick changes without being in the room
- Integrate comfort control into an existing smart home setup
The best part is flexibility. You can install the system first, get comfortable with how it runs, and activate the smart controls later if and when you want them. It keeps the install simple while giving tech-savvy homeowners something extra to enjoy down the road.
9. When It’s Smart to Pause and Call a Pro
Most homeowners complete DIY mini-split installs without issue, but there are times when bringing in a professional makes sense:
- You’re unsure about electrical panel capacity or wiring
- You uncover unexpected obstacles behind the wall
- You simply want peace of mind before powering on
Calling an electrician or contractor for one specific step is still very different from paying for a full HVAC installation. Knowing where to pause is part of doing the job right, not a failure.
10. Why First-Time Installers Choose DIY Mini-Splits
For many homeowners, the decision comes down to control and confidence.
DIY mini-splits offer:
- Predictable costs without labor surprises
- No scheduling delays or contractor timelines
- No specialized HVAC tools or certifications
- A clear, step-by-step installation process
- The satisfaction of upgrading your home yourself
When installed carefully, DIY systems deliver professional-grade comfort with a lot more flexibility (and a lot less cash!). That’s why so many first-time installers finish the job thinking the same thing: That wasn’t nearly as intimidating as I expected.
If you’re ready to upgrade your comfort without the cost or complexity of a traditional HVAC install, DIY mini-splits are a smart place to start.
At The HVAC Spot, we make it easier to choose the right system with DIY Quick Connect mini-splits designed to install with tools you already own.
Explore our DIY mini-split systems, accessories, and buying guides to plan your install with confidence and upgrade your space on your timeline.