What Size Mini-Split Do I Need?
This is one of the most common HVAC questions online — and for good reason.
If your system is too small, it runs nonstop and never quite catches up. Too large, and it cycles on and off inefficiently. Either way, comfort and efficiency suffer.
In this guide, we’ll walk through:
- How to calculate the right BTU size
- What factors affect performance
- Where to place the indoor and outdoor units
- How to measure your line-set run
- What to check before you buy
No guesswork. Just a simple plan you can follow with confidence.
Step 1: Measure the Room (Start With Square Footage)
The first step is simple: measure the space you’re conditioning.
Multiply the length of the room by the width to get total square footage.
Example: 12 ft × 20 ft = 240 sq ft
If the space is open-concept, include the entire connected area the mini-split will serve. Do not size it for just one corner of a larger open room.
General BTU Sizing Guide (Single-Zone Systems)
|
Room Size (Approx.)
|
Recommended BTU
|
|
150–300 sq ft
|
9,000 BTU
|
|
300–500 sq ft
|
12,000 BTU
|
|
500–750 sq ft
|
18,000 BTU
|
|
750–1,000 sq ft
|
24,000 BTU
|
|
1,000–1,500 sq ft
|
36,000 BTU
|
This is a starting point, not the final answer.
Ceiling height matters. So does insulation. A well-sealed 400 sq ft room may perform differently than a drafty 400 sq ft space with large windows. We’ll factor that in next.

Step 2: Account for Heat Load Factors (What Changes the BTU You Need?)
Square footage gets you close. Heat load factors fine-tune the decision.
Not all 400 sq ft rooms behave the same. A shaded bedroom in a well-insulated home is very different from a sun-soaked attic conversion.
Here’s what can increase your BTU needs:
- High ceilings (over 8 feet)
- Large windows or lots of glass
- South- or west-facing sun exposure
- Poor insulation
- Kitchens with appliances
- Garage conversions
- Rooms over unconditioned spaces
If several of these apply, consider sizing toward the higher end of your square-foot range.
What Happens If You Oversize or Undersize?
- Too small: The system runs constantly and struggles to reach set temperature.
- Too large: The unit short cycles, turning on and off too frequently, reducing efficiency and comfort.
Proper sizing improves efficiency, comfort, and long-term performance. Next, we’ll confirm something just as important as BTUs.

Step 3: Confirm Electrical Requirements (115V vs 230V)
Before you click “add to cart,” check your panel.
DIY mini-splits do not plug into a standard outlet. They require a dedicated circuit connected directly to your electrical panel.
For most single-zone systems:
- 9,000 and 12,000 BTU units typically use 115V
- 18,000, 24,000, and 36,000 BTU units typically use 230V
Larger systems draw more power, which is why voltage increases with capacity.
What to Check
- Available space in your electrical panel
- Correct breaker size
- Proper voltage for the unit you’re choosing
If you’re unsure, this is where bringing in an electrician makes sense. Many DIY homeowners handle the mounting and line set work themselves and hire a licensed electrician just for the final electrical connection.
Sizing the system correctly is only part of the equation. Making sure it’s powered properly is the difference between an operational system and one that’s dead in the water.
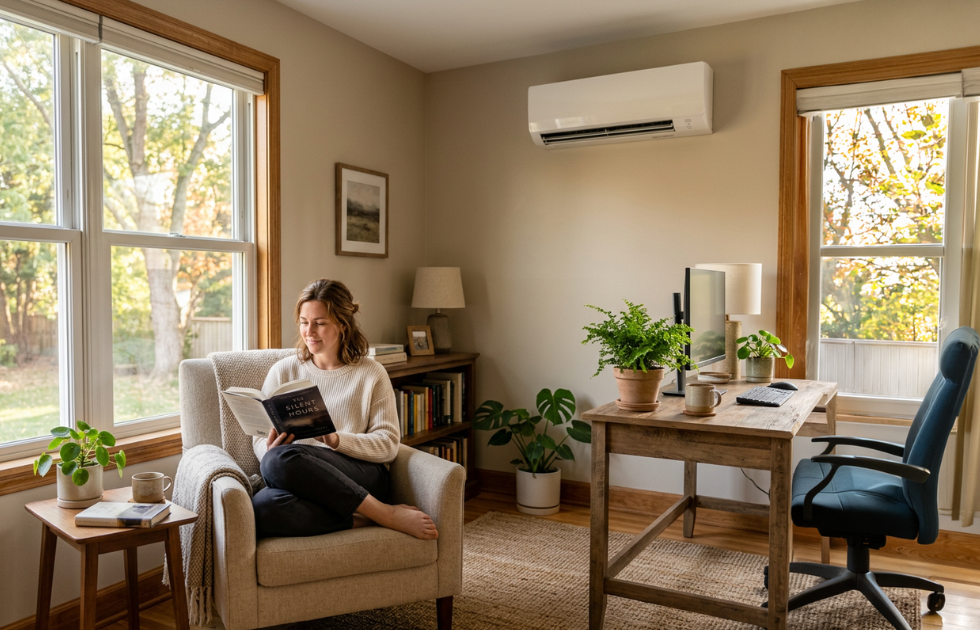
Step 4: Where Should the Indoor Unit Go?
Placement affects performance more than most people realize.
Wall-mounted indoor units should be installed high on the wall, typically 6–8 inches below the ceiling, where airflow can circulate evenly across the room.
Keep These Guidelines in Mind:
- Leave proper clearance on both sides and above the unit
- Avoid placing it directly above heat sources
- Keep it away from direct, prolonged sunlight
- Do not block airflow with furniture or tall shelving
The goal is simple: allow air to move freely across the entire space.
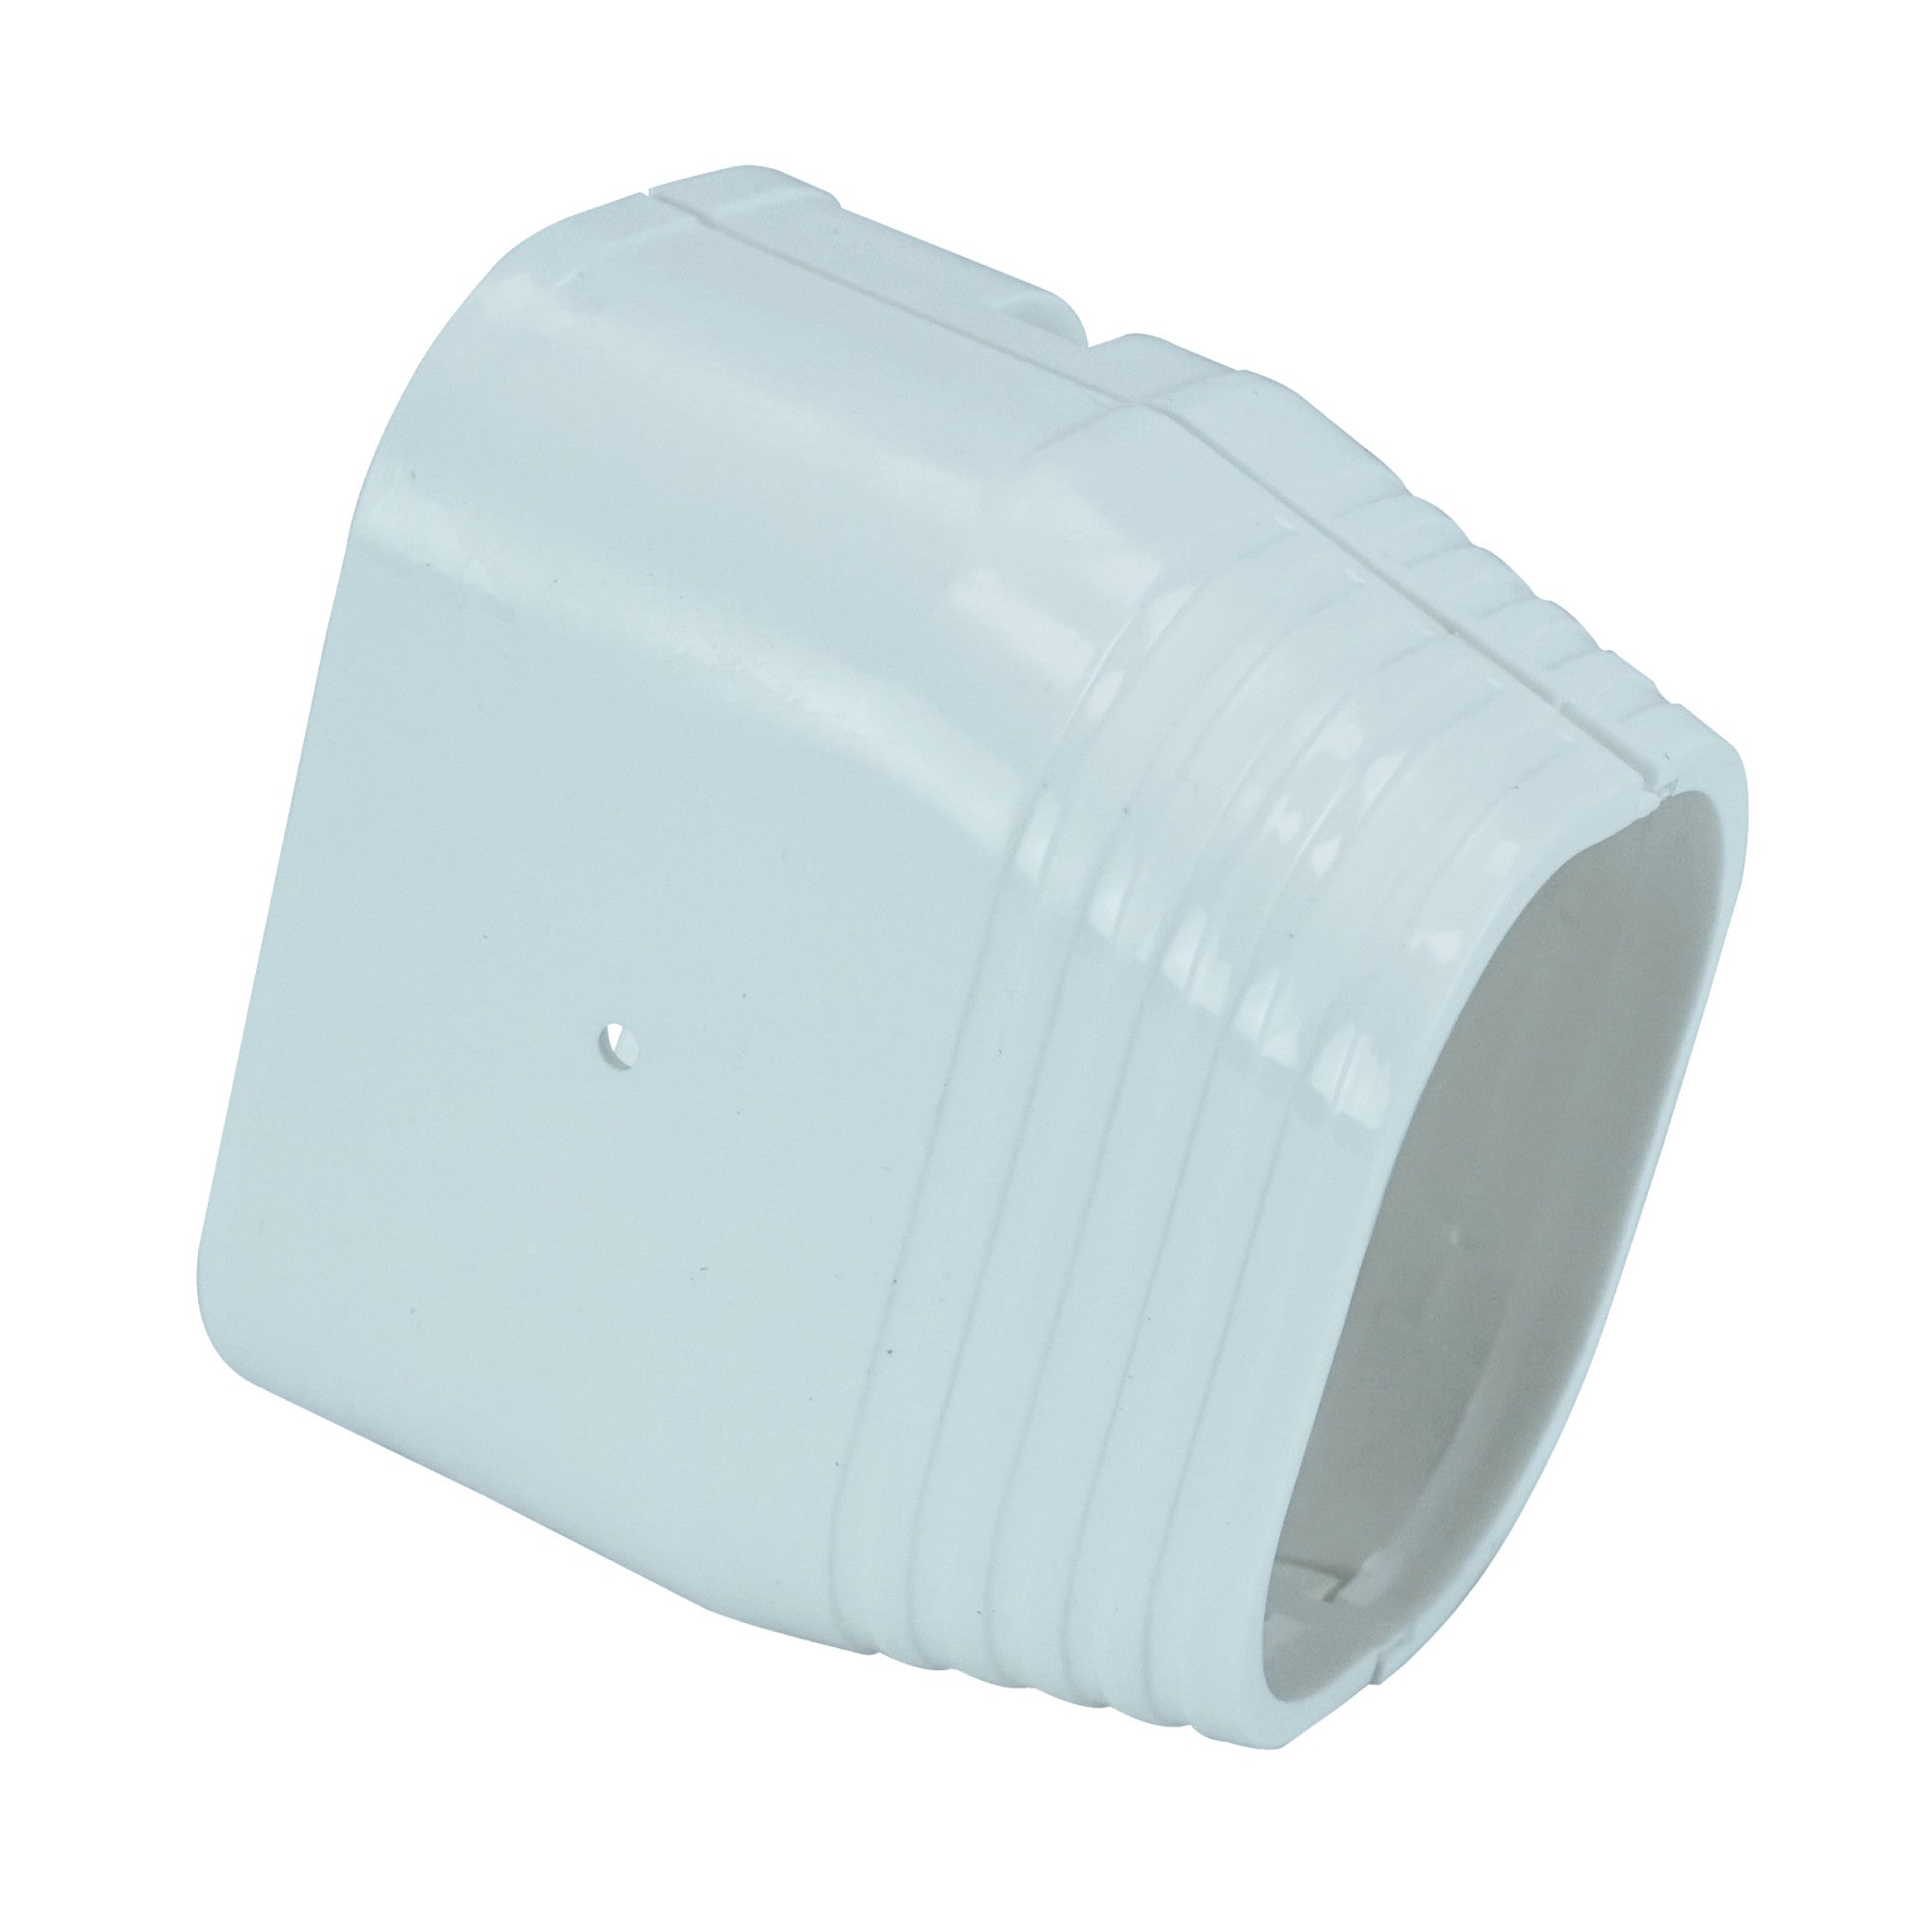
Also think about your drill location. The small wall opening that connects to the outdoor unit should allow the line set and drain line to exit cleanly without sharp bends.
A well-placed indoor unit distributes air evenly and helps the system operate efficiently.

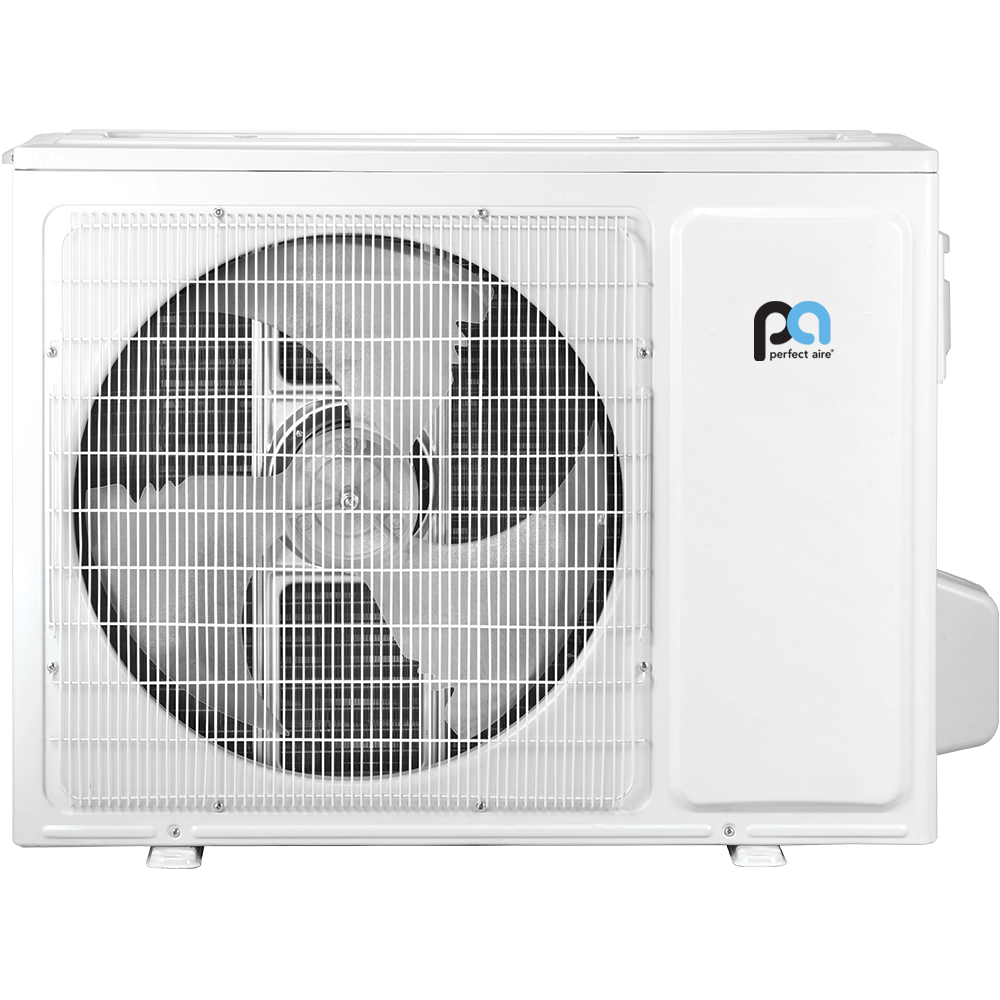
Step 5: Where Should the Outdoor Unit Be Installed?
The outdoor condenser needs stability, airflow, and protection.
Start with a flat, level surface. That’s non-negotiable. An uneven base can cause vibration, noise, and long-term wear. Mounting the unit on a condenser pad gives the unit a solid, level base.
Placement Guidelines:
- Leave proper clearance around the unit for airflow
- Keep it away from heavy debris zones
- Avoid tight corners that trap hot exhaust air
- Do not install directly on bare soil
In snow-prone regions, elevation matters. Mounting the unit on a wall bracket keeps it off the ground and away from standing water and drifting snow.
Also consider noise and proximity. While mini-splits are quiet, avoid placing the condenser directly outside a bedroom window if you can help it.
A properly placed outdoor unit runs more efficiently and lasts longer.

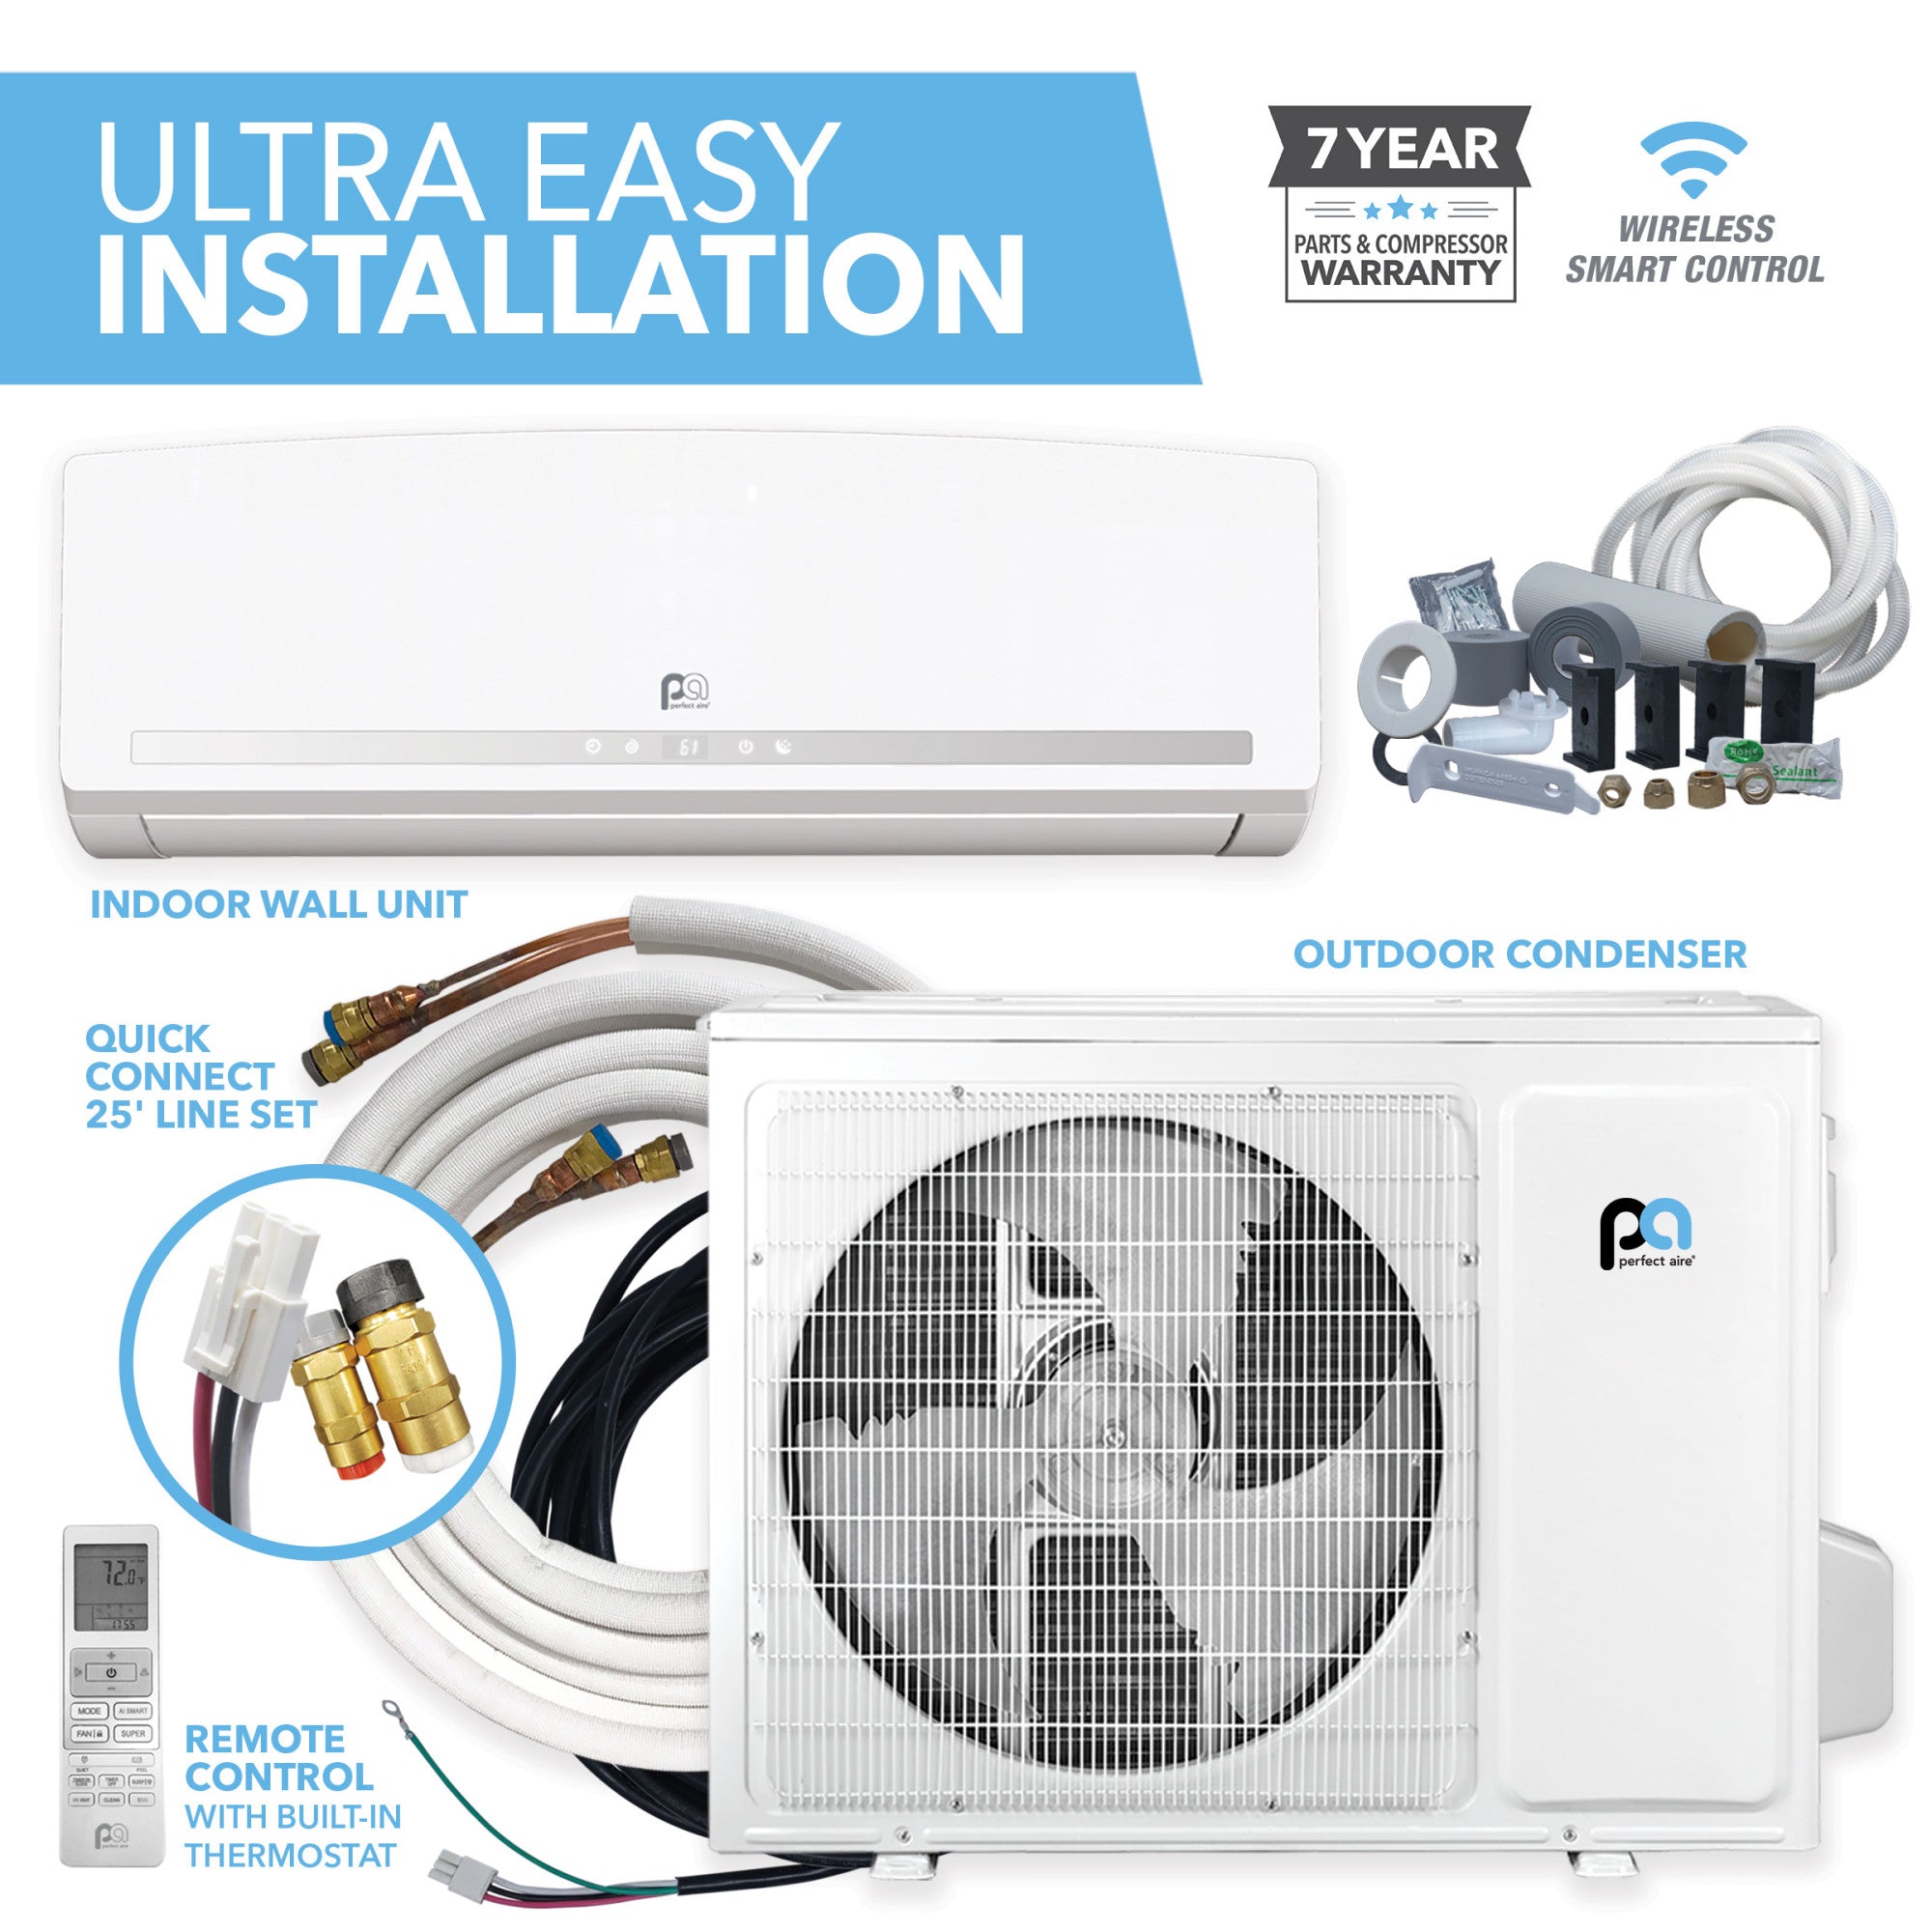
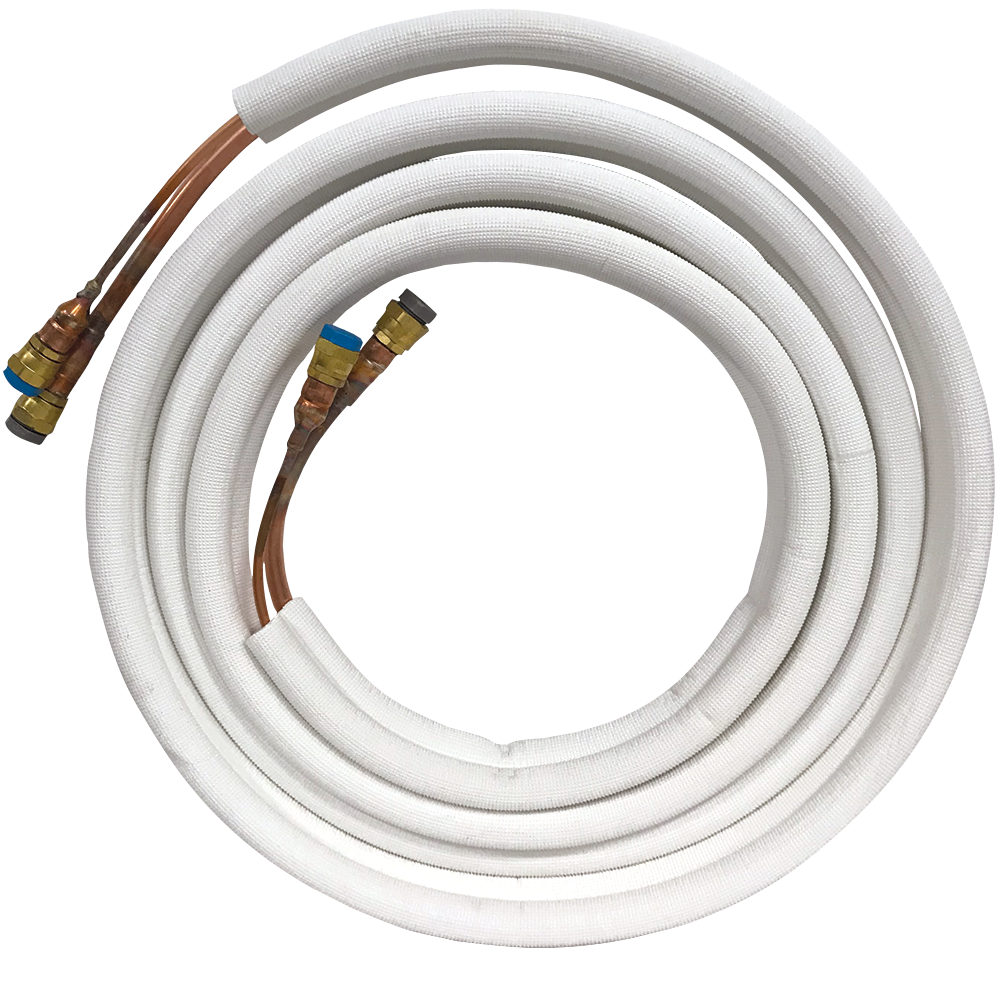
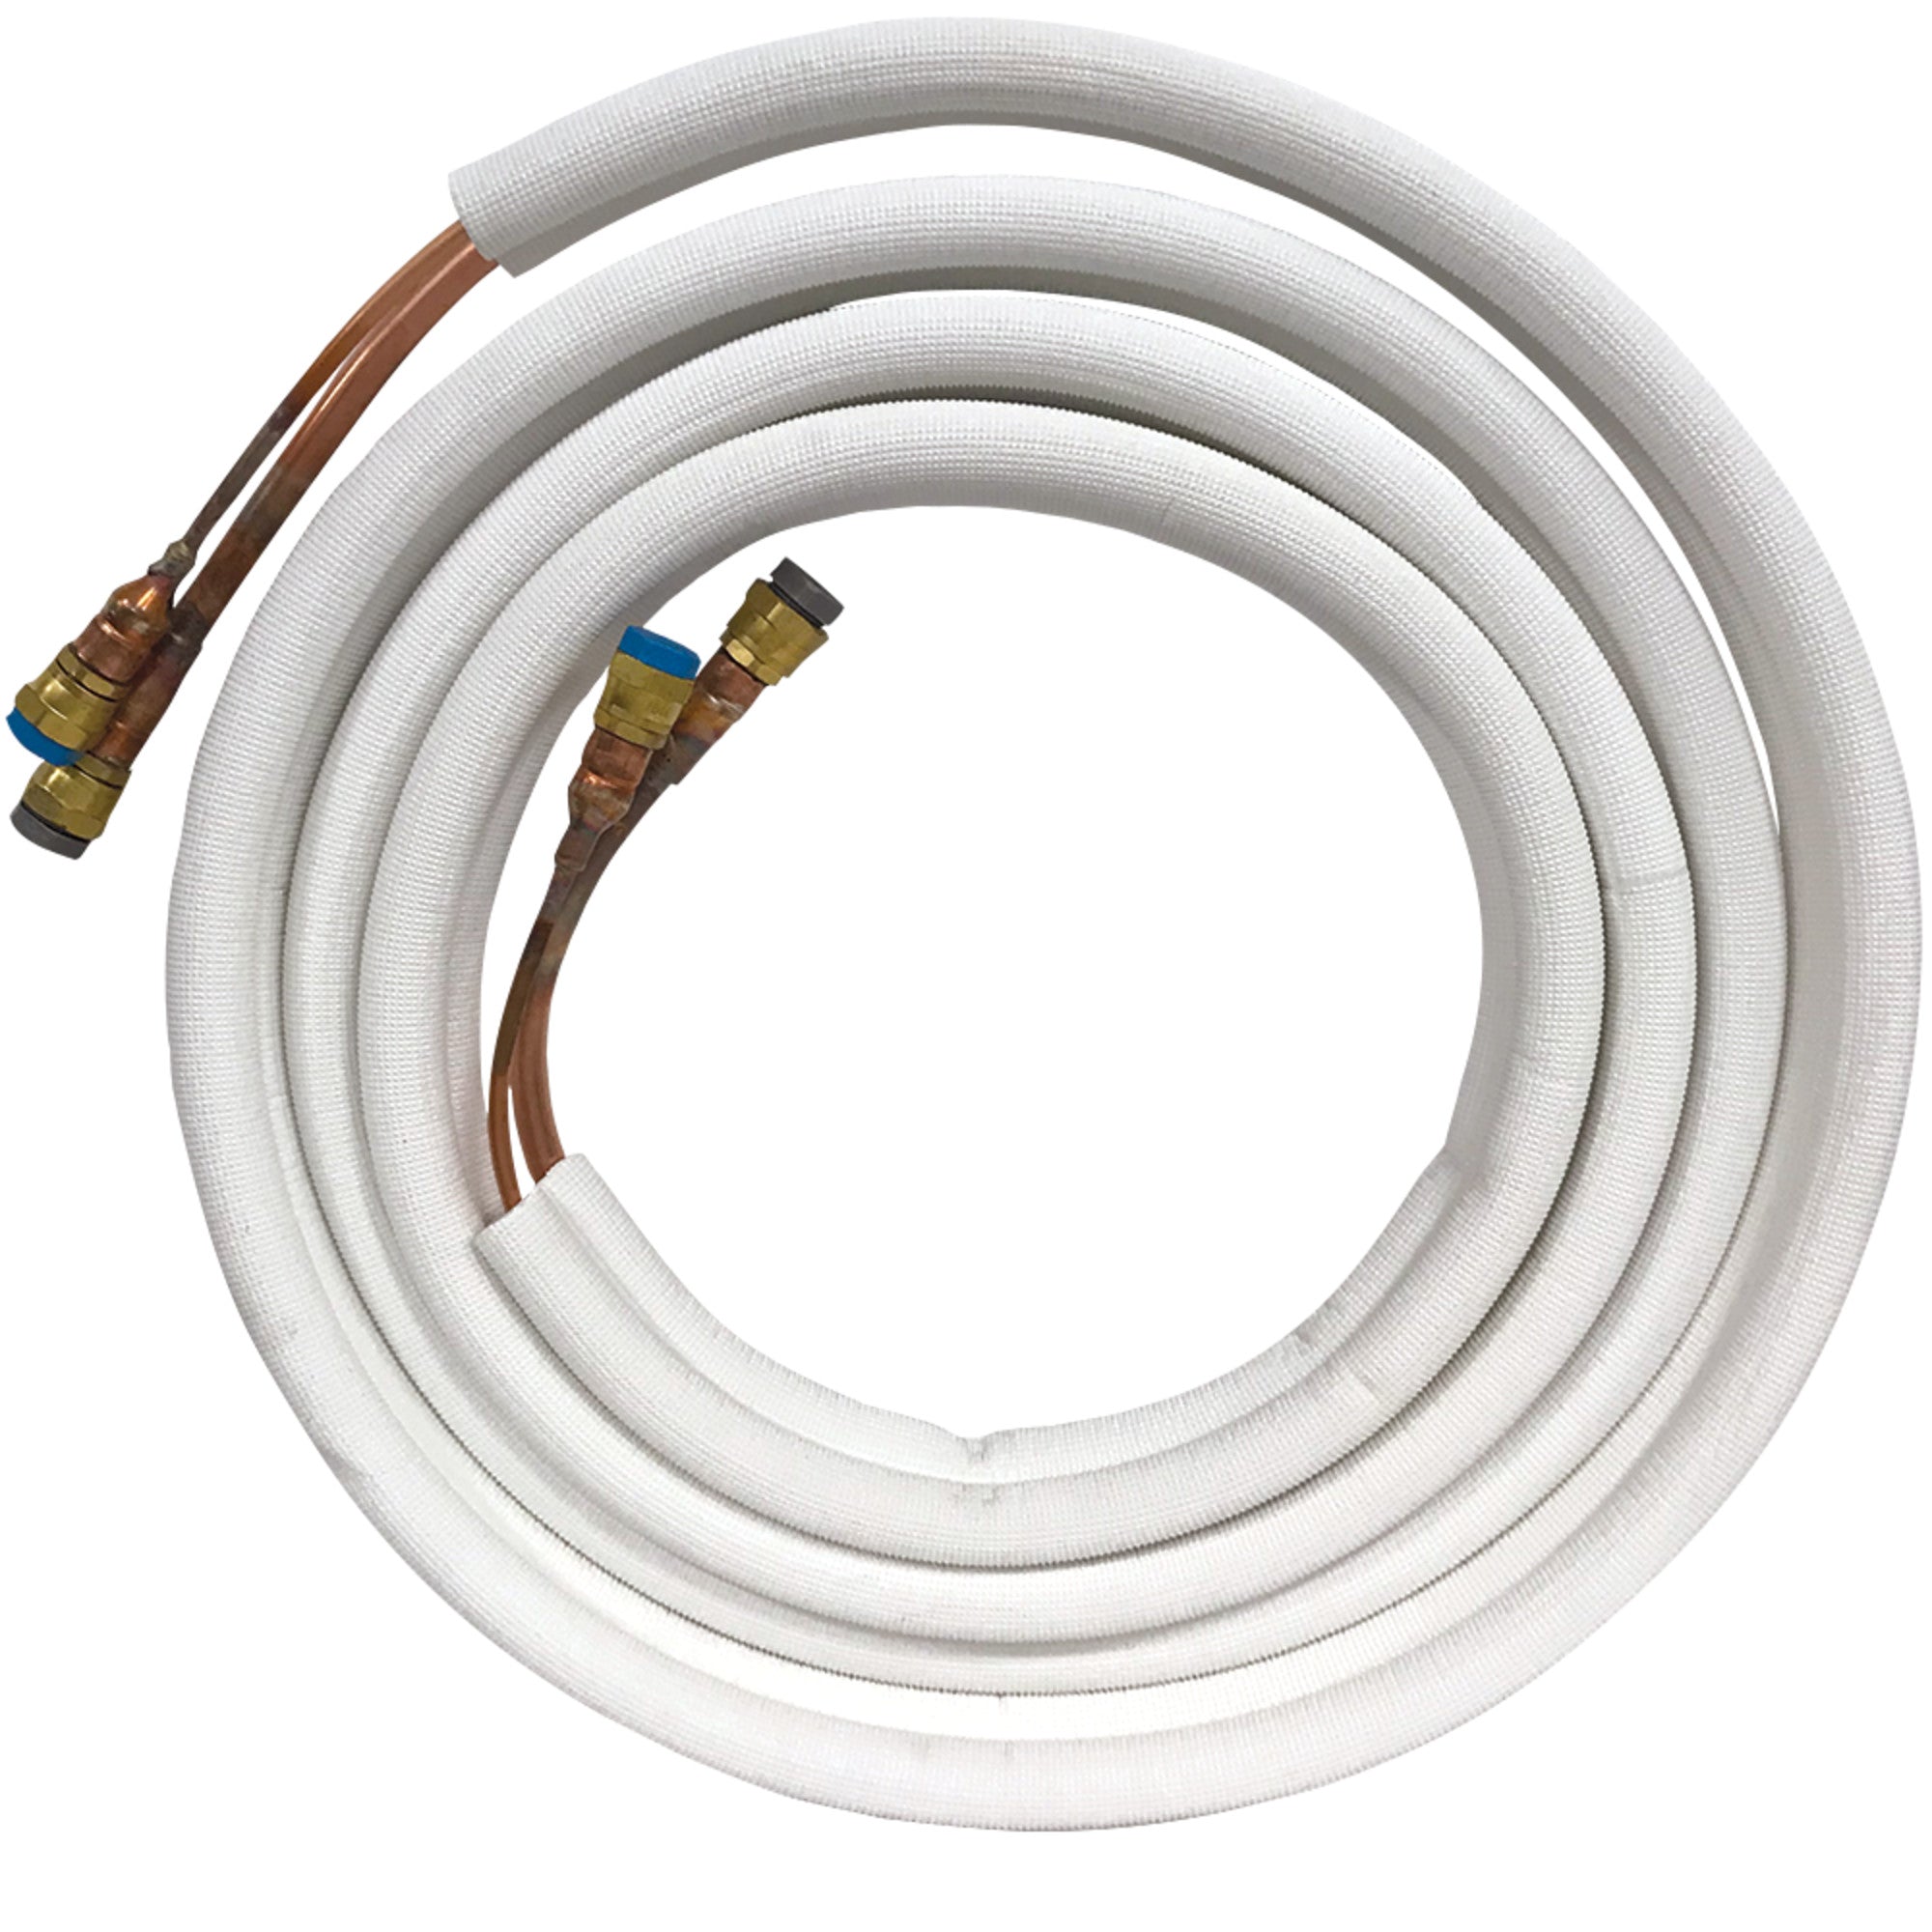
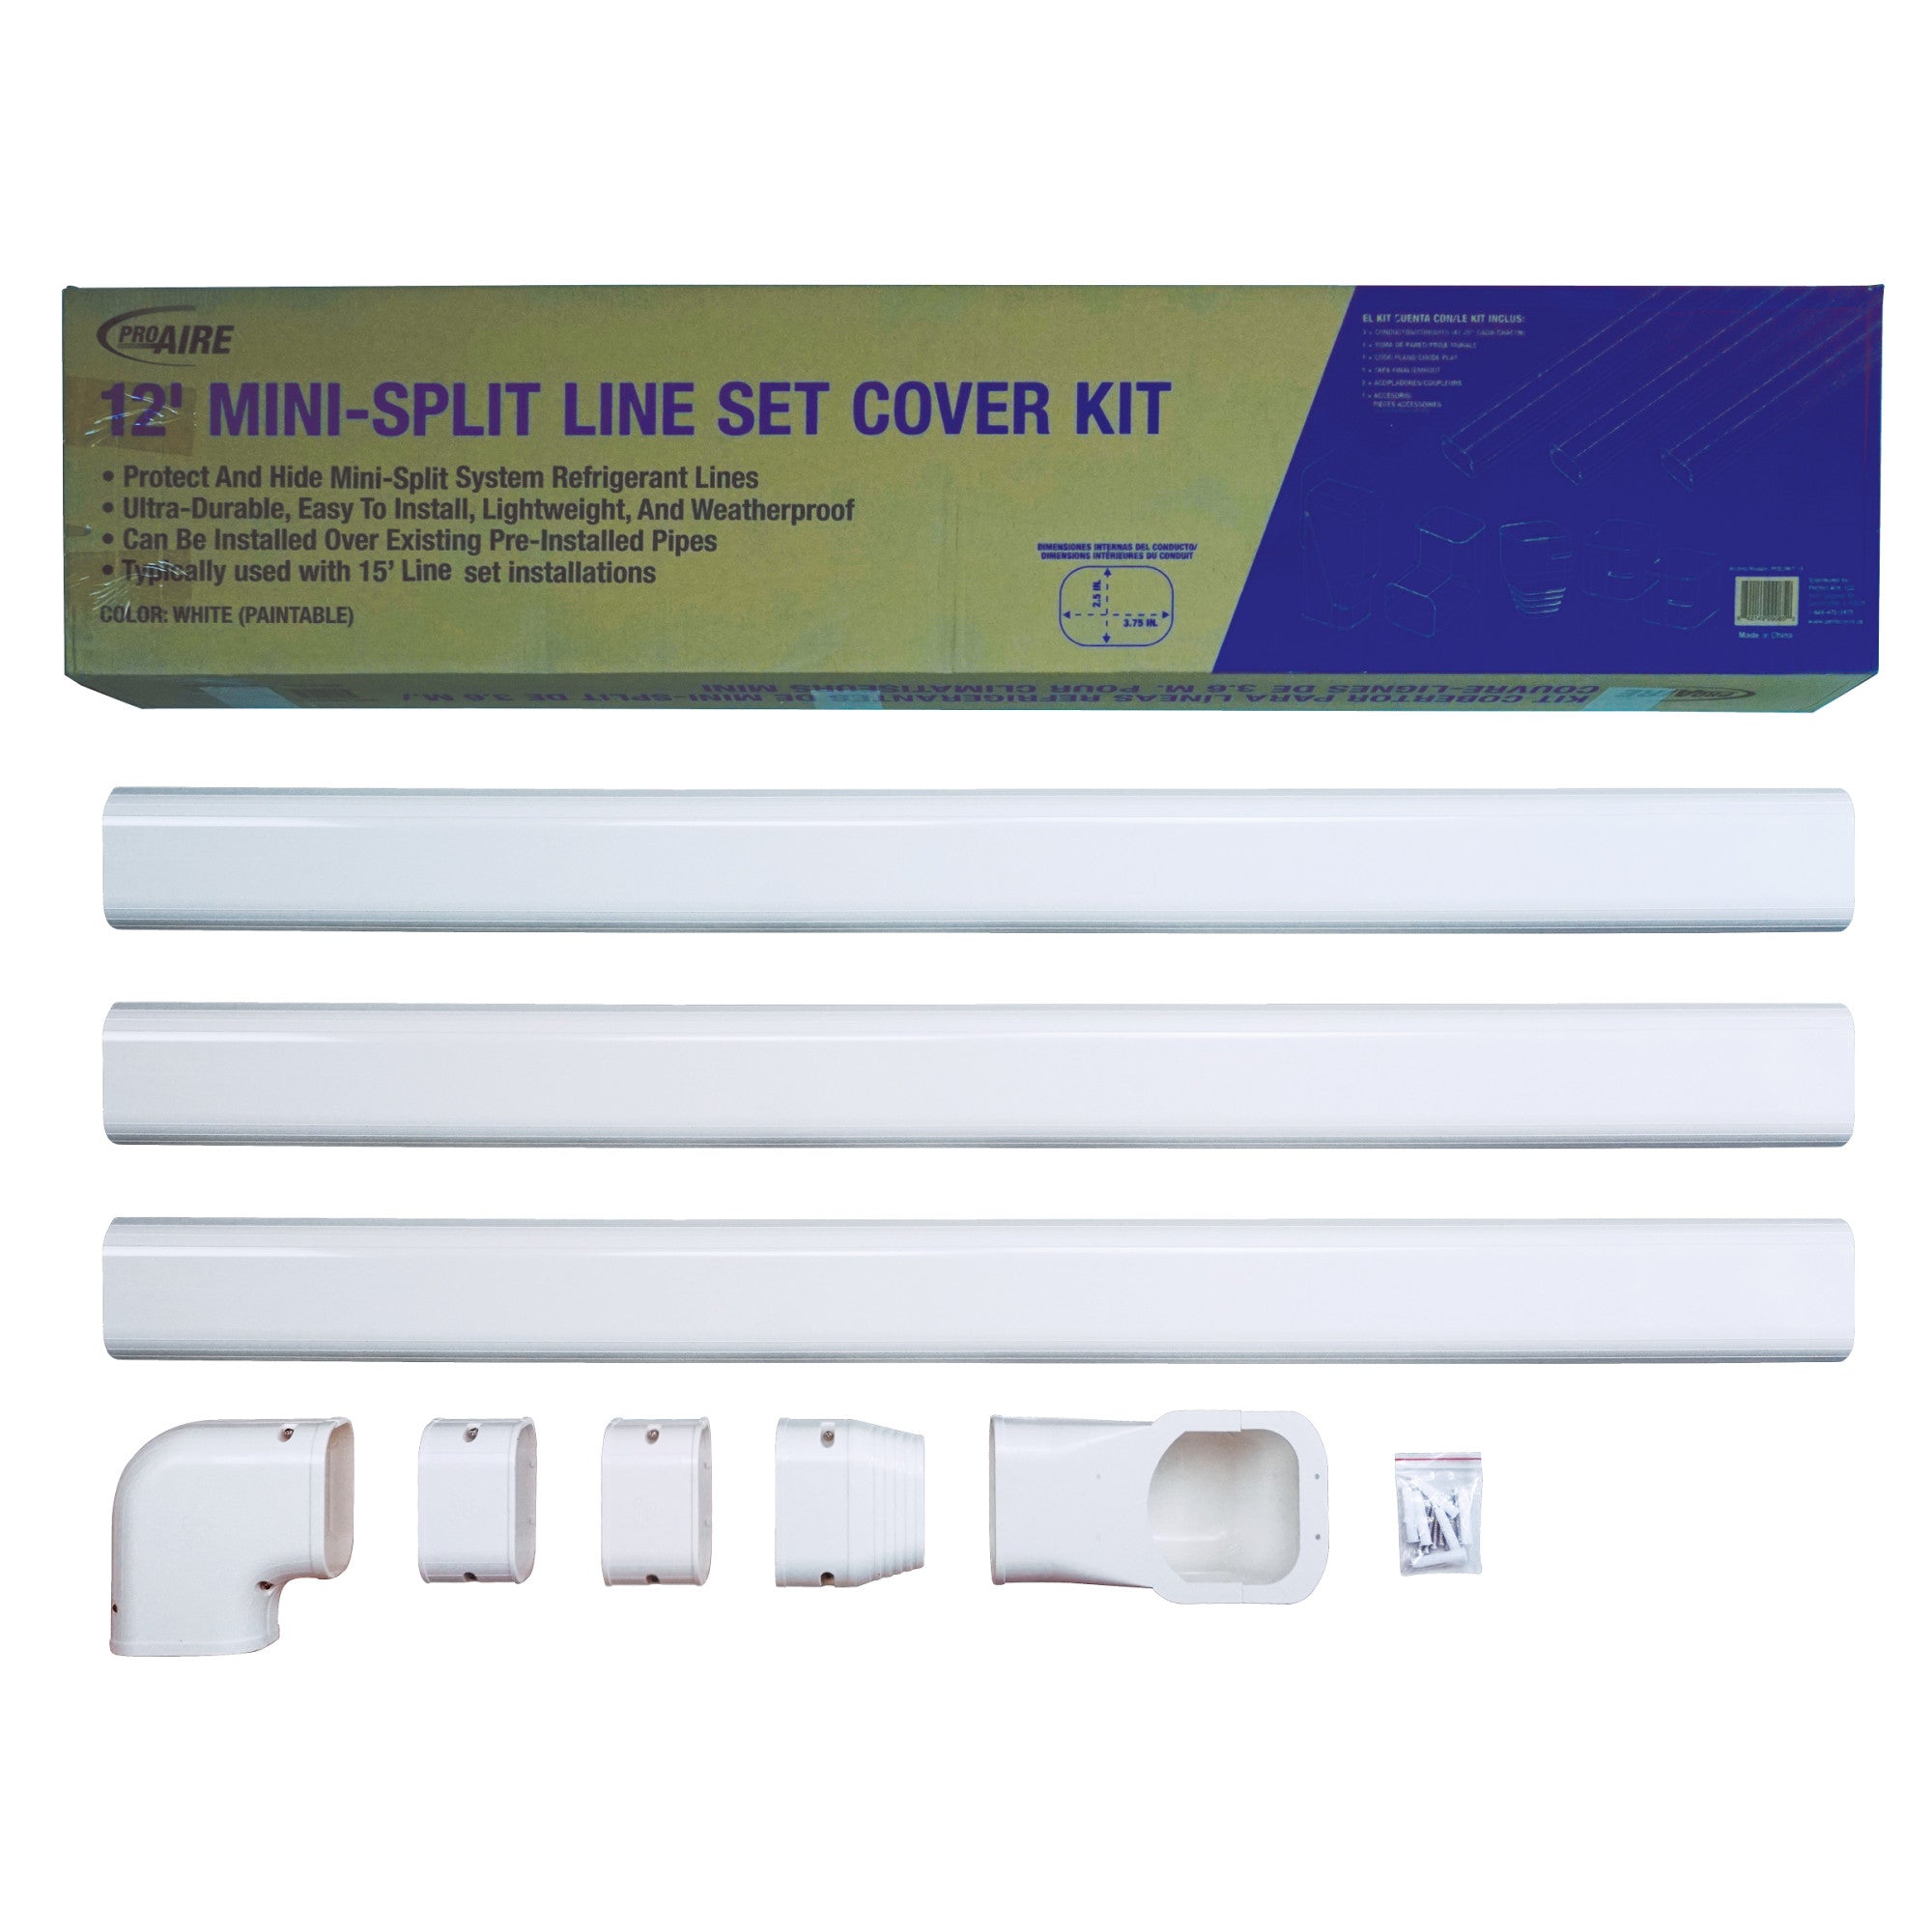
Step 6: Measure the Line-Set Run (Stay Within 25 Feet)
Now connect the dots.
Quick-Connect single-zone systems include a 25-foot lineset. That means the full path from the indoor unit to the outdoor condenser cannot exceed 25 feet.
And here’s the important part:
Measure the actual routing path, not the straight-line distance.
If the line set needs to travel down the wall, across the exterior, and over to the condenser, measure that full route. Add a small amount of slack for clean bends, but avoid excessive coiling.
Keep in Mind:
- The drain line must slope downward
- Avoid sharp bends
- Plan the cleanest path possible
- Stay within the 25 ft limit
If your layout exceeds 25 feet, you may need to rethink placement before ordering. This step prevents surprises during installation and ensures your system performs as designed.

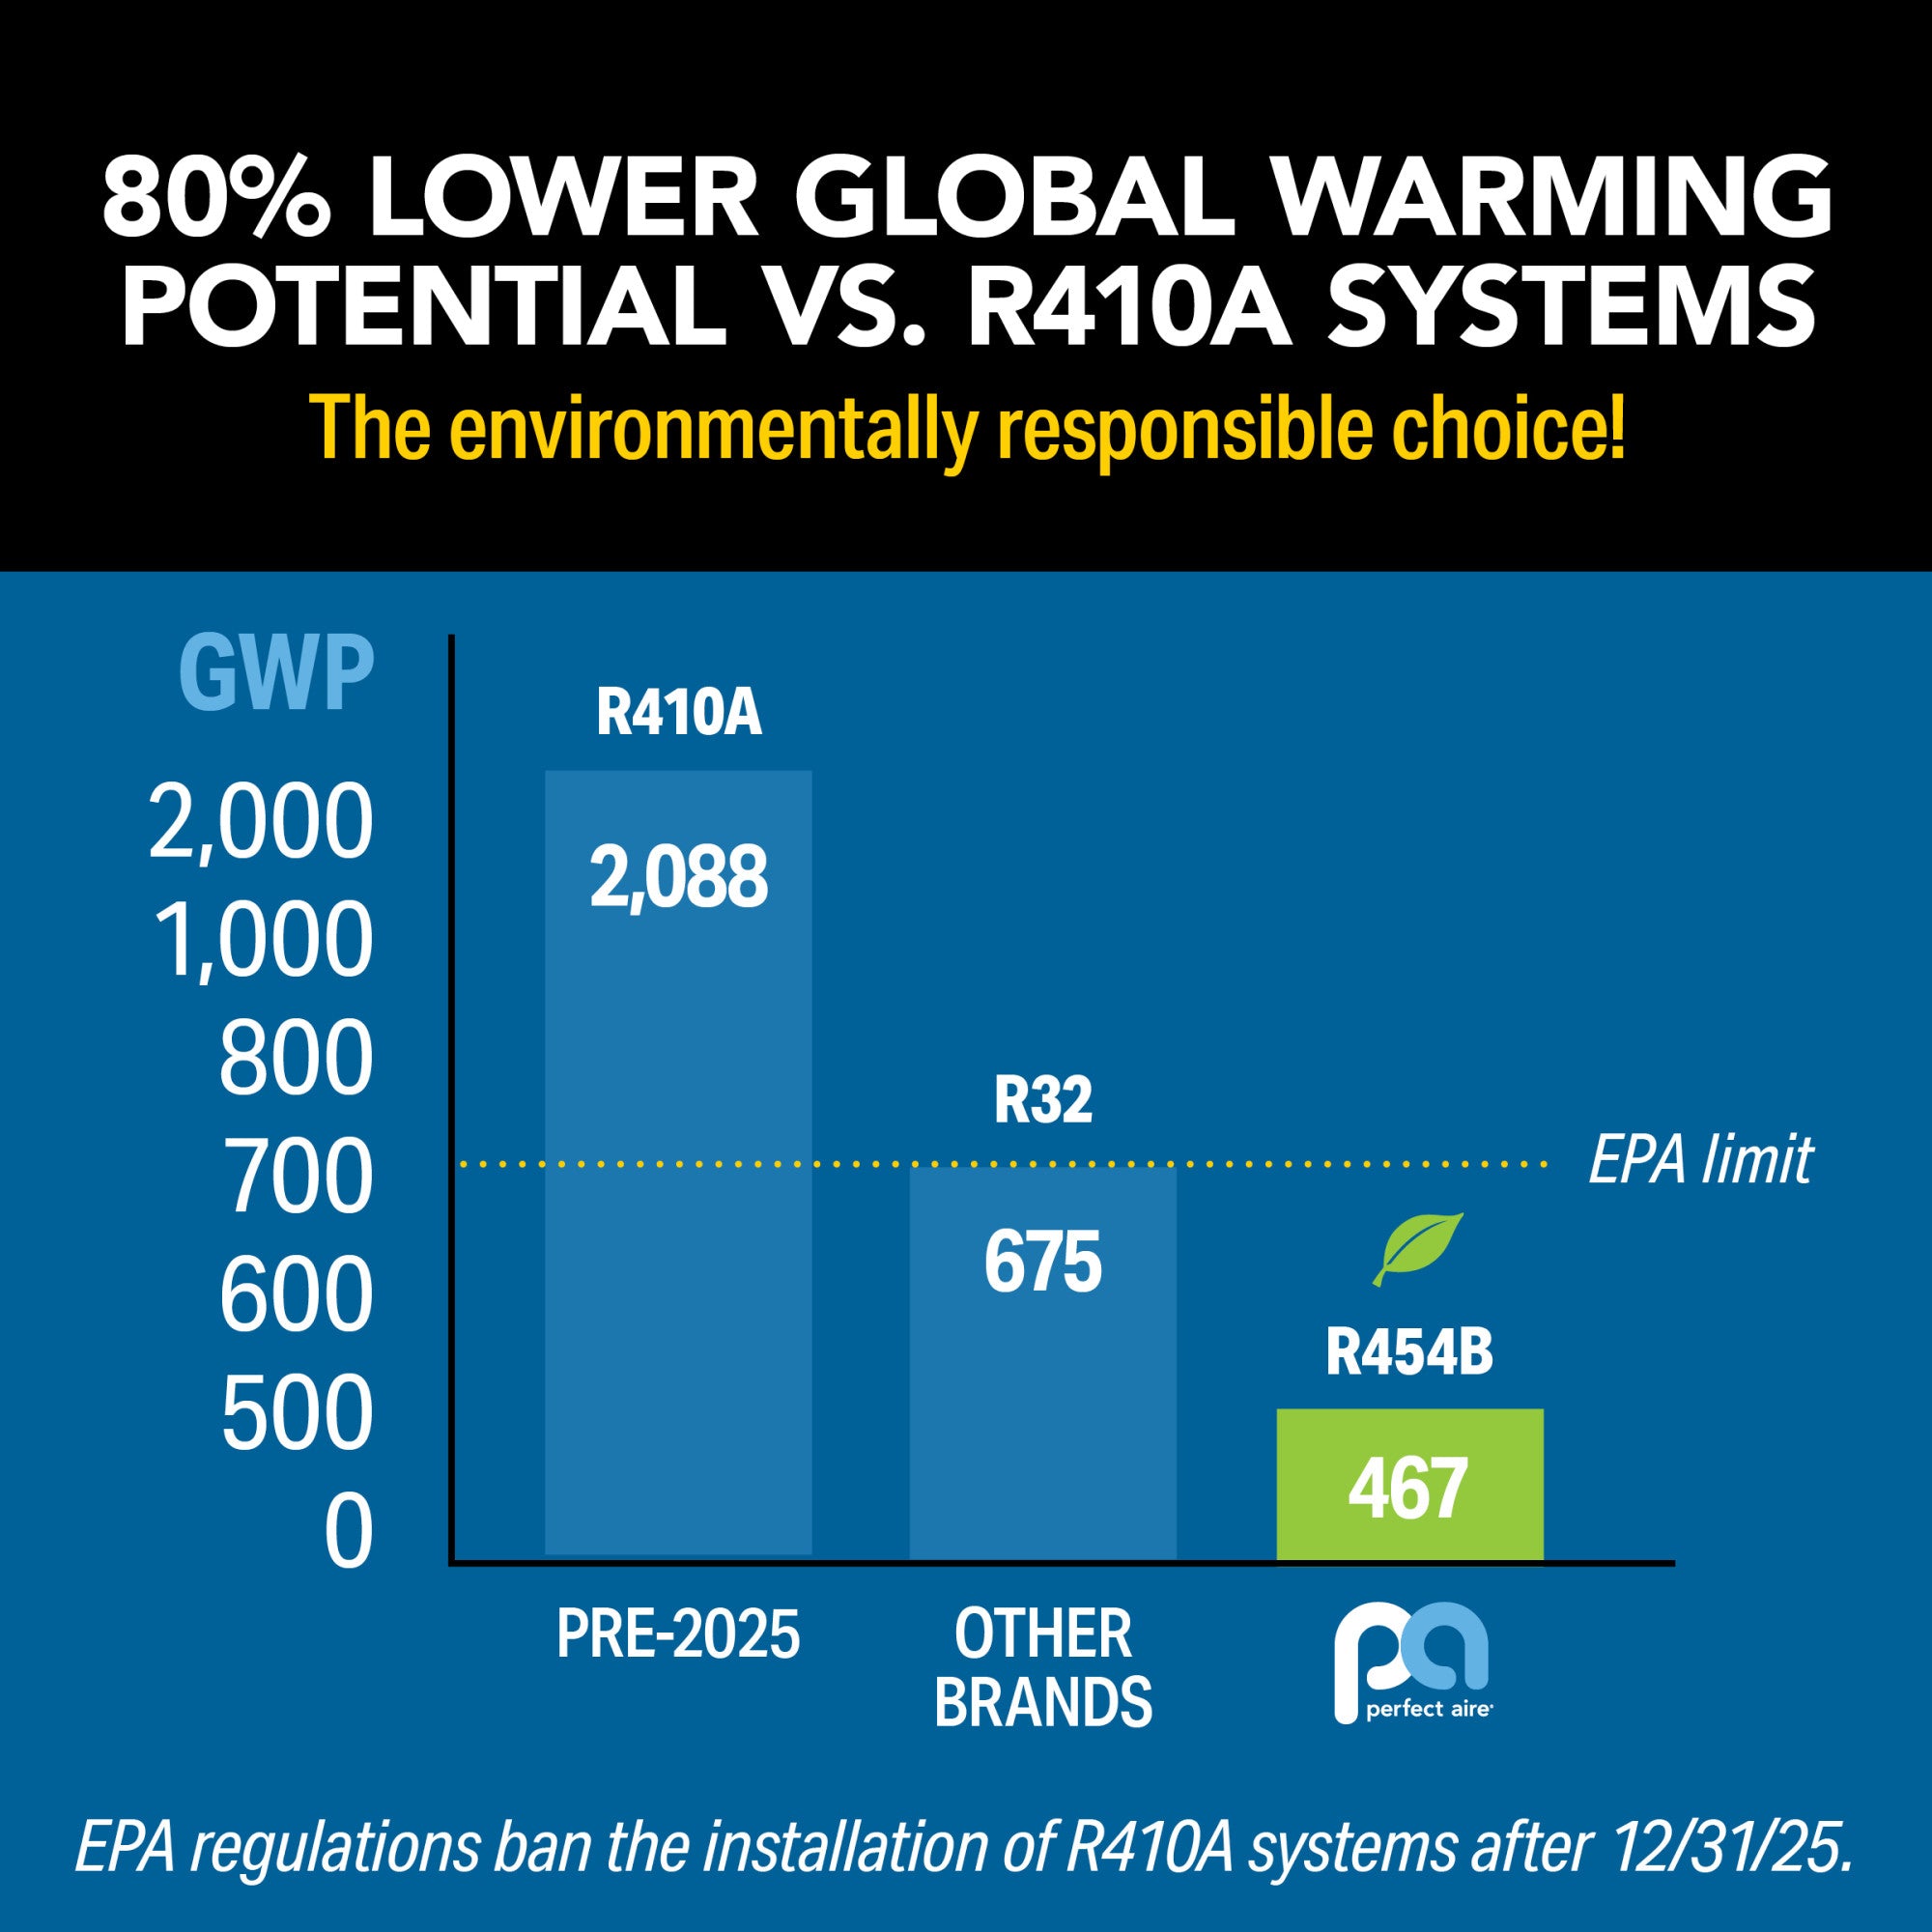
Bonus Step: Check the Operating Range for Your Climate
BTU sizing tells you how much heating or cooling capacity you need.
Operating range tells you whether the system can handle your climate.
Every mini-split has a rated temperature range for heating and cooling. Before purchasing, review the manufacturer’s specifications to confirm it matches your local weather patterns.
For example, Perfect Aire Quick-Connect systems are designed to operate in heating mode in outdoor temperatures as low as -4°F. That makes them suitable as a primary heating source in many regions and a strong supplemental option in colder climates.
If you live in an area where temperatures regularly drop below a system’s rated minimum, you may still benefit from a mini-split for most of the year, with a secondary heating source stepping in during extreme cold.
Sizing correctly means more than square footage. It means choosing a system built for your environment.
Size It Right the First Time
Choosing the right mini-split comes down to a few practical steps:
- Measure your square footage
- Account for heat load factors
- Confirm the correct voltage
- Plan indoor and outdoor placement
- Stay within the 25-foot line set limit
- Check the operating range for your climate
When you size correctly, the system runs efficiently, maintains steady comfort, and protects your investment long term.
A properly planned install also makes the rest of your project smoother. Once placement and line set routing are mapped out, it’s easier to determine whether you need a wall bracket, condenser pad, or line set cover to complete the job cleanly.
Ready to Choose Your System?
If you’ve measured your space and confirmed your electrical setup, you’re ready to move forward.
Browse our full selection of DIY Quick-Connect mini-splits at The HVAC Spot. Each product page includes operating ranges, electrical requirements, and compatibility details so you can buy with confidence.
Plan it right. Install it once. Enjoy comfort that works the way it should.