
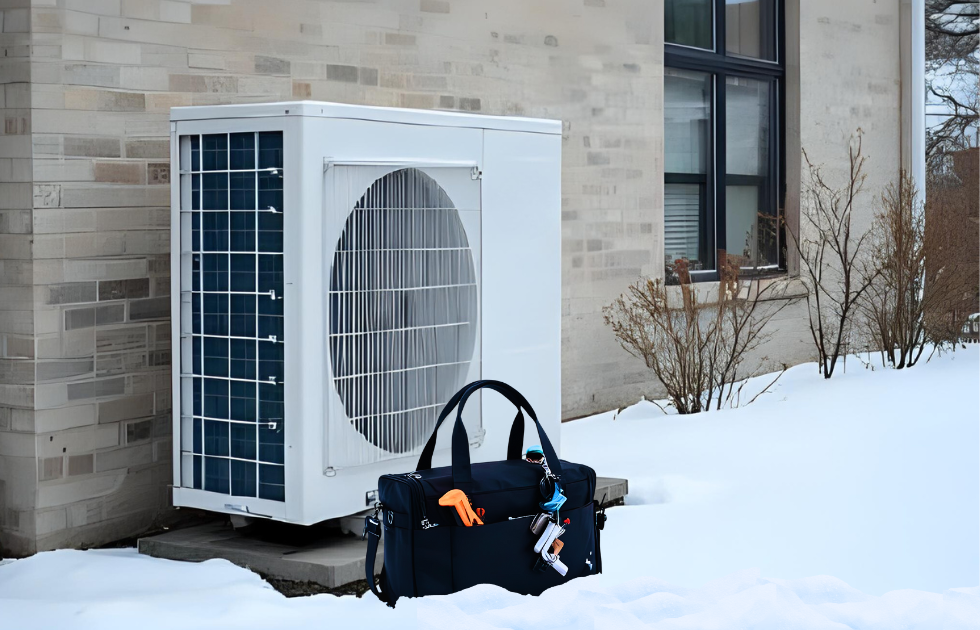
When it comes to home upgrades, most people assume HVAC projects have to wait until spring. But with the right system, winter can be a perfectly fine time to install a mini-split—especially if you want to start enjoying efficient heating right away.
Whether you’re replacing an outdated system or adding comfort to a new space, installing during the colder months is possible with the right approach and equipment. In this post, we’ll walk through what to consider, how to prepare, and why Perfect Aire DIY Quick Connect mini-splits make winter installation easier than ever.
What to Know Before Installing in Winter
Installing a mini-split in cold weather isn’t impossible, but it does come with a few extra considerations. For traditional systems, the main challenge is handling refrigerant. When temperatures drop, refrigerant pressures change, making it harder to vacuum, charge, and test the system correctly. If done incorrectly, it can affect performance and efficiency down the road.
That’s where DIY Quick Connect systems make all the difference. These systems come pre-charged with refrigerant and sealed line sets that connect using compression fittings—no gauges, pumps, or HVAC tools required. Because the refrigerant is pre-measured and contained within the line set, there’s no risk of exposure or loss during installation.
It’s still best to schedule your install for a mild day when temperatures are above freezing. Cold weather can make materials like insulation and rubber seals more rigid, so giving your system a comfortable start helps ensure a secure, lasting setup.
6 Tips for a Successful Winter Installation
Installing a mini-split in winter takes a little extra preparation, but the process is simple with a DIY Quick Connect system. Follow these best practices to make sure your setup goes smoothly and performs at its best:
- Choose a mild day. Aim for outdoor temperatures above freezing during installation. This helps ensure seals and fittings tighten properly.
- Keep the workspace clear. Clear away snow, ice, or debris around the outdoor condenser area before mounting your unit. A stable, level surface is key for good airflow.
- Elevate the outdoor unit. Use a mounting bracket or equipment pad to keep your condenser above snow and standing water. This prevents blockages and protects components from corrosion.
- Protect the line set. Line set covers help prevent moisture buildup and keep the refrigerant lines insulated for more consistent performance.
- Check airflow and drainage. After installation, make sure both indoor and outdoor units have open airflow and that the condensate drain is clear.
- Test both modes. Run your system in heating and cooling modes to confirm proper operation before the weather changes.
Planning for Cold Weather Performance
Even with proper installation, it’s important to know what to expect from your mini-split once temperatures really drop. Like any heat pump system, performance naturally decreases in extreme cold—but today’s technology can still deliver reliable comfort through much of the winter season.
Perfect Aire DIY Quick Connect mini-splits are designed to heat efficiently in temperatures as low as –4°F, making them ideal for most U.S. climates. If you live in an area where temperatures often fall below that range, you can still use your mini-split as a primary heat source for mild days and a secondary source when your furnace takes over during extreme cold.
Keeping the outdoor condenser clear of snow and debris is also key to maintaining performance. Regularly check the area around the unit to make sure airflow is unobstructed, and gently brush off snow buildup as needed.
With the right setup and a little seasonal maintenance, your mini-split can deliver steady, efficient heat all winter long.
Comfort Without the Wait
You don’t have to put off your comfort just because it’s cold outside. With Perfect Aire DIY Quick Connect mini-splits, winter installation is not only possible but practical. Pre-charged line sets, easy connections, and efficient heating down to –4°F make these systems a smart choice for homeowners who want flexibility year-round.
Whether you’re adding comfort to a garage, sunroom, or addition, installing a mini-split this winter means you’ll be ready for whatever temperatures come next.
Ready to take the next step?
Explore our full range of DIY mini-splits and accessories at The HVAC Spot and make this the season you bring true comfort home.
 FAQ:
FAQ:
Q: Can you install a mini split in winter?
A: Yes, but extreme cold can affect refrigerant charging. DIY units with pre-charged lines are ideal for winter installs.
Q: What temperature is too cold to install a mini-split?
It’s best to avoid installation when temperatures are below 32°F. Cold air can make insulation and fittings stiff, which can affect the seal between components.
Q: Do you need to cover a mini split during winter?
A: Covering isn’t necessary and may trap moisture, which causes corrosion, and restrict airflow. Instead, keep it clear of snow and debris.
Q: Can a mini-split heat in subzero temperatures?
Perfect Aire DIY Quick Connect mini-splits can provide efficient heat in outdoor temperatures as low as –4°F. Below that point, output may decrease, so a secondary heat source—like a furnace—is recommended in extremely cold climates.
Q: Can I install a mini-split myself?
Yes, as long as you’re using a true DIY system like the Perfect Aire Quick Connect series. These units are designed for homeowner installation with no special tools or HVAC certification needed.